Tag Archives: print

Current prints

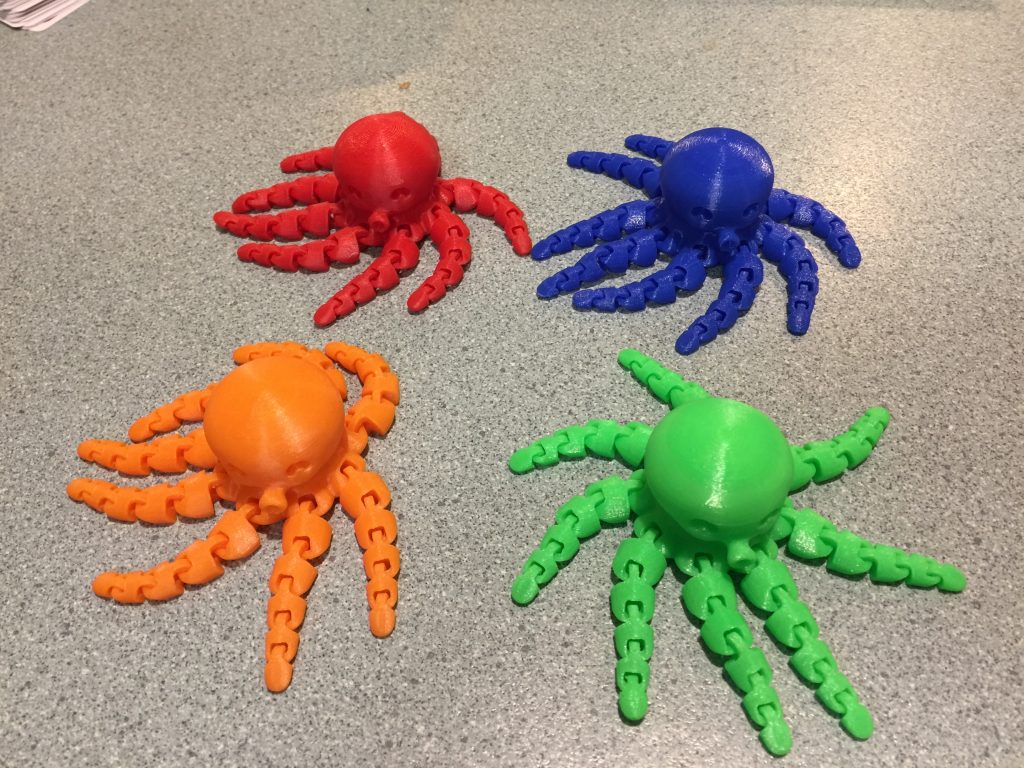
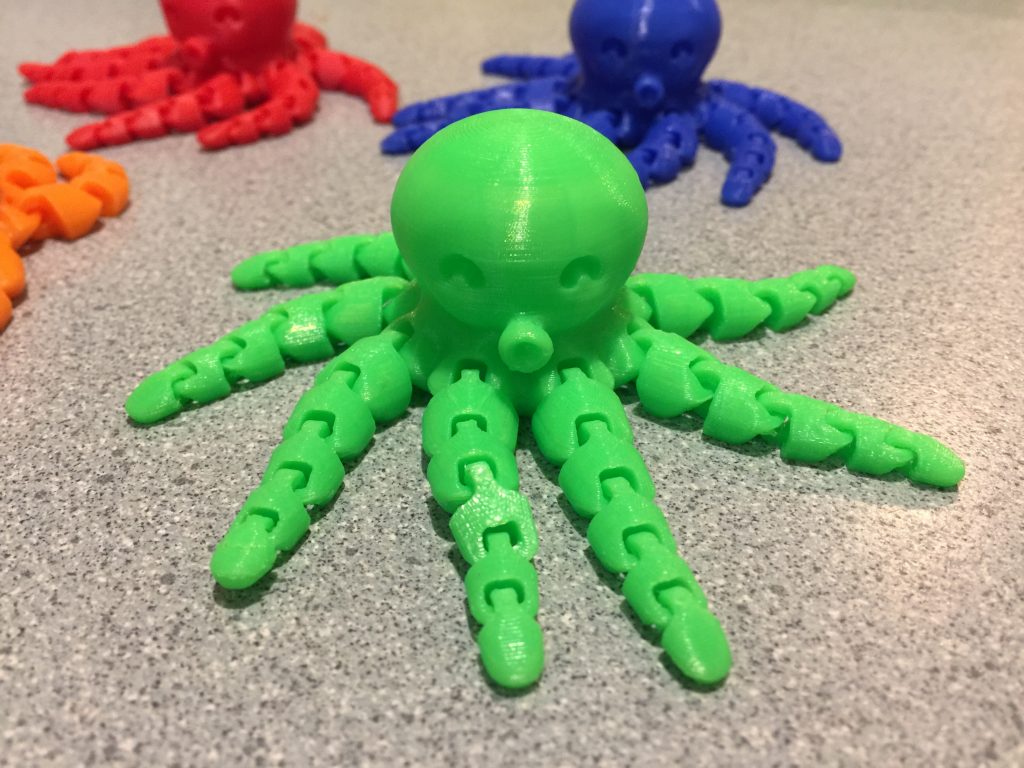
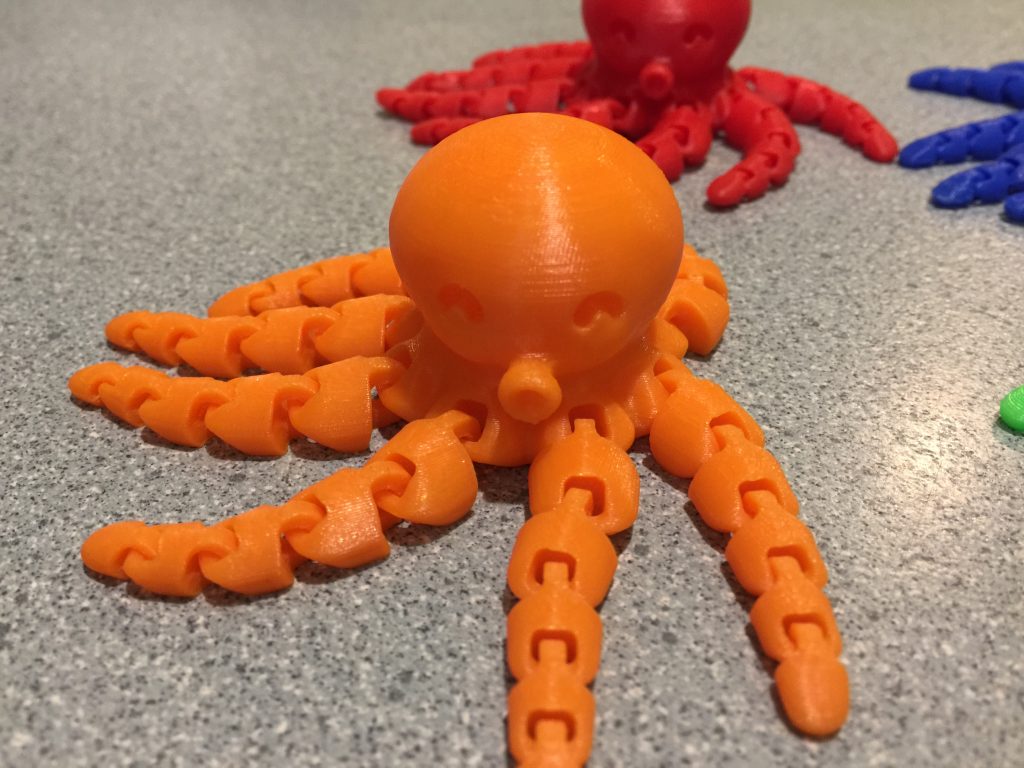
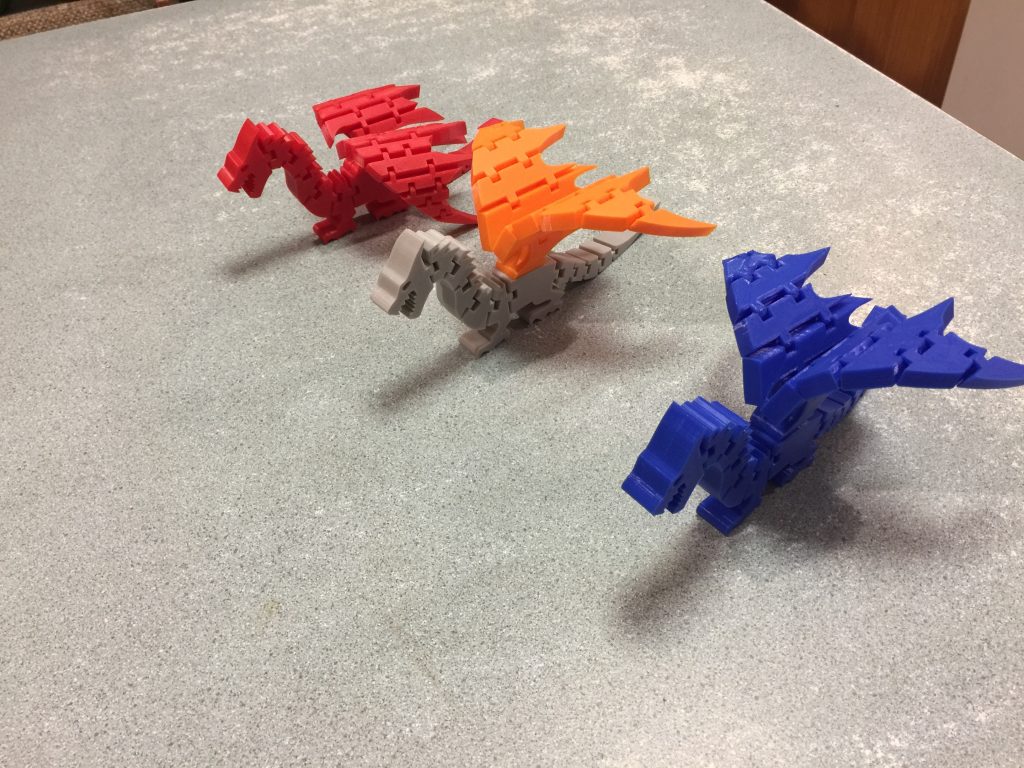
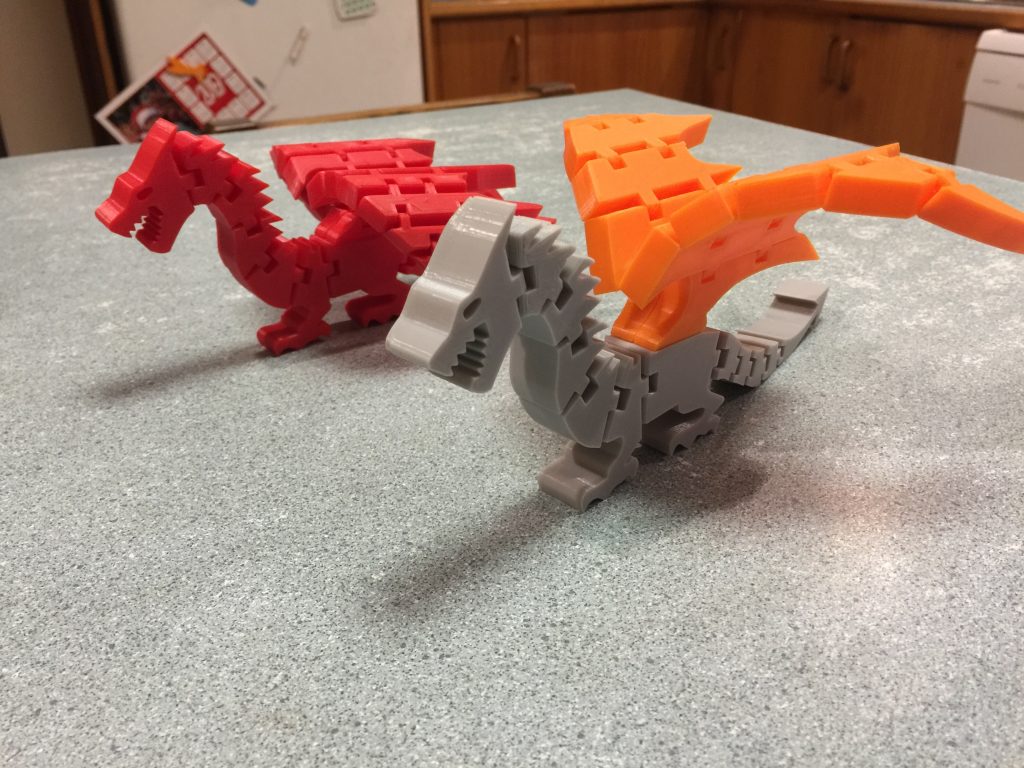
I bought some new filament colours a couple of weeks ago, which were an immediate hit with the kids. Since then, I’ve been printing out a few toys for them and their friends, mostly dragons and octopi.

I’ve had to tweak my slicer settings a bit to get the octopus to print correctly, since it has some very-small surface area features that had trouble sticking to the bed. Changes:

  • Bed temperature 71 degrees.
  • First layer temperature 205 degrees, remainder 195 degrees.
  • First layer speed 8mm / second (very slow!) – remainder is 30mm / sec.
  • No layer cooling until 1mm in height reached.
  • Using 0.05mm feeler gauge on the hot end and bed (when cold) to set nozzle height.

With these changes, the prints are coming out well, sticking to the bed, and looking absolutely fantastic. This level of detail would have been nearly unheard-of with the old Reprap machines back in 2012.

Recent Printing

I haven’t been doing much printing lately, the usual hassles of life catching up with me.

I’ve printed up a few more of the earbud holders over the last few weeks, for people who are jealous of the ones that I gave out during Christmas.

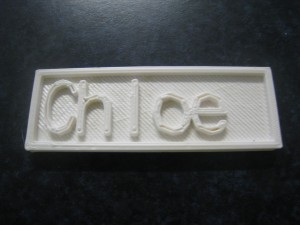
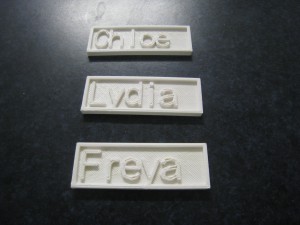
A couple of weeks ago, I spotted this page over on thingiverse, which generates some nameplates. I thought that these looked like a lot of fun, and an easy way to print name-tags for the kids’ bags and stuff.

I printed out a few of them one evening while my wife was having a craft night with her friends. They loved them, so I ended up printing out lots of them for their kids as well.

Last week, I went through and updated the software toolchain – SFact, Pronterface and Marlin. It never fails to amaze me just how much improvement comes through in the software, over the space of two months.

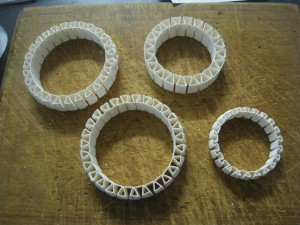
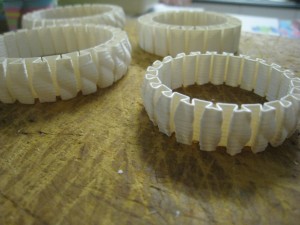
The only other thing of note that I’ve printed out lately is some bracelets. Slightly strange story behind these – when I was speaking on the phone with my Mum a few weeks ago, she said that she had a dream that I’d printed her out a bracelet. So, to make the prophecy self-fulfilling, I found a design on Thingiverse and printed a few out for my Mum and daughters. Turned out very nicely.

I adjusted the size of the first couple of larger ones by playing with the ‘scale’ setting in SFact, but this didn’t work very well with the smaller bracelets. So I downloaded the OpenScad file, and modified the variables in that. That worked really well to generate the smaller bracelets.

The printer’s working really well these days, completely hands-off. I just hit ‘print’, then walk away. The printer even shuts itself down at the end of the print, and always produces nice results.

Praxis

This weekend, I’ve just been having fun printing out things.

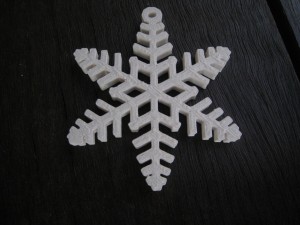
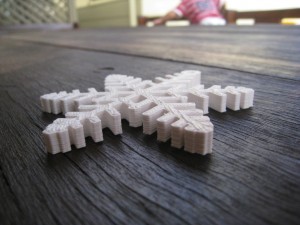
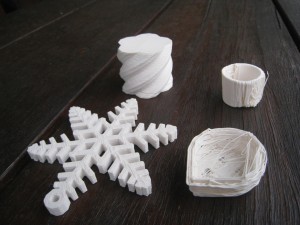
First up, I printed out a few of these snowflakes. This piece gave me a lot of grief during the week, trying to figure out the right settings to print it. It’s a real testing piece. Lots of sharp corners will test the limits of your printbed for adhesion on the first layer, and it’s an absolute nightmare for retraction. If your retraction isn’t perfect, it turns ugly, extremely quickly.

At one time during the week, I had my retraction spot-on. However, I hit the perimeter-speed bug in SFact, which prints out the perimeter of the first layer at 60mm/s. That was way too quick for this complex piece, so I had to upgrade SFact, which then means all the retraction settings were obsolete, and I had to start back from scratch. I got them sorted out on Saturday morning, and I’ve been having fun just printing ever since.

I’ll be printing out four of these snowflakes. My daughters are going to decorate them, and them give them to their grandmothers. Should be a nice Christmas present from them. Here’s a video of the snowflake in print. Have a look at all the retractions / relocations during this one layer!

Next up I printed up a screwable jewellery box. I thought that this would be an excellent piece to demonstrate just how well the printer is working now.

The box turned out beautifully, and screws together perfectly.

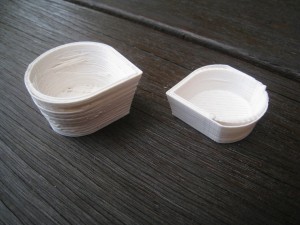
Just for comparison, here’s how far I’ve come in two months:

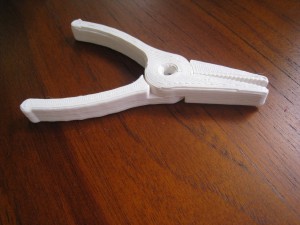
Next up, I printed out a pair of pliers. Just because!

I also lost a couple of prints during the week. For some reason the extruder was skipping steps. I tightened everything up on the extruder, re-mounted the motor and motor gear, but still had issues. Turned out one of the extruder motor wires was loose. It was being pulled too tight by the x-carriage and losing connection. So I rotated the motor to give the cables more slack, and re-connected the wires. All good!

Argh!

I was printing out the 3D-knot as a bit of a demonstration / vanity piece. However, when the print was at 77%, I accidentally disconnected the USB cable!

Unfortunately, the cable I have at the moment isn’t long enough to reach my printer, so I use a USB-extension cable which is a bit prone to coming apart.

It was looking really good, with only a little bit of lifting up at one corner.

 I noticed that a few of my recent pieces have had this lift-up issue. To combat it, I’ve made the following changes:

  • Add in a few extra shells on first layer only.
  • Drop down the nozzle so its a bit closer to the bed (0.13 to 0.18mm)
  • Reduce the ‘Additional height (ratio)’ in ‘bottom’ tab to 0.3
  • Give the bed a really good clean. There were a few grease marks causing the filament to stick badly, which would then start off the lift-off.

That’s really helped on the last couple of earbud holders I’ve printed out. I’ve also figured out how to take some really nice videos:

Okay, I’m really going to have a good look at SD card printing now.

Back to Printing

This afternoon, I re-assembled the printer. The differences are the Budasnozzle, and the stepper motors with their flats and pulleys.The Budasnozzle’s attachment really makes it easy to attach. Full marks for the designer.

My only problem with getting the printer running was that the hot-end was not warming up. A quick going-over with the multimeter showed a bad connection in going to the nozzle, which was quickly fixed up.

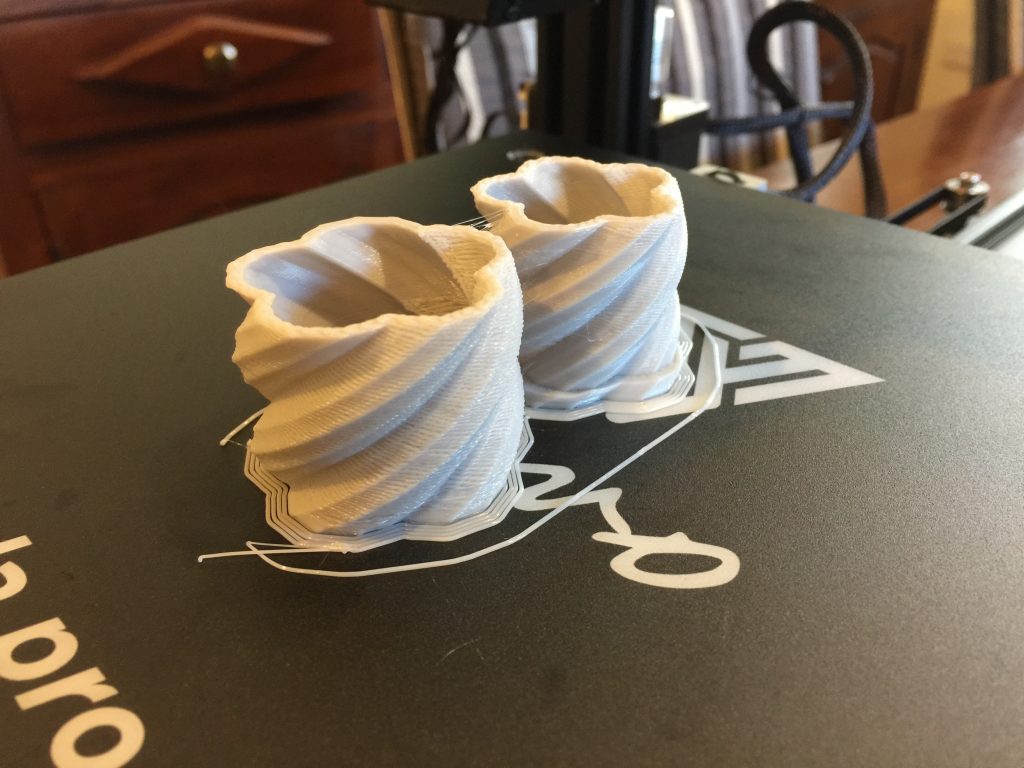
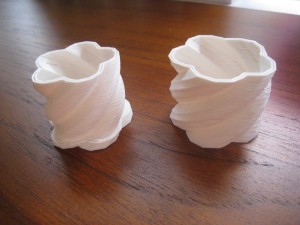
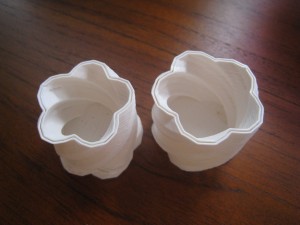
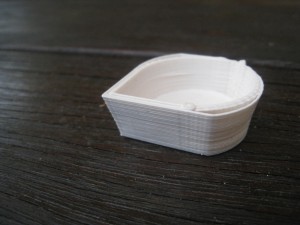
To print, I thought that I’d try the shot glass again, to give me a good idea of the differences between the old set up and new.

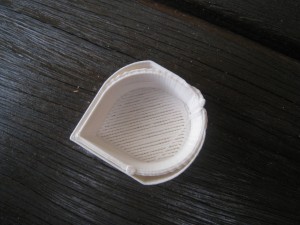
As you can see from the photos, the backlash is all but gone. The aluminium pulleys really make a massive difference here.

As I can see it, there’s three problems now.

Problem 1. Flat side on the print.

Solution 1. I suspect that the wires going to the hot-end are too tight (the Budasnozzle’s lines are shorter than the Arcol’s). Check tightness, and loosen off if necessary.

Problem 2. Extra shell around the outside of the print.

Solution 2. Turn retraction back on.

Problem 3. Base not quite filled in enough.

Solution 3. Infill feed rate

Hopefully, those problems should have the prints looking good.

Reprap Shot Glass, Second Attempt

After getting the thermistor working again, I tried printing out the rep-rap shot glass, with the new skeinforge settings. It turned out excellently.

Much, much better than the first attempt. There’s still a few problems that need sorting out. In the picture below, you can see some ‘sagging’ that occured on the right-hand side.

The ‘solid’ infill isn’t coming in as completely solid. Still needs some work here.

The base, however, looks nearly perfect. You can clearly see the join between the two pieces of kapton tape.

A huge improvement. I’m really happy with the printer now. I suspect that I could start to print out parts for the reprap. While they wouldn’t look the best, they’d have sufficient accuracy and strength to do the job.

Bases, and Filament Retraction

Since my last printings have worked fairly well, I thought that I’d try and get the base working perfectly as my next goal. So, for today’s prints, I thought I’d do some experiments with the printbed and base. I tried to use the Pyrex base both with and without the Kapton tape, and at different temperatures for both the filament and heatbed.

Using the Pyrex base without Kapton was a total failure. The filament did not stick at all, under any conditions. With the Kapton on, I tried using the heatbed at temperatures from 110 to 130, and the extrusion from 220 to 235 degrees Celsius.

I also experimented a bit with the height of the tip above the base, varying it from about 0.1 to 0.4mm. I had a few troubles with this step, as the printer wouldn’t always pick up the activation of the microswitch, and keep driving the tip into the base. Having a closer look, it seemed like the switch was occasionally getting caught up on the Z-mount, without actually activating.

I tried for a little while moving the microswitch to the top of the printer, but there’s something wrong with the Sprinter firmware. Once the microswitch was in place, with the appropriate firmware settings, the Z-axis would only travel upwards, not downwards at all. After a few attempts at this, I gave up, and returned the microswitch to the bottom. This time, however, I moved it to the right-hand-side of the machine, where it seems to get a cleaner activation, and doesn’t get caught on the Z-mounts, like it was doing on the left.

The best results obtained was when I used the Kapton tape, had the tip 0.4mm from the bed (measured with feeler gauge), and had the tip at 230 degrees. For the base, I start out with it set on 130 degrees (so that the surface was measuring 120 +), then turn it down to 110 degrees as soon as the print started.There’s not many pictures to show here, as the prints would generally fail almost instantly, or I’d stop them after the first couple of layers.

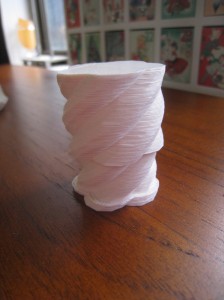
Once I had the base settings fairly well sorted, I thought then that I’d print a different minimug. This one is slightly larger, and prints vertically, instead of horizontally. I thought that with the new base, and the vertical printing it’d turn out better than the previous minimug.

Not the case, unfortunately, as you can see from the above photos. Watching it closely, it looked like the retraction wasn’t working properly. It’d retract the filament when doing a move, then take a fair while (at least 2-3cm of travel before the filament would start coming out again.The base, however, turned out quite nicely.

To fix this problem, I would have to go into SFact, and change the retraction distance. Since I didn’t know what would work, I set the value to zero, so I could work upwards from there. Since I was also fiddling with the SF settings, I thought that I’d speed up the printer to the default speed. I’d been operating with it on 1/3rd speed, so I thought that I’d fix that up, see how it went. I thought I’d also try out a different object, the thin-walled calibration object.

The first couple of tests of this object turned out dreadful, until I adjusted the retraction down to zero. The settings improved things, but I there’s still room for more improvement. I went back into SFact and make some more changes to the settings. This time, I slowed down the speed for the first layer, and bumped up the filament extrusion ratio.

Just when I was ready to try out my new extrusion and retraction settings, I had a problem with the thermistor. The electronics was no longer reading a value from it. I’ve either blown a thermistor (which seems unlikely), or I’ve got a bad connection. Most likely the latter, but I thought I’d leave that for another day.
Minimug, Second Attempt

For my next print, I thought that I’d re-do the minimug, see if it printed better this time.
Reprap, fun for kids of all ages

As you can see from the photos, the bottom started out fairly badly again, with some random strings not sitting on any supported surface. However, once a decent base was provided, the middle layers printed beautifully, absolutely perfect.

Completed Minimug
I think that one of the problems I’m having is that my strand thickness isn’t quite wide enough, or not as wide as SF thinks it is. Thus, when doing the top and bottom layers, the filaments don’t always sit on top of each other, and drop off into space.

One thing that I don’t like about this design is that it prints sideways. I don’t think that’s optimal for an object of this shape. I’ll try and find another minimug that prints vertically. I suspect that it should turn out fairly well.

I can see that my main target for the next few prints will be to try and establish a better base. If I can get the base off to a good start, then the print should be nearly perfect. I think I’ll also bump the strand thickness up from 0.6 to 0.7mm, see if that helps. I’ll also bump up the hot end temperature by 5 degrees, to 235, to help the layers stick a bit better.

Second Print

Last night, I tried doing another print. This time, I went for a 20x20mm calibration cube from SpaceXula’s Thingiverse page.

This was also my first print with the Pyrex base. As you can see in the photos, it’s got a lovely floral motif on it. Luckily, this motif’s on the bottom of the plate, so there’s no interference with the print.

The main problem was starting the print off. I had Z-level issues again, and it took a little while for the filament to start coming out of the hot-end and start sticking to the bed. On the first couple of attempts, the tip was a little bit too low, and it picked up the Kapton tape, so it’s looking like a bit of a mess, already. Fortunately, I was able to get a good start on about the third attempt.

Once the print started well, the rest of the print went perfectly.

This print was vastly more successful than the previous one. The size was less than 0.5mm out from 20mm. and the Z-layers were perfect. The only problems are the slight lean, the cause of which I’m not sure of. While it was on the bed, I didn’t check to see which axis it was, so I’m not sure whether it’s X or Y.

The top was also not quite completely filled in.

Overall, though, it was a fantastic print. Much better than I thought I’d be able to get at this stage.