Tag Archives: hackintosh

Quad-boot Lenovo X220

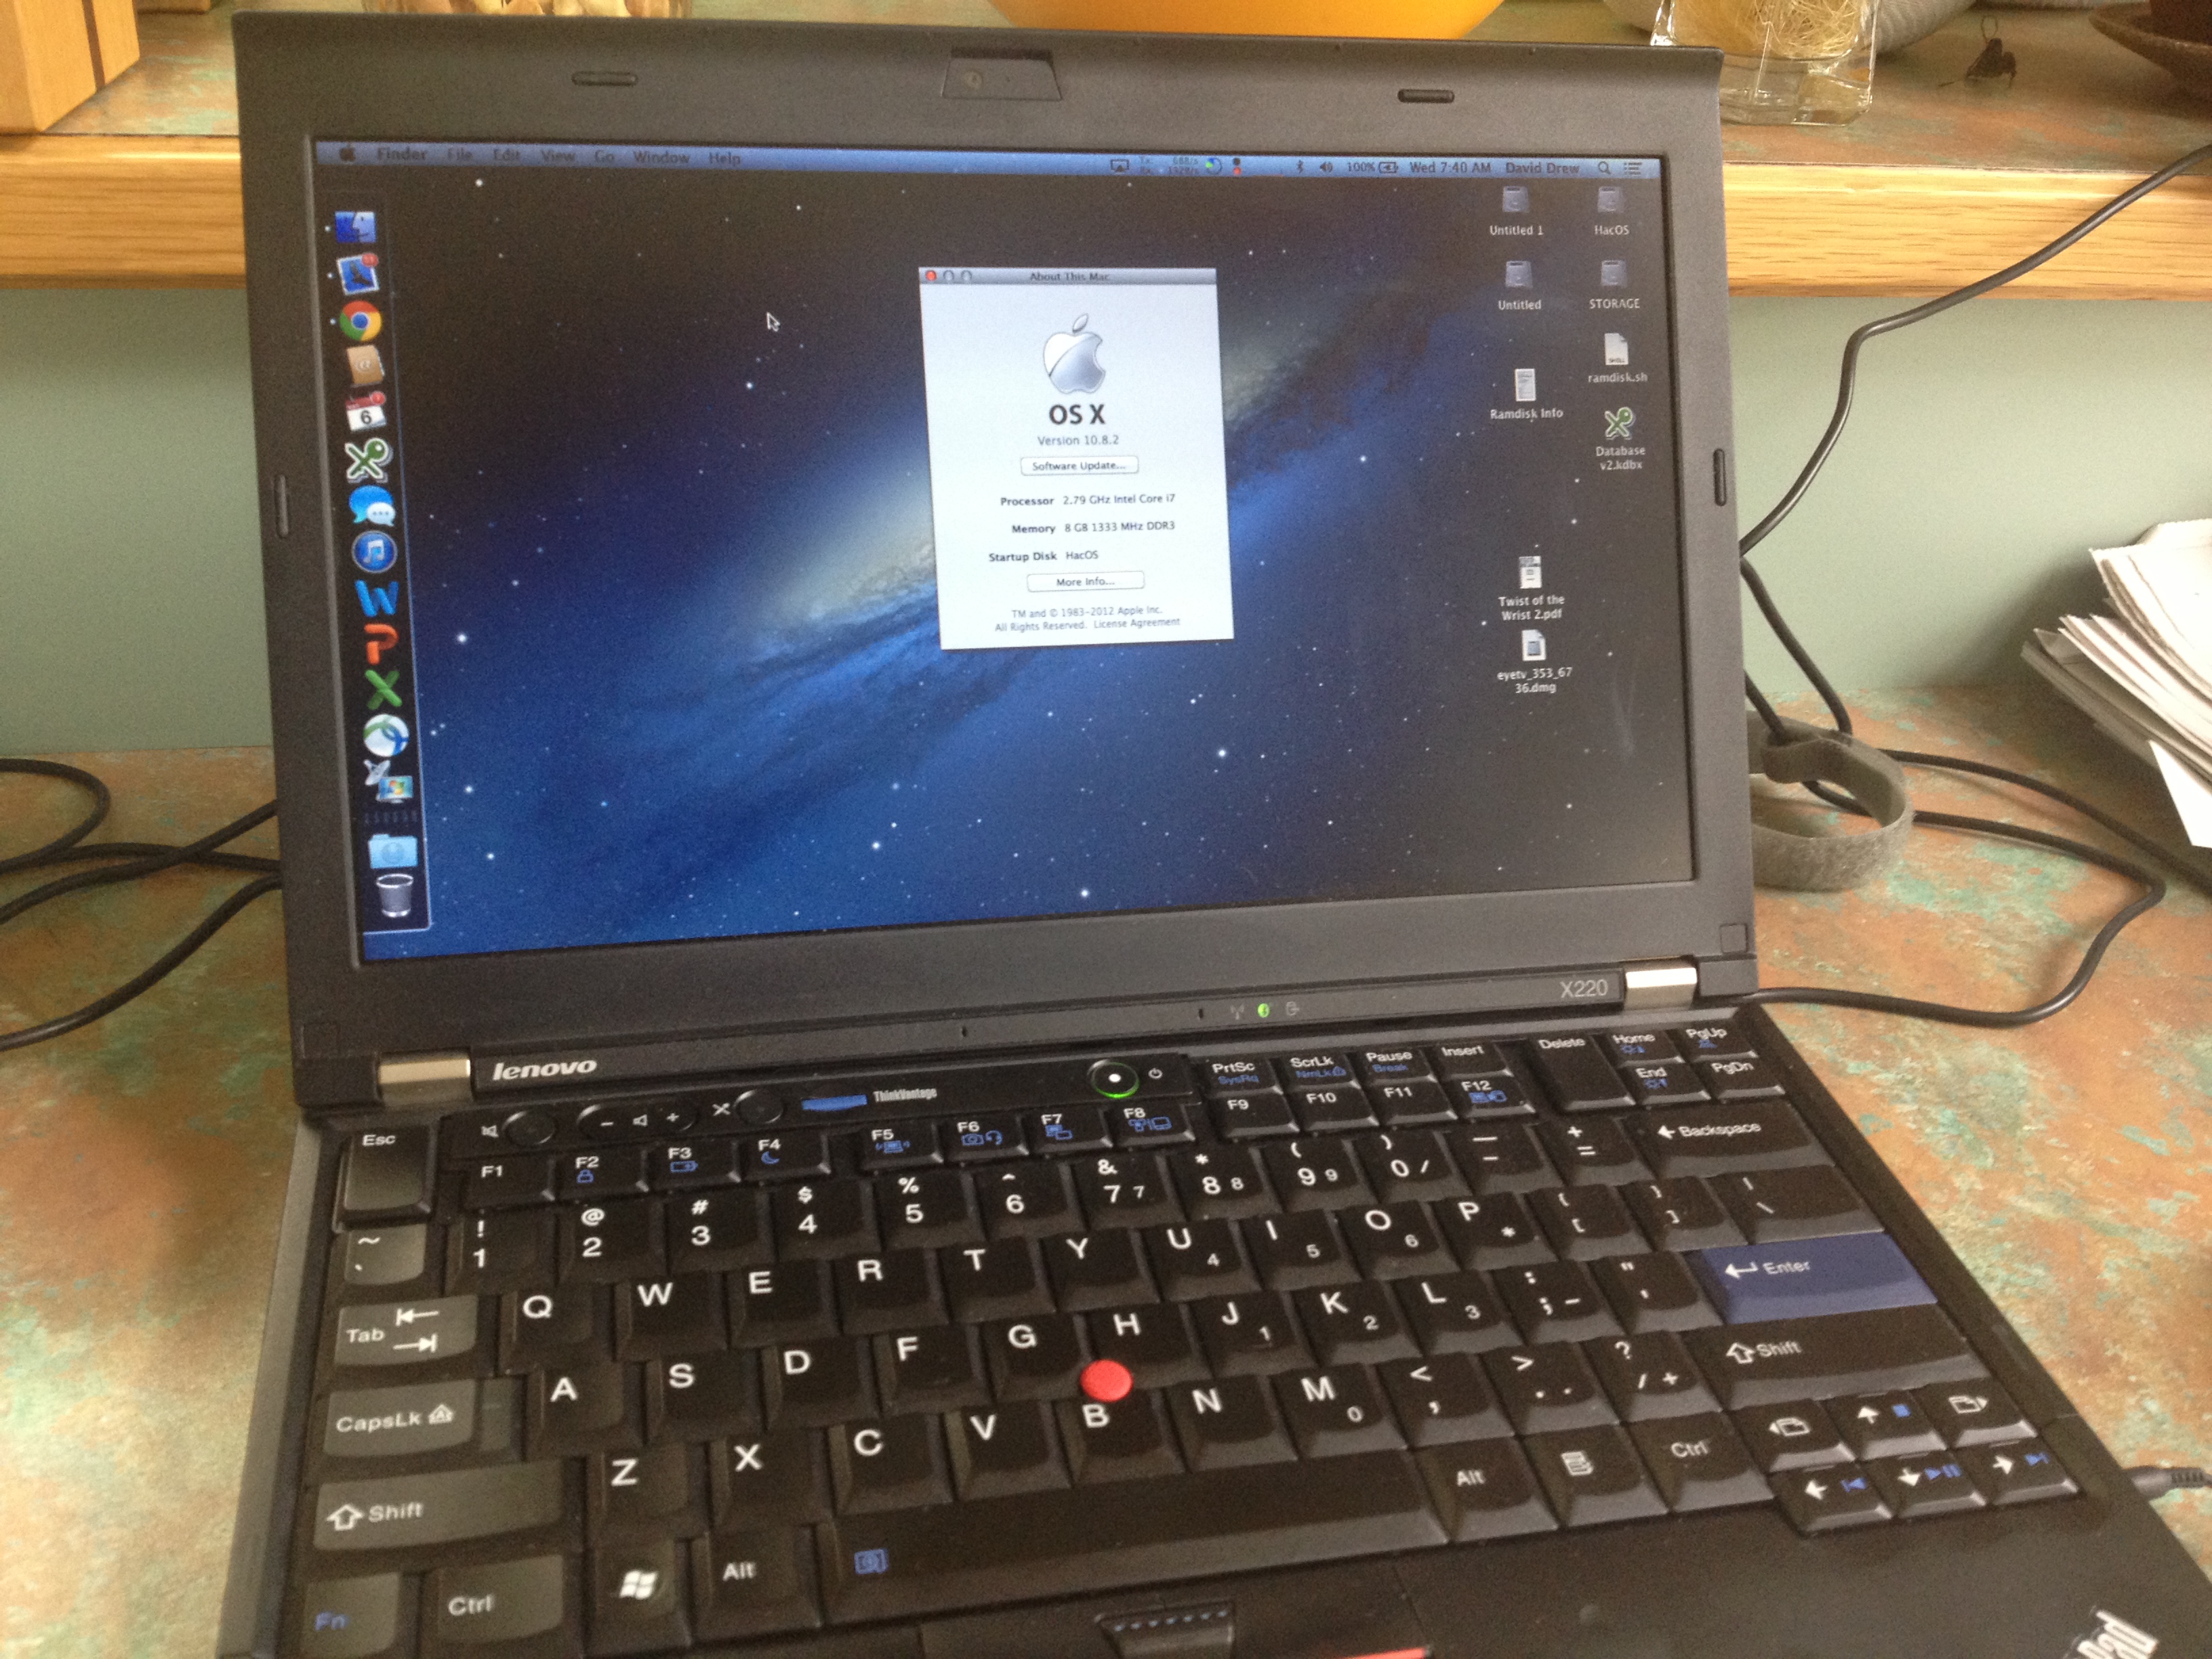
After getting Mac OSX working fine on the Lenovo, I decided to reach higher and go for a real multi-boot setup – five OS’s! I wanted to put on Windows 8, so that I could play Steam games, and I wanted Linux to see how Linux has progressed over the last few years, and BSD just to see if I could.

My first step – upgrading the hard drive. The 320GB Seagate that I was using was fine for two partitions, but wouldn’t really cut it for more. So I bought a Seagate 7200rpm 750 GB Hybrid HD. With that done, I had to partition it up, which was quite a feat:
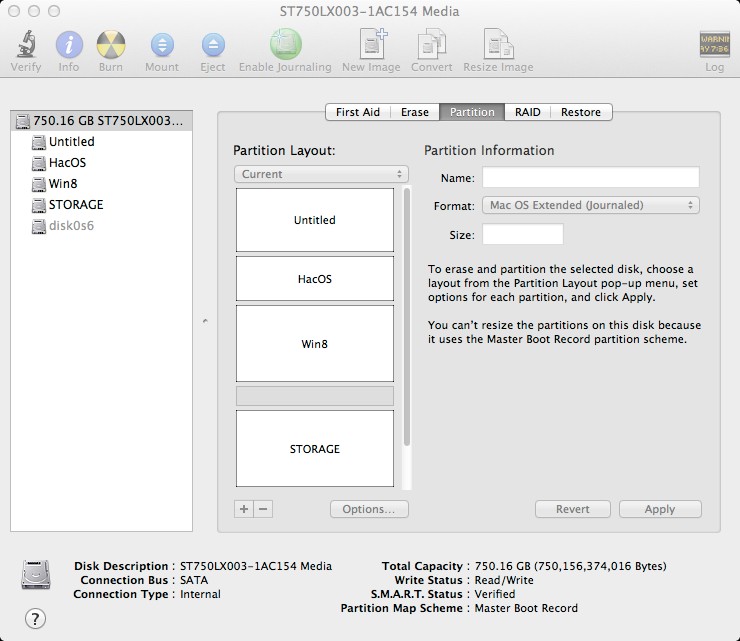
Disk Utility Screenshot

So that’s

  • 170GB for the original Windows Partition
  • 120GB for Mac OS X
  • 200GB for Windows 8 (pretty much only for Steam)
  • 60 GB for Linux
  • 50 GB for BSD and
  • 180 GB for general storage (formatted FAT, so that all the OS’s can share it.)

I used Mac OS’s Disk Manager for the partitioning – it does a good job, and it’s a lot harder to make some fatal mistakes.

Once that was done, it was a pretty straightforward, though time-consuming task to put all the OS’s on it. The Mac OS and Win 7 partitions I could copy straight across from the 320 GB drive. Windows 8 installed without too much hassle, but only once Windows 7 was on. It wouldn’t install into the non-first partition without another boot partition being in place.

For my Linux partition, I chose Ubuntu, which is definitely ‘flavour of the moment’. I’ve installed Linux in the past – Red Hat 3 on my old Pentium 2 300Mhz desktop computer, and Gentoo on a Sony Vaio Picturebook. Compared to those old installs, Ubuntu installed like a dream, I’d say fractionally easier than the Windows 8 install, and getting close to that of OSX.

I wasn’t completely thrilled with Ubuntu. It’s probably the Gnome-based Unity desktop, but I found a few of the OS choices to be quite annoying, particularly the dock on the left. There was also a surprising lack of configuration options in order to change the user experience. Sleep / wake worked just fine without any setting or configuration changes, which impressed me a lot.

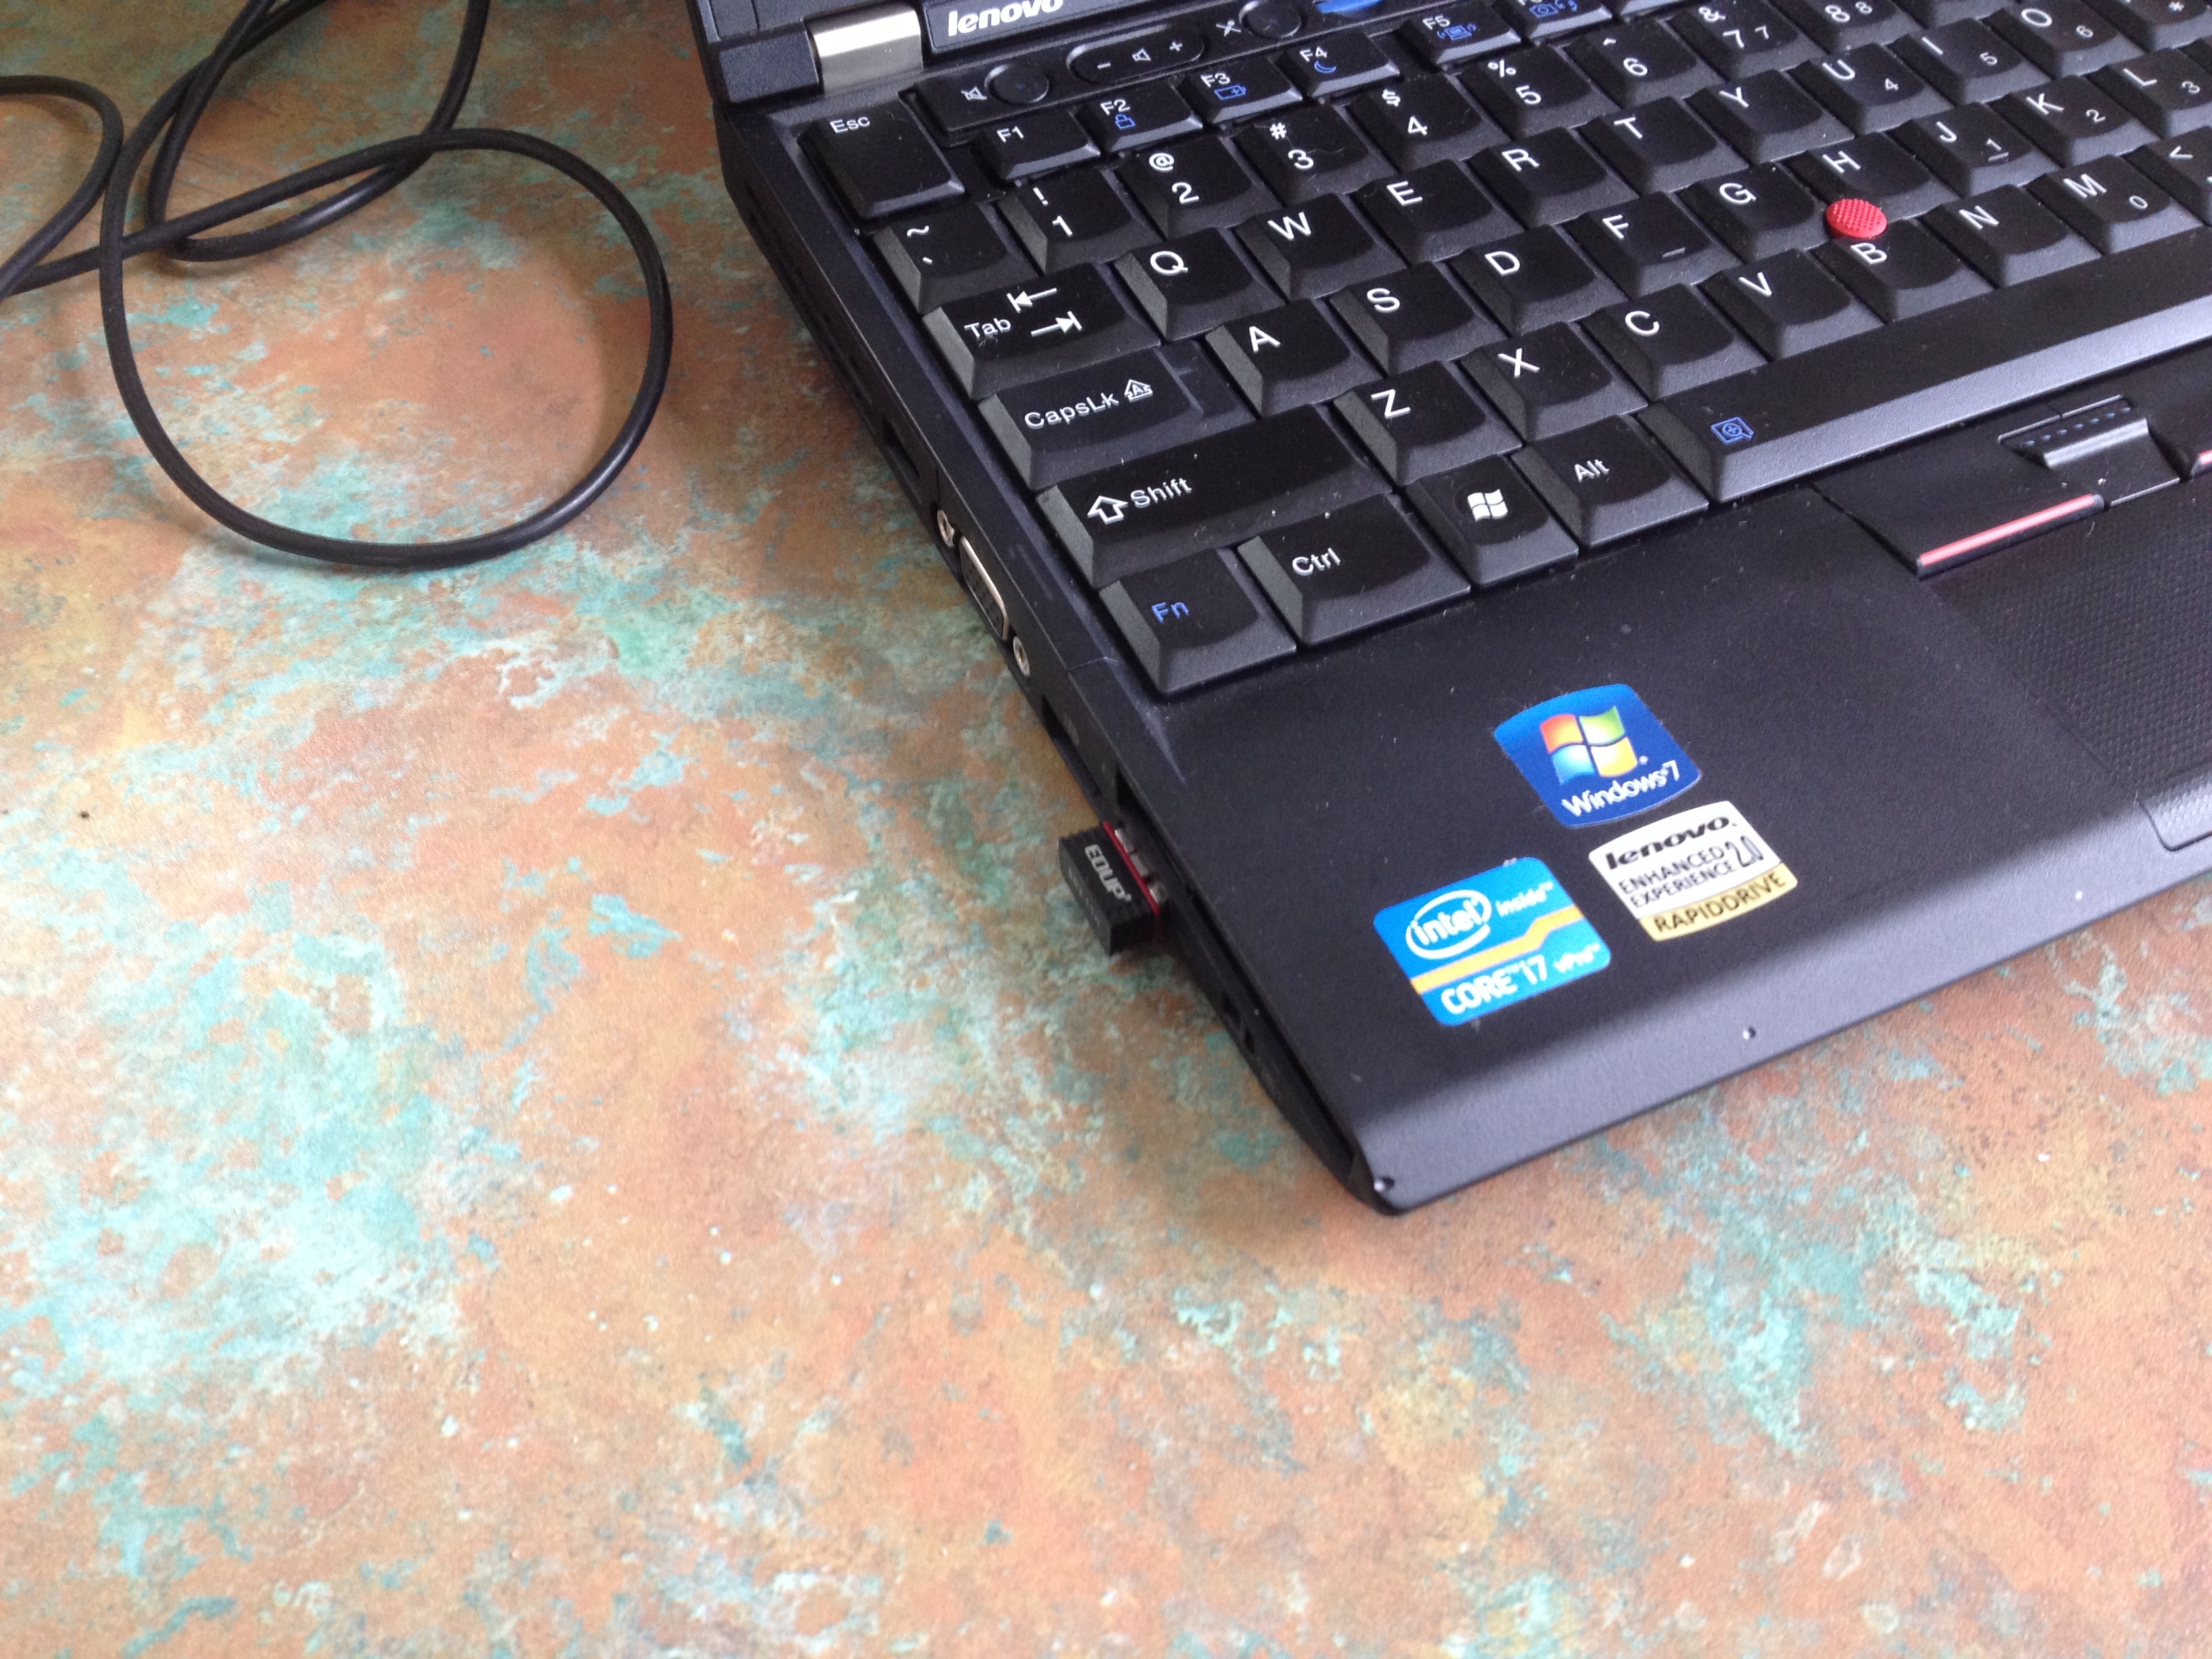
One thing that impressed me though was the wireless connectivity. With my last Linux install – Gentoo on a Picturebook – getting wireless networking running required a lot of hard work, and a lot of editing of configuration files. However, Ubuntu made the experience as easy and fast as Windows or OSX does.

I was trying to go for five OS’s – with BSD being the fifth OS. Unfortunately, I wasn’t able to get it to work. It was very frustrating. The first time I tried to install it, I then discovered that it would only install into a primary partition, not into an extended partition. After much grinding of teeth, I re-partitioned the hard-drive and started from scratch.

I then moved Windows 8 to an extended partition, so that I could install BSD on a primary. Then, for some reason, I just could not create a bootable USB installer with BSD on it, it just wouldn’t work. The X220 doesn’t have a DVD-drive, so I had to go with a plan B – move the hard-drive across to another laptop which has a DVD-drive, then install, and move the HD back across for first boot.

Using this method, I was able to get PC-BSD installed and working, at least if they had full control of the bootloader. Once I tried to install another bootloader, to boot the other OS’s, then BSD would no longer work. I tried both the FreeBSD and the PC-BSD variants, but neither would boot. I eventually gave up. The BSD partition was only meant for ‘fun’ – a bit of icing on the cake, but it was proving to be more hassle than the rest of the OS’s put together.

Only after I had gone through all of that drama with installing on another computer that I realised that I had another install option. I could have used Virtualbox, and booted up the installer in Virtualbox, then installed on one of the other drives.

Getting the boot loader to work is generally a pain with these multi-boot installs, but I was able to get that sorted pretty easily. I used my Windows-to-go bootable USB to boot into Windows, and then I used EasyBCD to configure the boot loader on the computer. So my boot loader now looks like this:

IMG_1858

After I had got it all working, I went back and had another look at Ubuntu. I wasn’t completely happy with the Gnome environment. Fortunately, there’s an officially supported branch of Ubuntu called Kubuntu, which uses the KDE environment. I found this to be much more to my liking, and a lot more configurable. The only downside is that the wireless networking isn’t quite as easy or smooth as Ubuntu’s, and takes a bit longer to re-initialise itself after sleep.

All up, I’m now very happy with my work-issued Lenovo X220. It does absolutely everything I want, and can run any program I want. It’s got a good size and is extremely robust. I think that when it’s time to hand this computer back, I’ll go and pick up a 220 for myself.

Edup USB wifi dongle

As I mentioned in my last post, one of the remaining issues is that the Lenovo X220’s wifi card isn’t recognised by Mac OS X. One of the ways around this is to replace the wifi card with one that’s recognised by OS X, and this is the path most take, as the new card only costs about $15, and works seamlessly with the computer.

I didn’t want to do this though, since the laptop belongs to my employer. I didn’t want to open up the case and break the warranty. Instead, I went to ebay, and bought the smallest USB wifi dongle I could. It was a Edup RTL8192C 802.11n dongle.

IMG_1857

It’s remarkable the miniaturisation that they’ve been able to do for this card. The fact that they could pack the electronics and an aerial into this tiny package is amazing. It’s only 150N networking, and the range isn’t great, but that’s to be expected.

IMG_1860

Naturally, the drivers that came with the dongle don’t include Mac drivers. It took a bit of hunting to find some, but I eventually found them. I’ve included them below in case anyone finds this page when looking for drivers.

EDUP Wifi Card drivers

When installing on Mountain Lion, the installer says that it fails, but it actually works. To initiate the wireless connection, you have to use the ‘Wireless Network Utility’ app which is installed. This app replaces all the built-in wireless connectivity

Wireless Setup Window

An interesting side-effect is that the wireless dongle also works in Windows, so you can connect to two wireless networks simultaneously.

Lenovo x220 Hackintosh

For the last few weekends, I’ve been doing a little project, trying to get Mac OS X running on my work-issued Lenovo x220 laptop. It’s quite a good laptop with an i7 processor, 8 gigs of RAM.

However, I can’t really use it. It’s got a pretty locked-down copy of Windows 7 running on it, and I don’t have admin rights. That’s fine, my workplace pays for this computer, they can set it up how they want. So I decided to experiment, to see how I could use the computer in other ways without affecting the ‘work’ nature of the computer at all.

The first thing I tried was to swap out the hard drive. The Lenovo makes this pretty easy, with just one screw on the outside case. With one of my spare laptop drives in, I then installed Windows 8. Naturally, that worked just fine, but switching out the HD every time I wanted to do something different is a bit cumbersome.

So then I tried a new feature of Windows 8 called Windows To Go. It’s basically a full install of Windows 8 that can run from a USB stick or external hard drive. I then created a WTG external drive. This worked fine, and allowed me to play Steam games with no hassle, and without affecting the work hard drive at all.

After a few weeks, I thought that I’d see what other possibilities might be achievable. I’ve really missed my MacBook Pro since the motherboard died about a year ago now, but I was never quite able to justify to myself to buy a new one. I’ve always been an Apple and Mac fan, so one day, I did a search, to see if it was possible to create a ‘Hackinosh’ with the Lenovo.

I found a few pages that had some methods on how to do it. The main one that was very useful was from the ThinkPad Forums.

The main issues I had to work through were:

  • Creating a boot USB stick.
  • Installing Mac OS X
  • Copying across the Windows 7 partition and fixing the bootloader.

Creating the USB boot disk gave me a bit of grief at first. I tried creating one using various instructions that I found on various pages, that mostly involved copying files across from the Mountain Lion installer DMG. This method copied the files across, but didn’t leave me with a drive that the Lenovo would see as bootable. The next method I tried was from using the Lion Disk Maker tool. However, while this tool works really well with genuine macs, it doesn’t work so well for Hackintoshes.

The method which ended up working for me was by using TonyMac’s UniBeast tool. This worked well, and got me to the installer window. Then  I got stuck at the next step. The installer only works for GPT-formatted hard drive’s and the Lenovo (since it uses Windows 7) only allows MBR. (Windows 8 now works with GPT). Fortunately, the main Thinkpad Forum page came to the rescue again, pointing to this page on the OSx86.net site.

On that page are some hacked installers, which allow you to install onto MBR partitions. Once these were copied across onto the USB installer, it then allowed me to install, and get to first boot.

At first boot, things got a little tricky. At this point, you need to install various extensions to get the computer to recognise all the hardware, change a few configuration files, set up the boot manager and patch the DSDT, so that control of the processor is correct. At this point, I got a lot of kernel panics. Much fun.

The forum posts lists two methods for first-boot setup, one by ‘Fraidos125’, the other by ‘Superkhung’. Some people record success using one method, some people record success using the other. Unfortunately, neither worked for me. I kept reading through the thread, trying to figure out why I wasn’t having any success. Then, toward the end of the thread, I saw that someone suggested using both methods in conjunction, one after the other. I gave this a try and had success!

Here’s a photo of Mac OS running on the Lenovo.

IMG_1863

There are only three residual issues with the ‘Hack OS X’ install – the wifi doesn’t work, the bluetooth keyboard installer pops up every time you boot and 3rd USB port doesn’t work.

Wifi not working is a recognised issue with the 220’s. Mac OS just doesn’t have a driver for this wifi card. Most people just buy a new wifi card and install it into their laptop, since a new card only costs about $15. I don’t want to do this with a work-issued laptop though, so I’ll find a USB alternative.

The second issue – the bluetooth installer is slightly annoying. The keyboard and trackpad is PS2, and work fine with the right extension. However, on bootup, the computer doesn’t quite seem to recognise that a keyboard is connected, and starts up the bluetooth keyboard installer every time. It’s easy to quit out of it, but it’d be better if it didn’t show up at all.

The third problem is strange. The x220 has three USB ports, two USB2, and one USB3 port. The USB3 port doesn’t work at all. I suspect that there’s something wrong with my configuration files. Most x220’s only have 2 USB ports, with the i7 computers having three. I think that it’s one of the files that I downloaded from the Thinkpad forums that’s causing the issue. It hasn’t bugged me enough yet that I want to fix it, but I’ll probably add that to my list for later.

MacOS Info

 Once I had Mac OS installed, I decided to try and make the computer dual-boot, so I wouldn’t have to swap out the hard-disk everytime I went to work. Doing this was almost as tricky as the MacOS installation. The main problem is that I don’t have administrator rights on the work partition (Windows 7), so I had to work completely ‘hands off’ from it.

One of the things which helped this was the WTG boot drive, and this came in very handy for the dual-boot set up. It enabled me to boot up the 220 without having to touch the internal drive, allowing me to manipulate it as I needed.

The first step was to copy an image of the Win 7 partition from one HD to the other. I tried a couple of methods, with no success, but then I found a method that worked. For this I used a tool called DriveImage XML. It works like the image copy-and-move capabilities of Mac OS’s Disk Manager.  It allowed me to copy across the Windows 7 partition from one drive to another, with no changes.

Once the partition was copied across, I then re-installed MacOS into the other partition. Then I just had to get a bootloader working so that I could select which partition to start. The Hackintosh installer uses a boot-loader called Chameleon, but I couldn’t get this to work with the Win 7 partition. I tried creating a Win 7 rescue USB and fixing the Win 7 partition, but that didn’t work either.

The easy way to get both to work is to use a program called EasyBCD on Windows. It works very well, but I don’t have admin rights on the Win 7 partition. Fortunately, the WTG drive came to the rescue again. Running EasyBCD on it, I was able to fix the bootloader on the laptop’s drive. It boots into the Windows Boot Loader (the finest of text-based user interfaces), which then enables me to select which partition I want to boot from. If I select MacOS, it then goes to the Chameleon boot loader, which allows me to select boot-options for the MacOS partition.

Now both partitions are working great. I’ve got my pristine work partition, and a Mac OS partition for fun. It makes me want to install a few other OS’s, just to see if I can. Maybe a Quin-boot Work / MacOS / Win 8 / BSD / Linux setup.

Project for another weekend.