This weekend, I’ve just been having fun printing out things.
 First up, I printed out a few of these snowflakes. This piece gave me a lot of grief during the week, trying to figure out the right settings to print it. It’s a real testing piece. Lots of sharp corners will test the limits of your printbed for adhesion on the first layer, and it’s an absolute nightmare for retraction. If your retraction isn’t perfect, it turns ugly, extremely quickly.
At one time during the week, I had my retraction spot-on. However, I hit the perimeter-speed bug in SFact, which prints out the perimeter of the first layer at 60mm/s. That was way too quick for this complex piece, so I had to upgrade SFact, which then means all the retraction settings were obsolete, and I had to start back from scratch. I got them sorted out on Saturday morning, and I’ve been having fun just printing ever since.
 I’ll be printing out four of these snowflakes. My daughters are going to decorate them, and them give them to their grandmothers. Should be a nice Christmas present from them. Here’s a video of the snowflake in print. Have a look at all the retractions / relocations during this one layer!
Next up I printed up a screwable jewellery box. I thought that this would be an excellent piece to demonstrate just how well the printer is working now.
 The box turned out beautifully, and screws together perfectly.

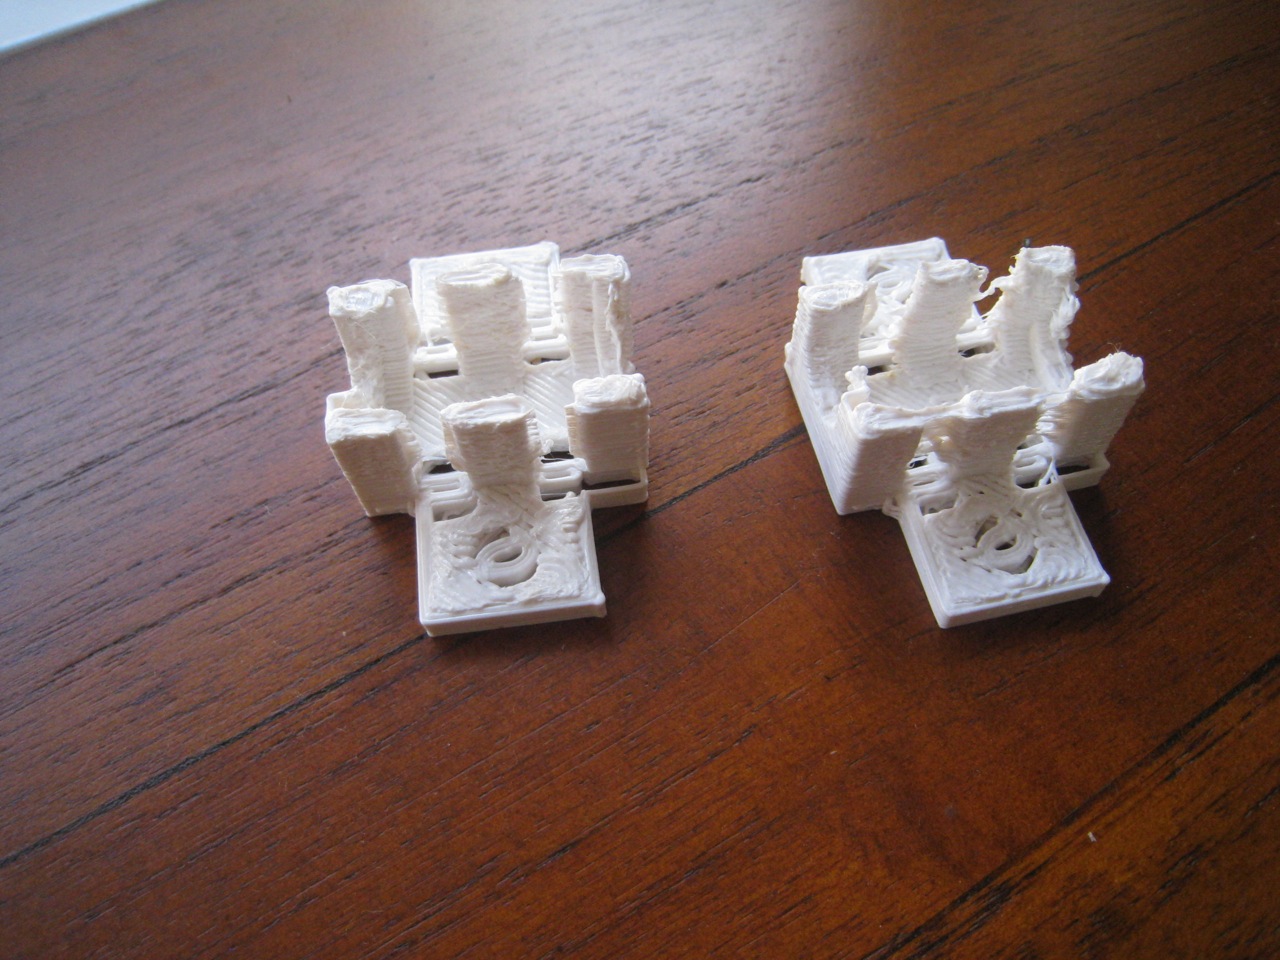
 Just for comparison, here’s how far I’ve come in two months:
 Next up, I printed out a pair of pliers. Just because!
 I also lost a couple of prints during the week. For some reason the extruder was skipping steps. I tightened everything up on the extruder, re-mounted the motor and motor gear, but still had issues. Turned out one of the extruder motor wires was loose. It was being pulled too tight by the x-carriage and losing connection. So I rotated the motor to give the cables more slack, and re-connected the wires. All good!


