Since my last printings have worked fairly well, I thought that I’d try and get the base working perfectly as my next goal. So, for today’s prints, I thought I’d do some experiments with the printbed and base. I tried to use the Pyrex base both with and without the Kapton tape, and at different temperatures for both the filament and heatbed.
Using the Pyrex base without Kapton was a total failure. The filament did not stick at all, under any conditions. With the Kapton on, I tried using the heatbed at temperatures from 110 to 130, and the extrusion from 220 to 235 degrees Celsius.
I also experimented a bit with the height of the tip above the base, varying it from about 0.1 to 0.4mm. I had a few troubles with this step, as the printer wouldn’t always pick up the activation of the microswitch, and keep driving the tip into the base. Having a closer look, it seemed like the switch was occasionally getting caught up on the Z-mount, without actually activating.
I tried for a little while moving the microswitch to the top of the printer, but there’s something wrong with the Sprinter firmware. Once the microswitch was in place, with the appropriate firmware settings, the Z-axis would only travel upwards, not downwards at all. After a few attempts at this, I gave up, and returned the microswitch to the bottom. This time, however, I moved it to the right-hand-side of the machine, where it seems to get a cleaner activation, and doesn’t get caught on the Z-mounts, like it was doing on the left.
The best results obtained was when I used the Kapton tape, had the tip 0.4mm from the bed (measured with feeler gauge), and had the tip at 230 degrees. For the base, I start out with it set on 130 degrees (so that the surface was measuring 120 +), then turn it down to 110 degrees as soon as the print started.There’s not many pictures to show here, as the prints would generally fail almost instantly, or I’d stop them after the first couple of layers.
Once I had the base settings fairly well sorted, I thought then that I’d print a different minimug. This one is slightly larger, and prints vertically, instead of horizontally. I thought that with the new base, and the vertical printing it’d turn out better than the previous minimug.

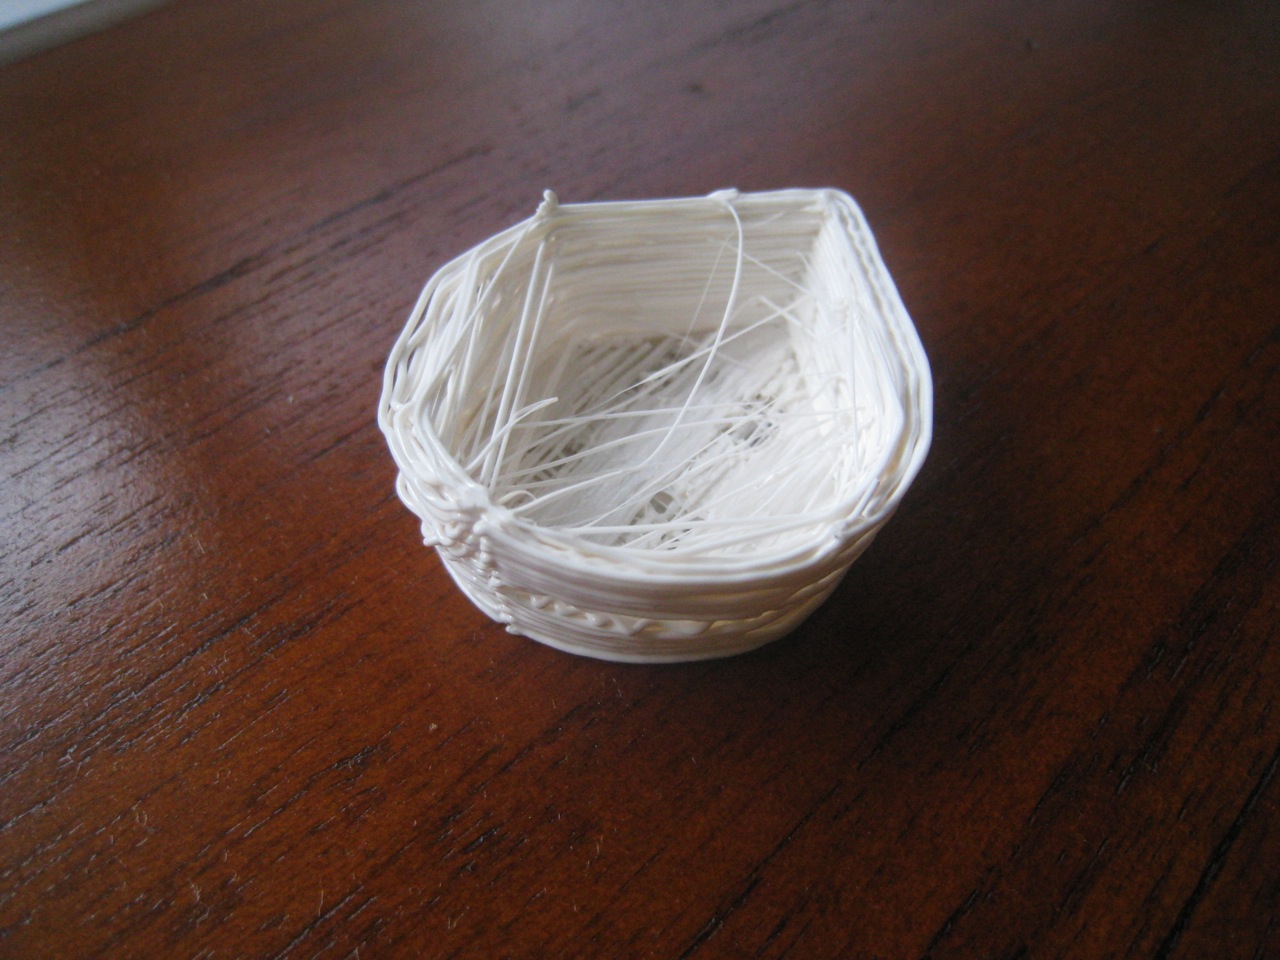
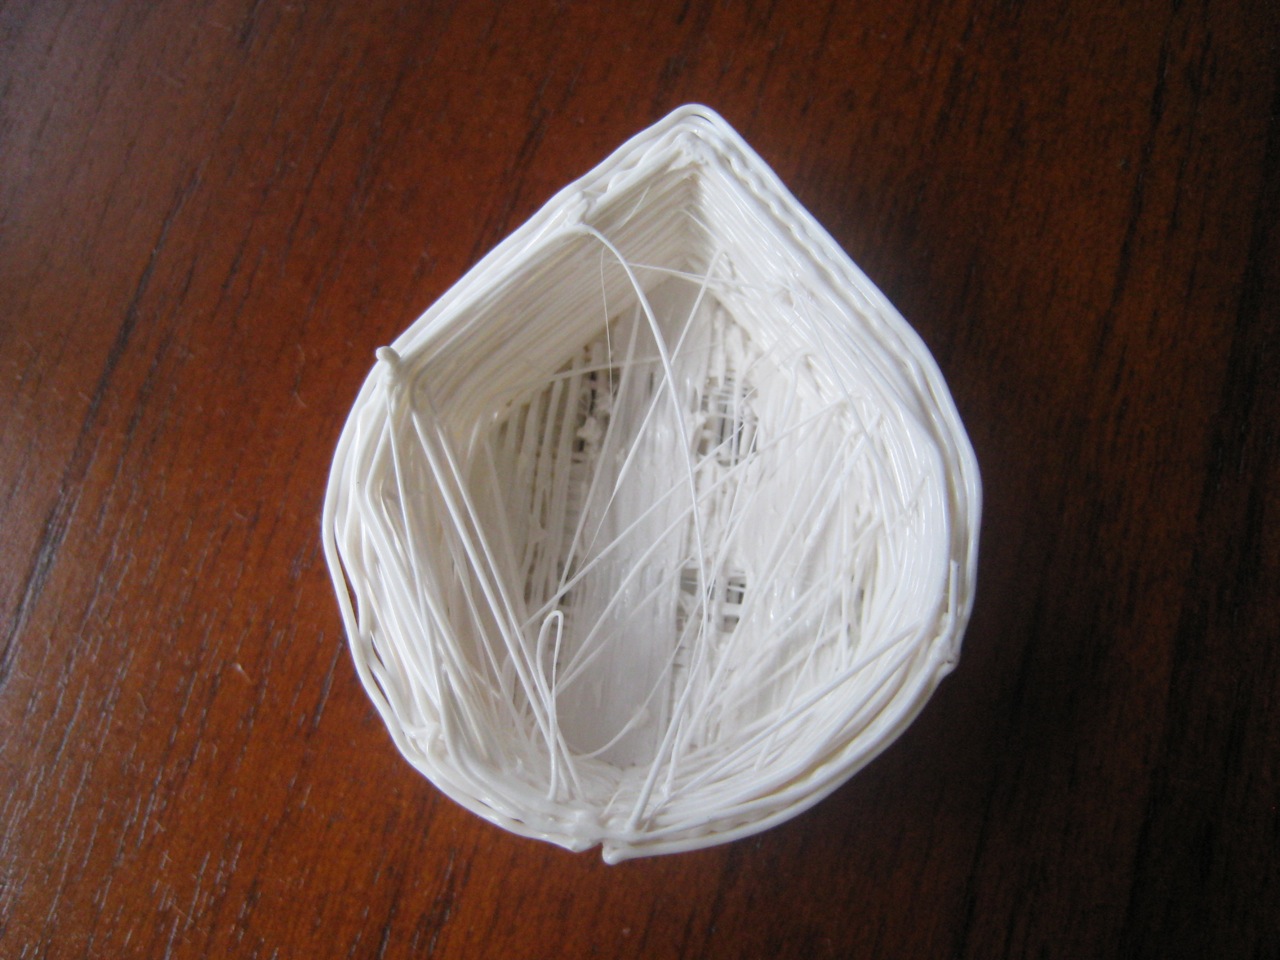
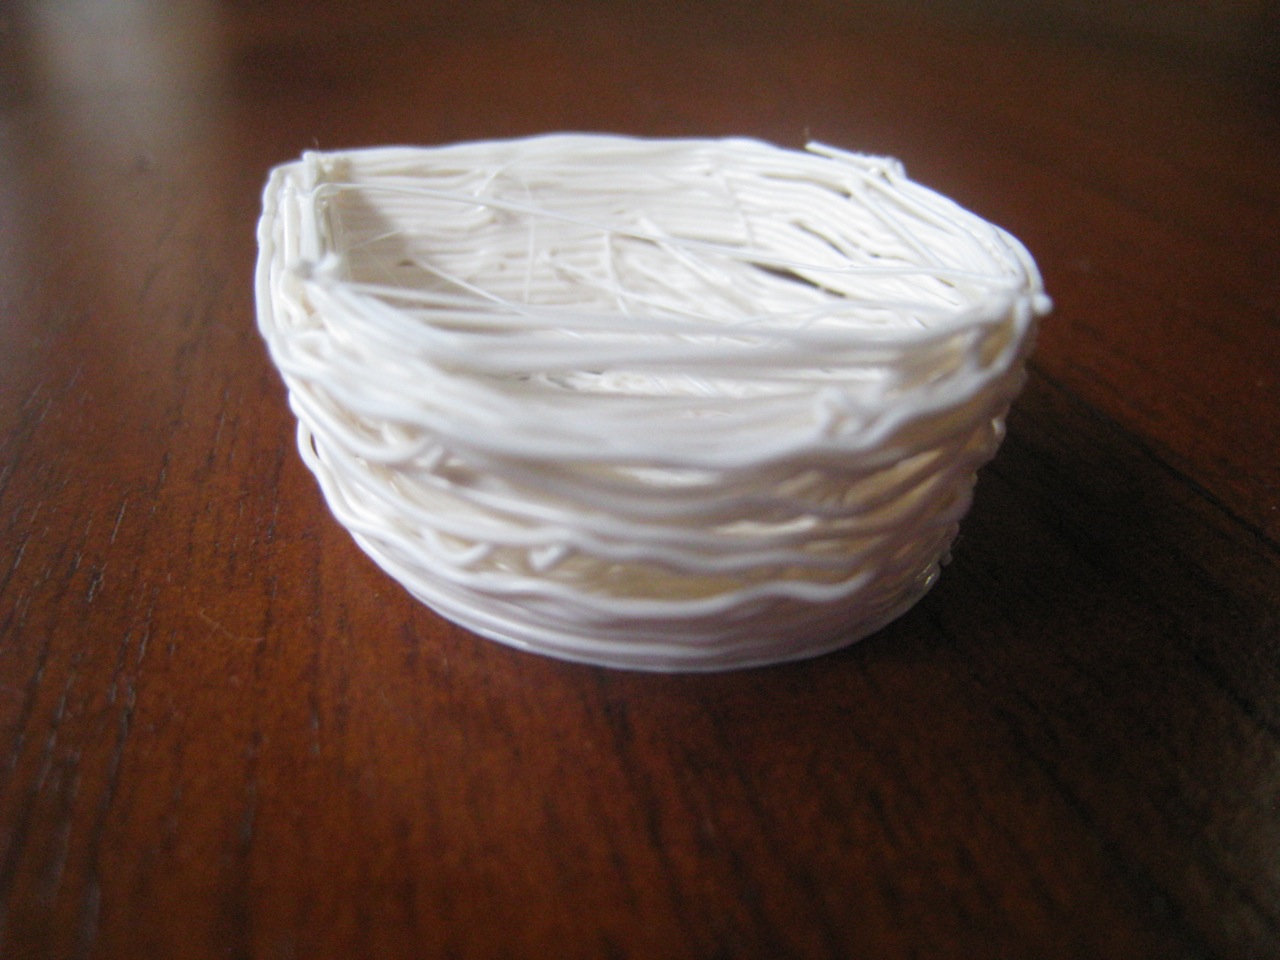
Not the case, unfortunately, as you can see from the above photos. Watching it closely, it looked like the retraction wasn’t working properly. It’d retract the filament when doing a move, then take a fair while (at least 2-3cm of travel before the filament would start coming out again.The base, however, turned out quite nicely.
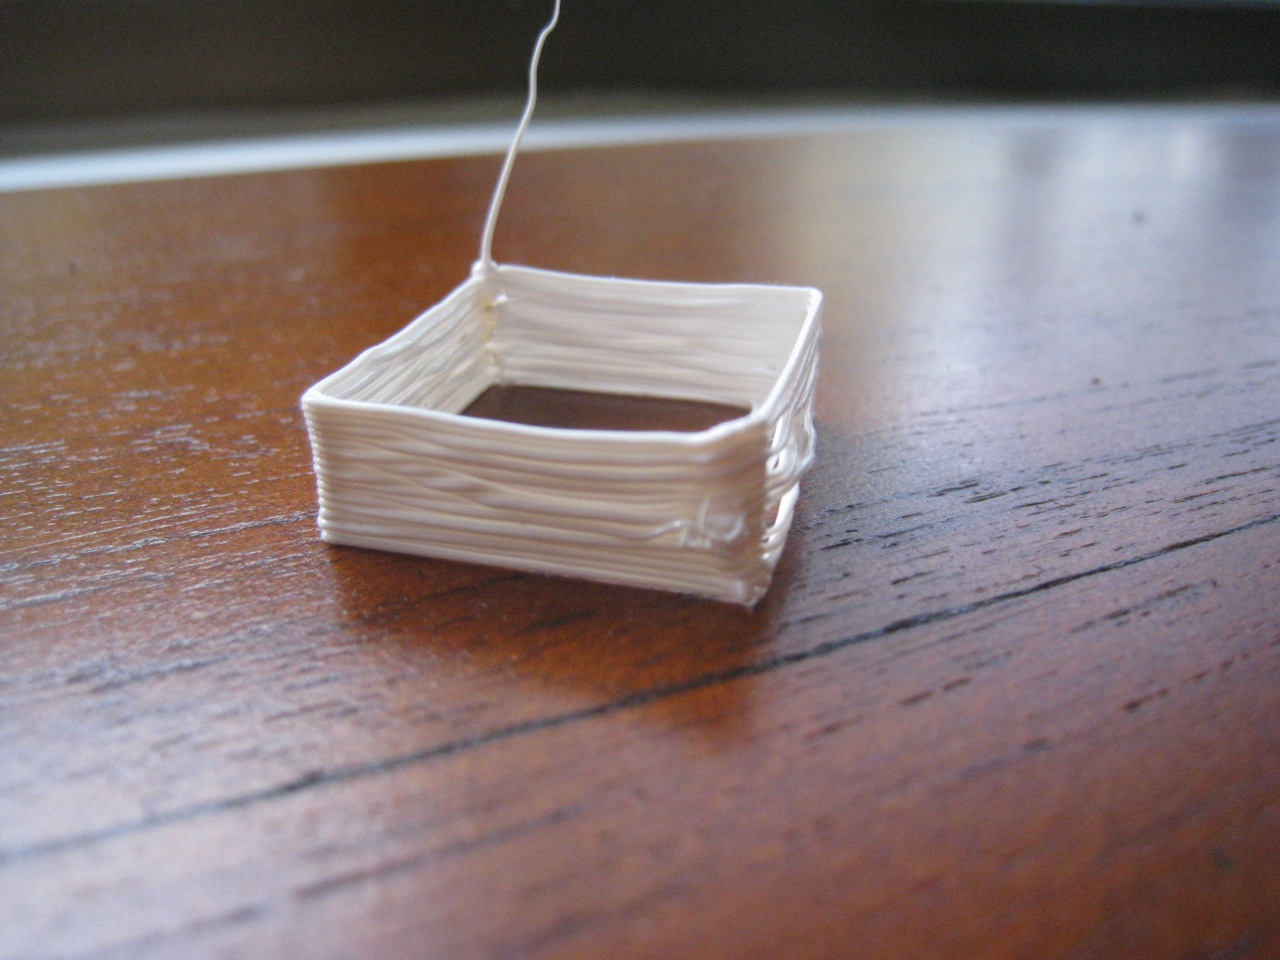
To fix this problem, I would have to go into SFact, and change the retraction distance. Since I didn’t know what would work, I set the value to zero, so I could work upwards from there. Since I was also fiddling with the SF settings, I thought that I’d speed up the printer to the default speed. I’d been operating with it on 1/3rd speed, so I thought that I’d fix that up, see how it went. I thought I’d also try out a different object, the thin-walled calibration object.

Just when I was ready to try out my new extrusion and retraction settings, I had a problem with the thermistor. The electronics was no longer reading a value from it. I’ve either blown a thermistor (which seems unlikely), or I’ve got a bad connection. Most likely the latter, but I thought I’d leave that for another day.