Tag Archives: hot end

Second Meltdown

I’ve been having a bit of trouble with printing recently. The filament seems to have trouble feeding through the extruder, sometimes skipping a layer until I noticed it, and gave it a bit of a push through. The hobbed bolt seems to be chewing up the filament a bit, though that’s to be expected if it gets stuck.

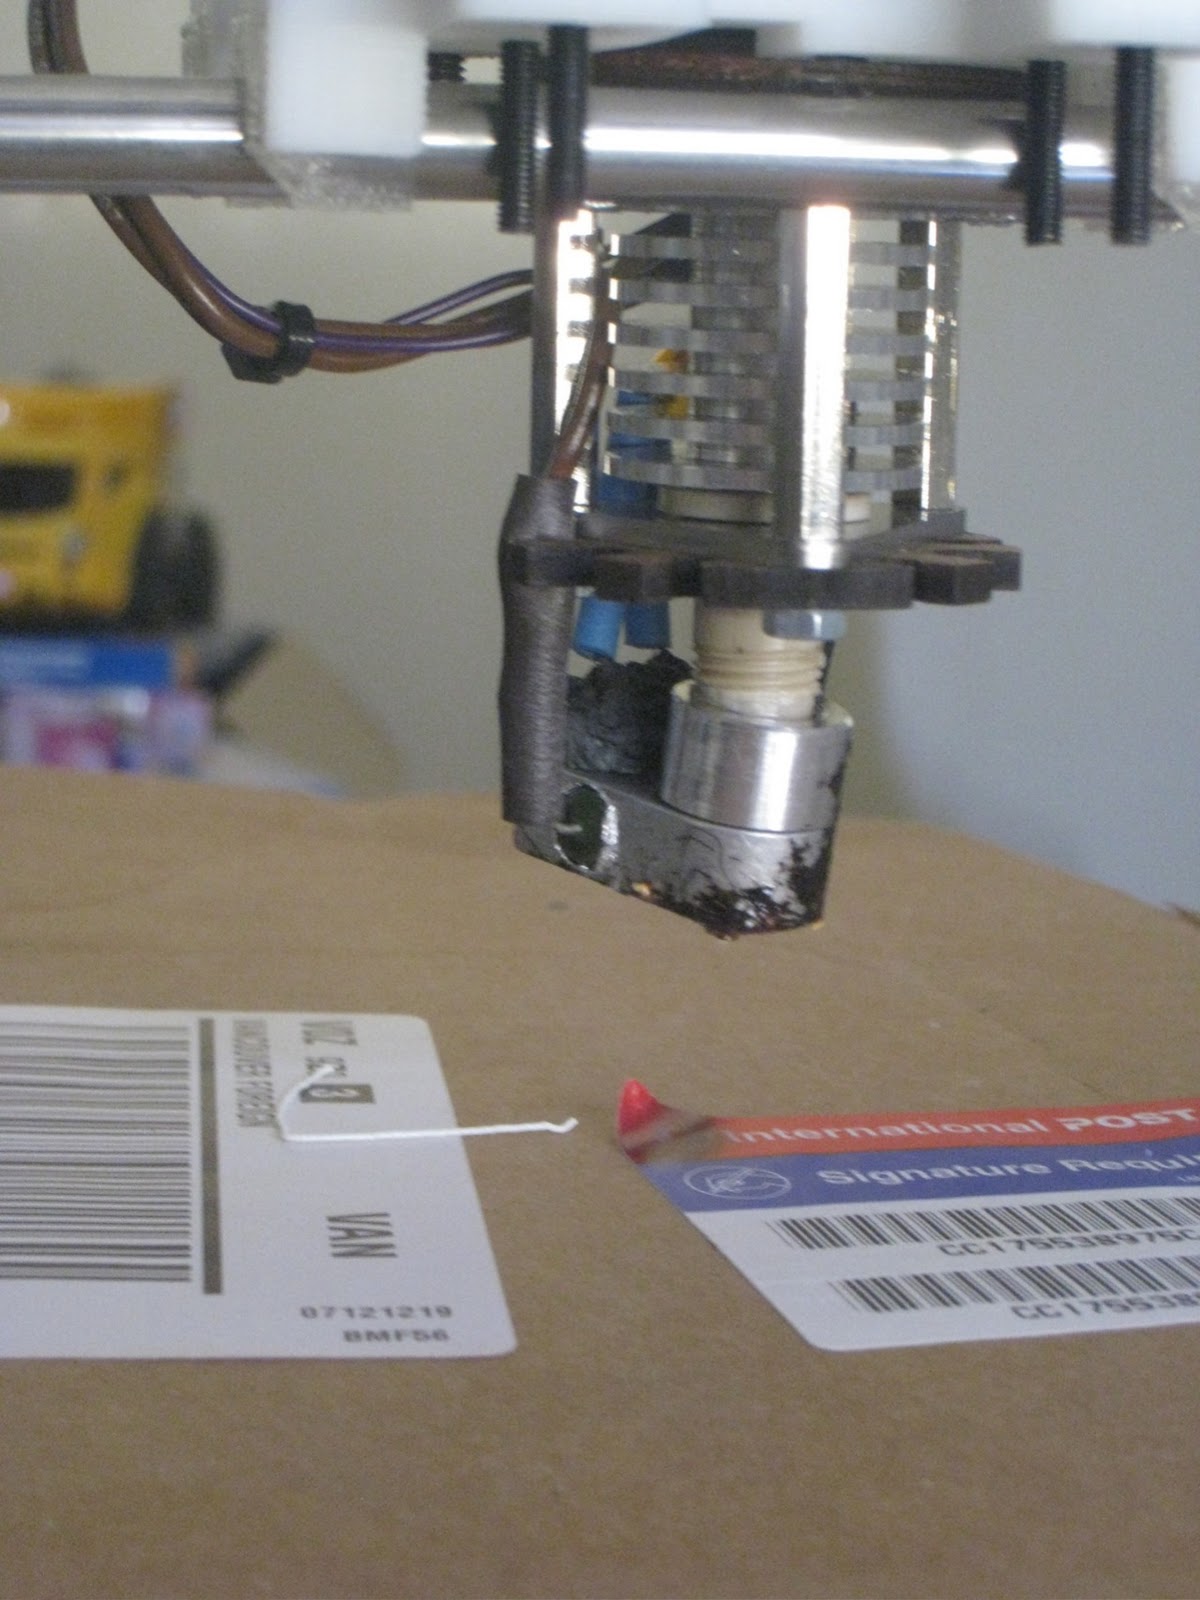
I tried various ways of fixing it, including increasing the printing temperature by a few degrees. The methods only seemed to have some slight success. Then, while I was printing out another foot for my ‘Aluminium Mendel’, the hot-end experienced a meltdown. I first noticed that the tip was dragging in the plastic, then I was that the angle of the hot-end was completely wrong. This is what it looked like:

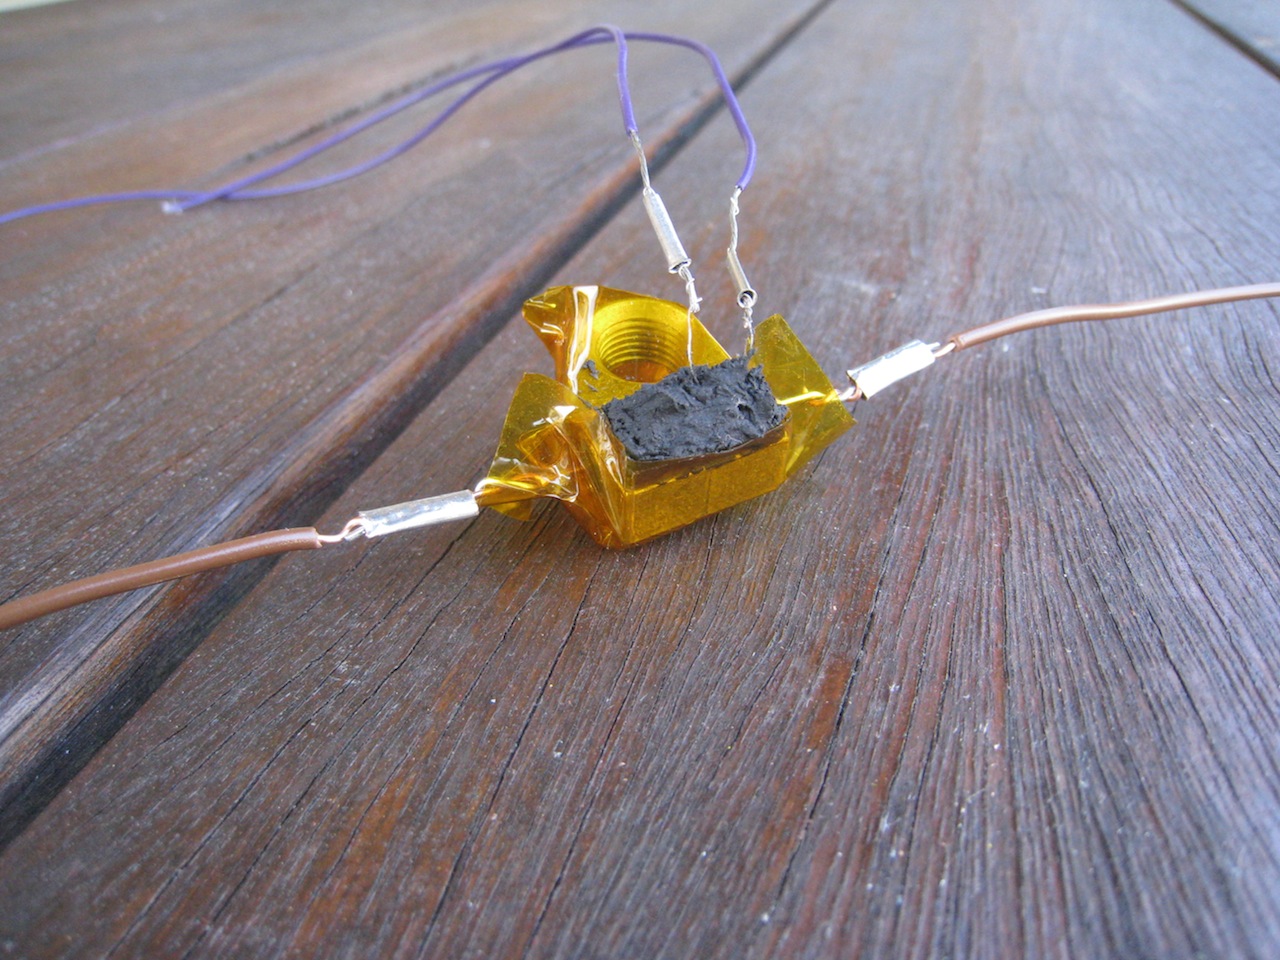
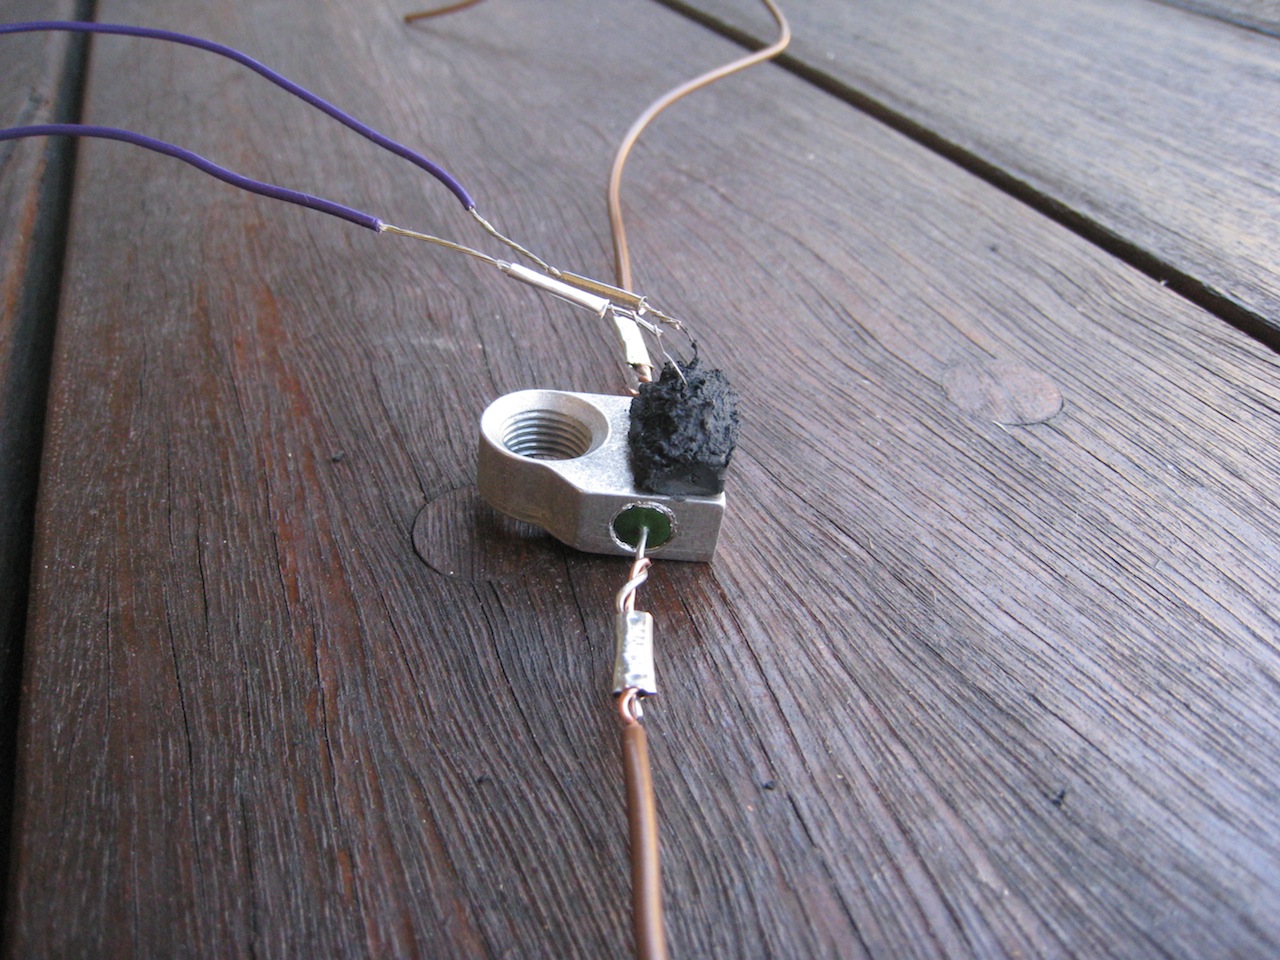
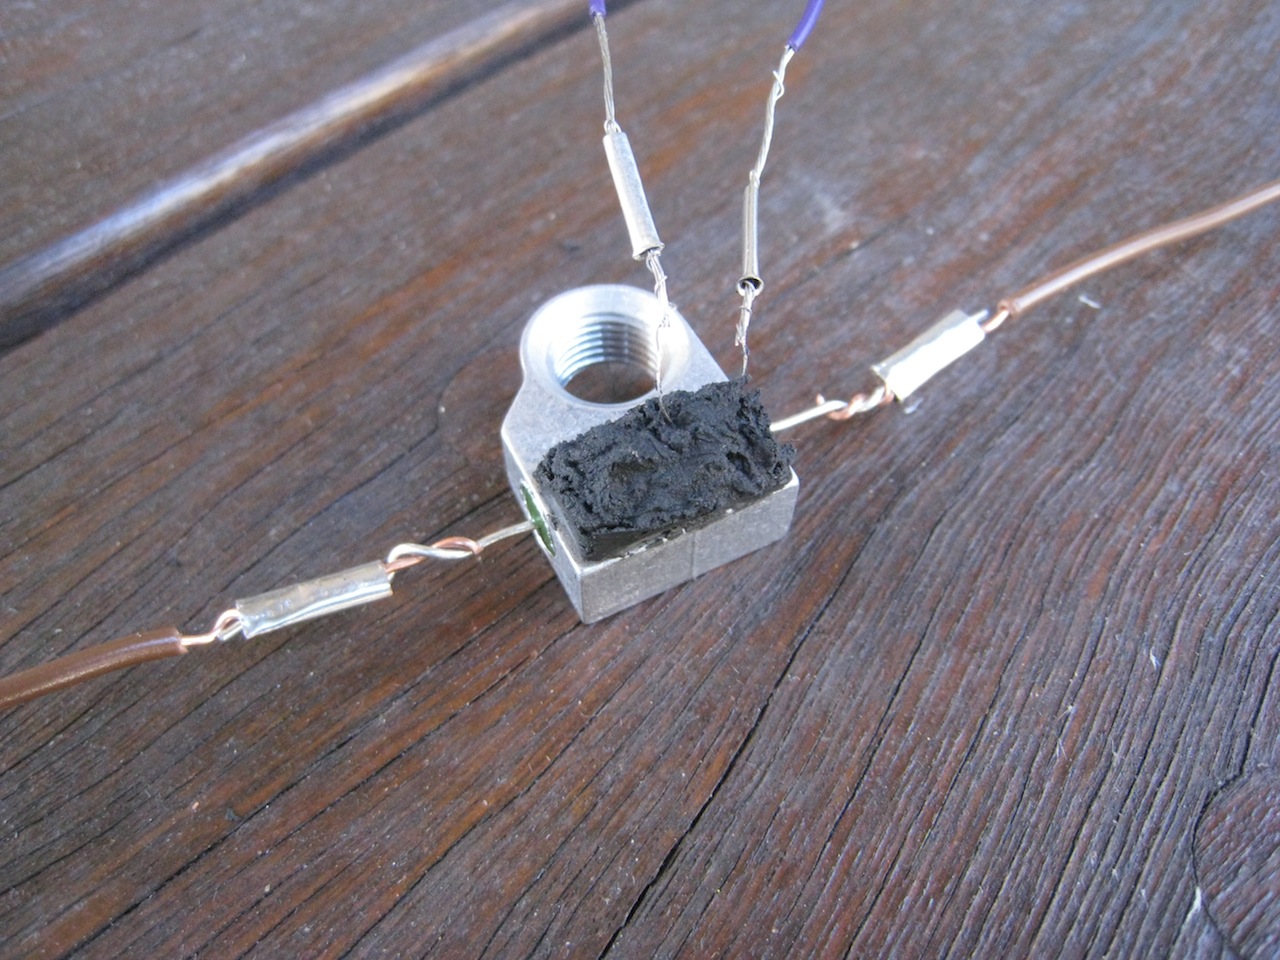
I killed the power, then pulled out the remaining filament before it could cool down, to try and minimise the amount of plastic stuck in the end. Having a look, the PEEK block was obviously gone. The only question was how many other parts were trashed with it. When my Arcol hot-end melted down, it took about six parts out with it at the same time. Once the hot-end cooled down, I disassembled it, to try and see how many parts were trashed. Fortunately, it turned out to be only two parts: The PEEK block and the nozzle.

I had a quick look at lulzbot.com, and fortunately, they have spare parts for the Budasnozzle. I was able to order the parts, and a few extra bits for my new printer. I also bought a new hot-end from one of the Aussie Forum members.

While I was waiting for the new hot-end, and the parts for my old hot-end to arrive, I thought I’d get the printer running again using a spare hot end which I’d previously bought from hot-ends.com after my first meltdown., so I set about trying to fit the new hot-end to the printer.

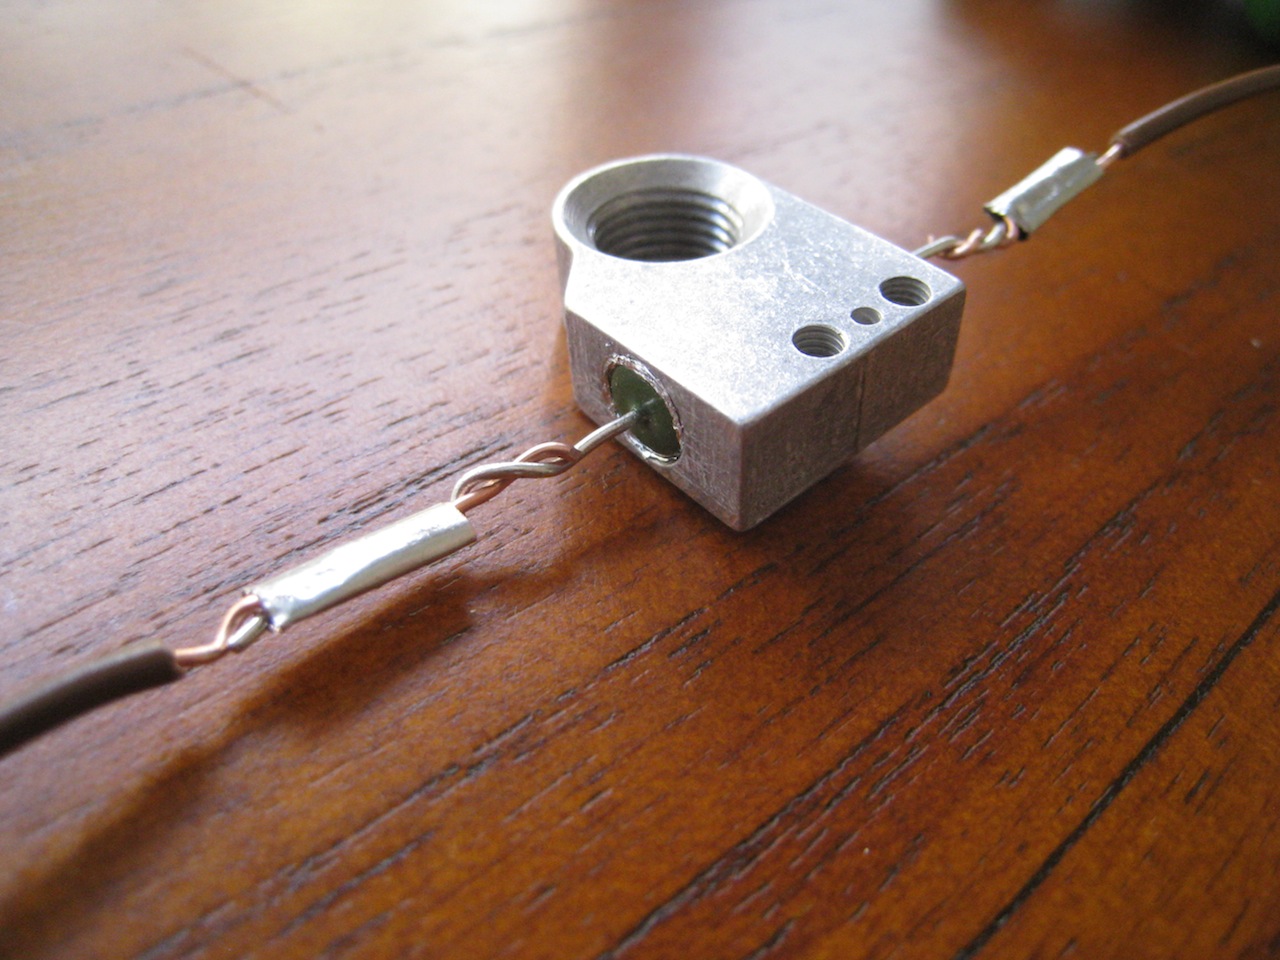
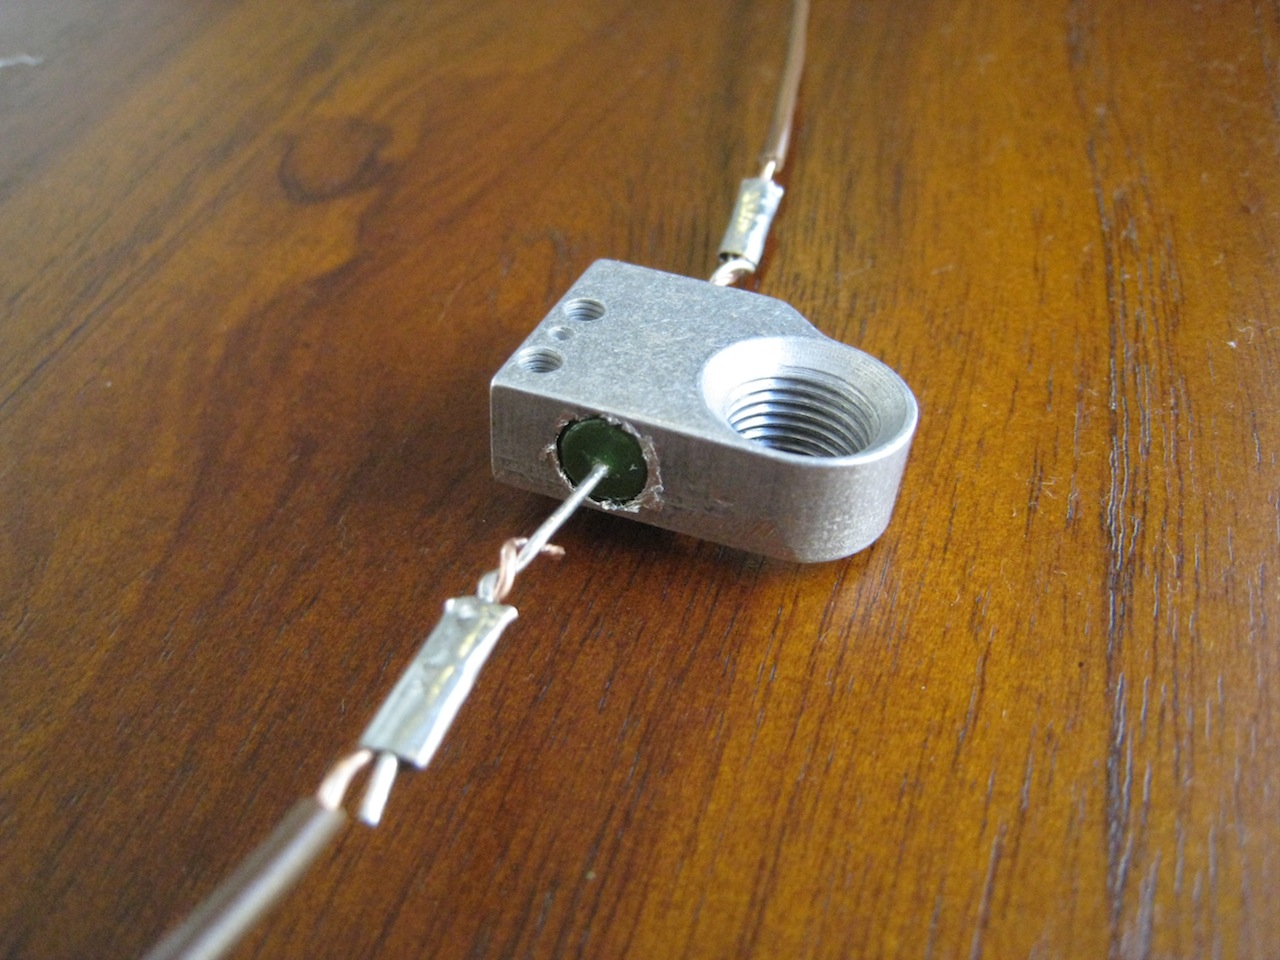
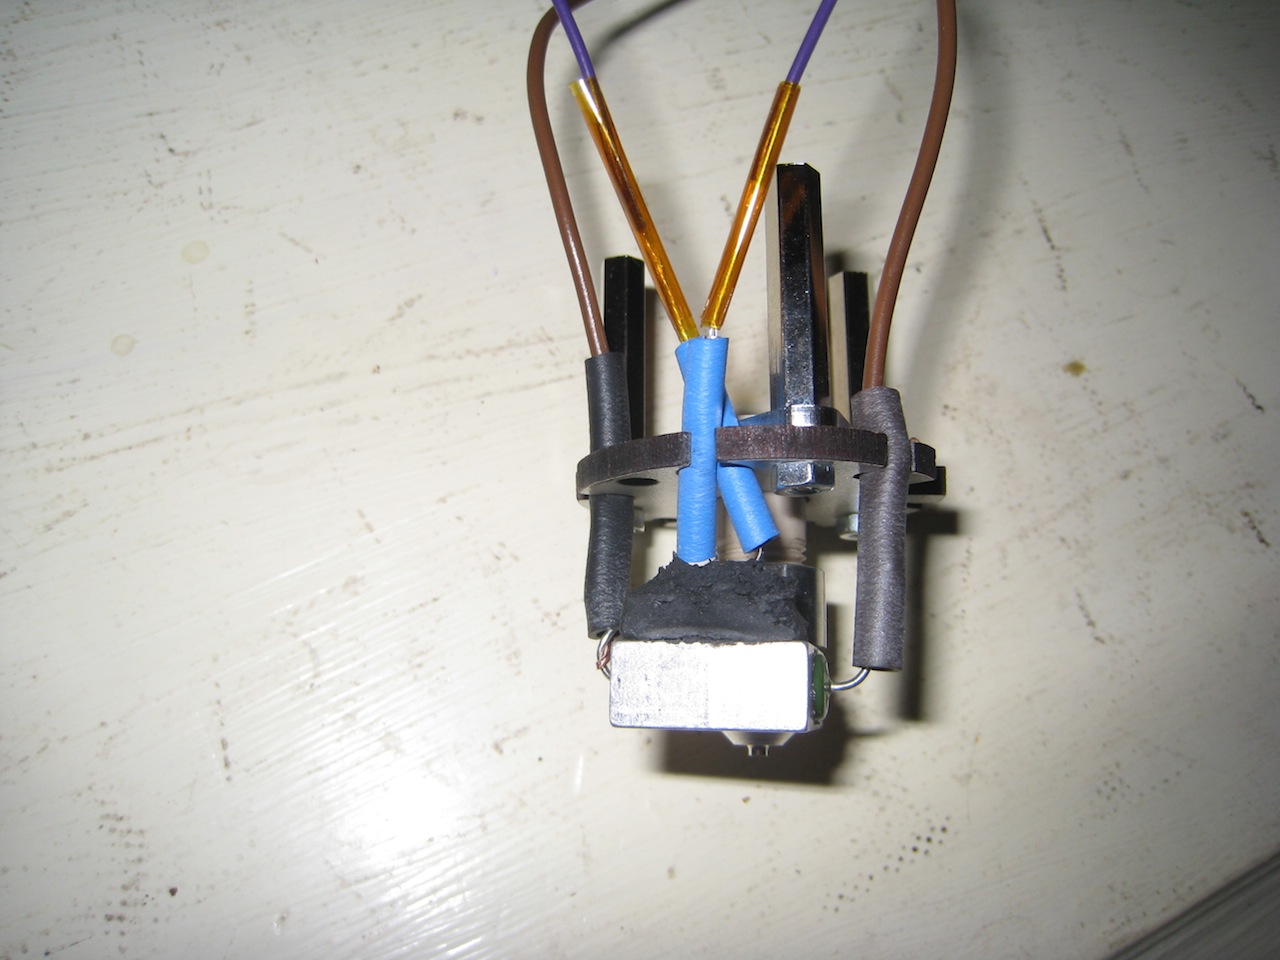
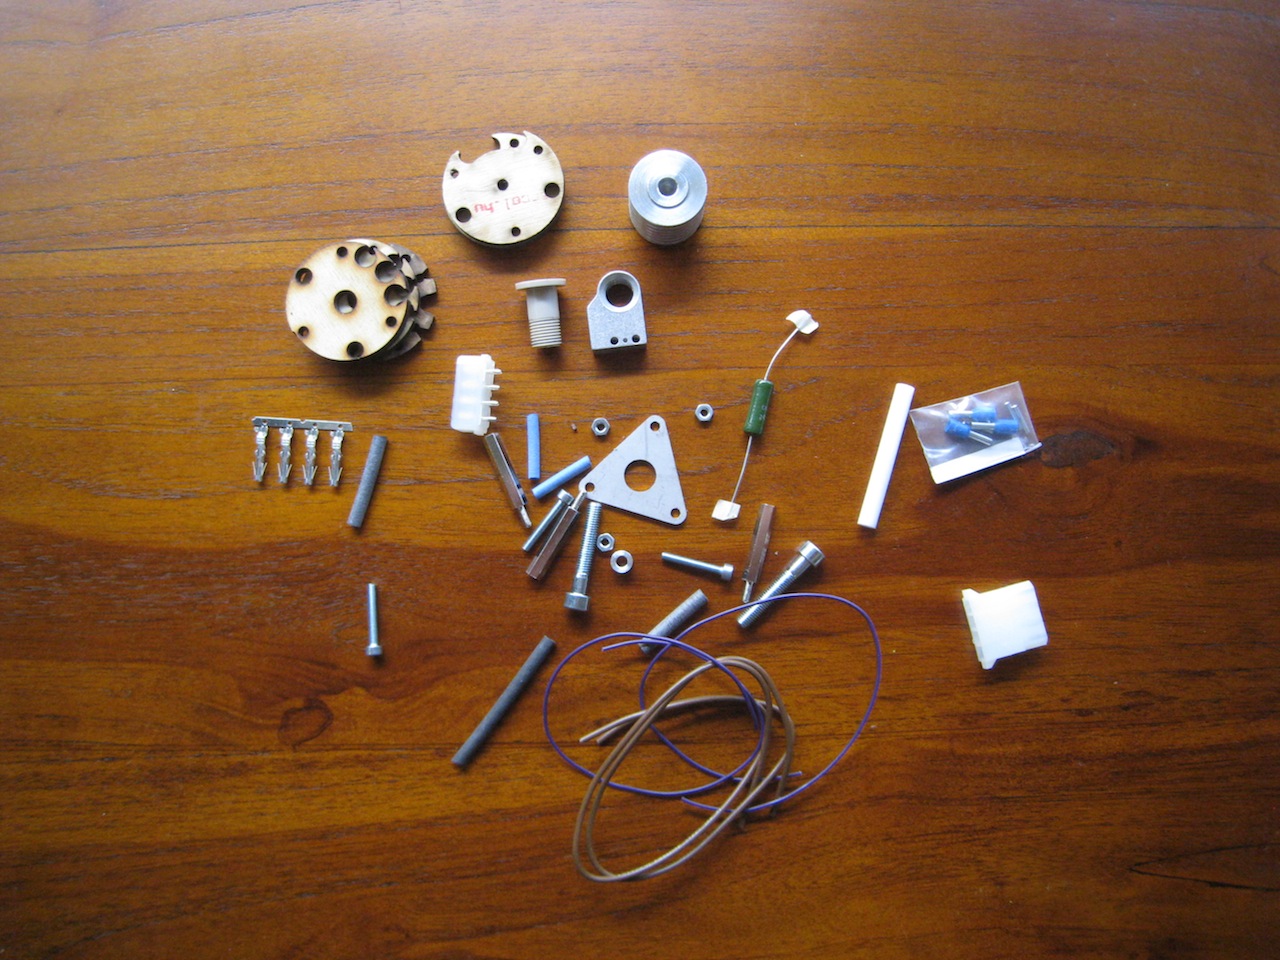
Naturally enough, the mount that the new hot-end had (ring mount) wasn’t compatible with my current extruder. My extruder was set up for the Arcol hot-end, and was compatible with the Budasnozzle, due to its mounting frame which ties in with the extruder mounting points. Similarly, the new hot-end I’d order wasn’t going to be compatible either, as it uses a third type of mount. Making a mental note to print up a new Wade’s Extruder with mounts for ALL my extruders, I had a rummage through my parts box. Fortunately, the original (Greg’s) extruder that I had was compatible with the ring-mount.

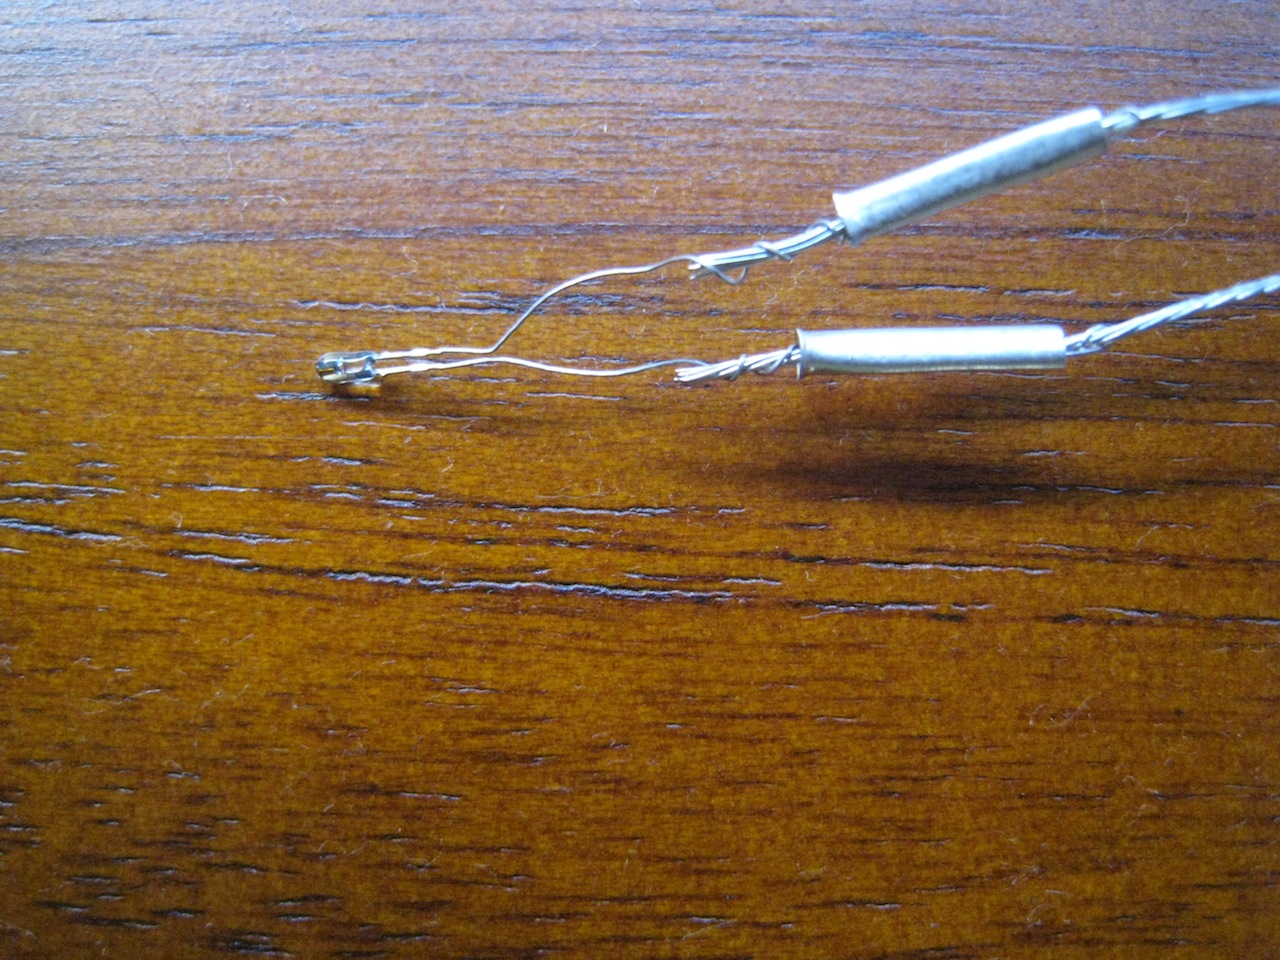
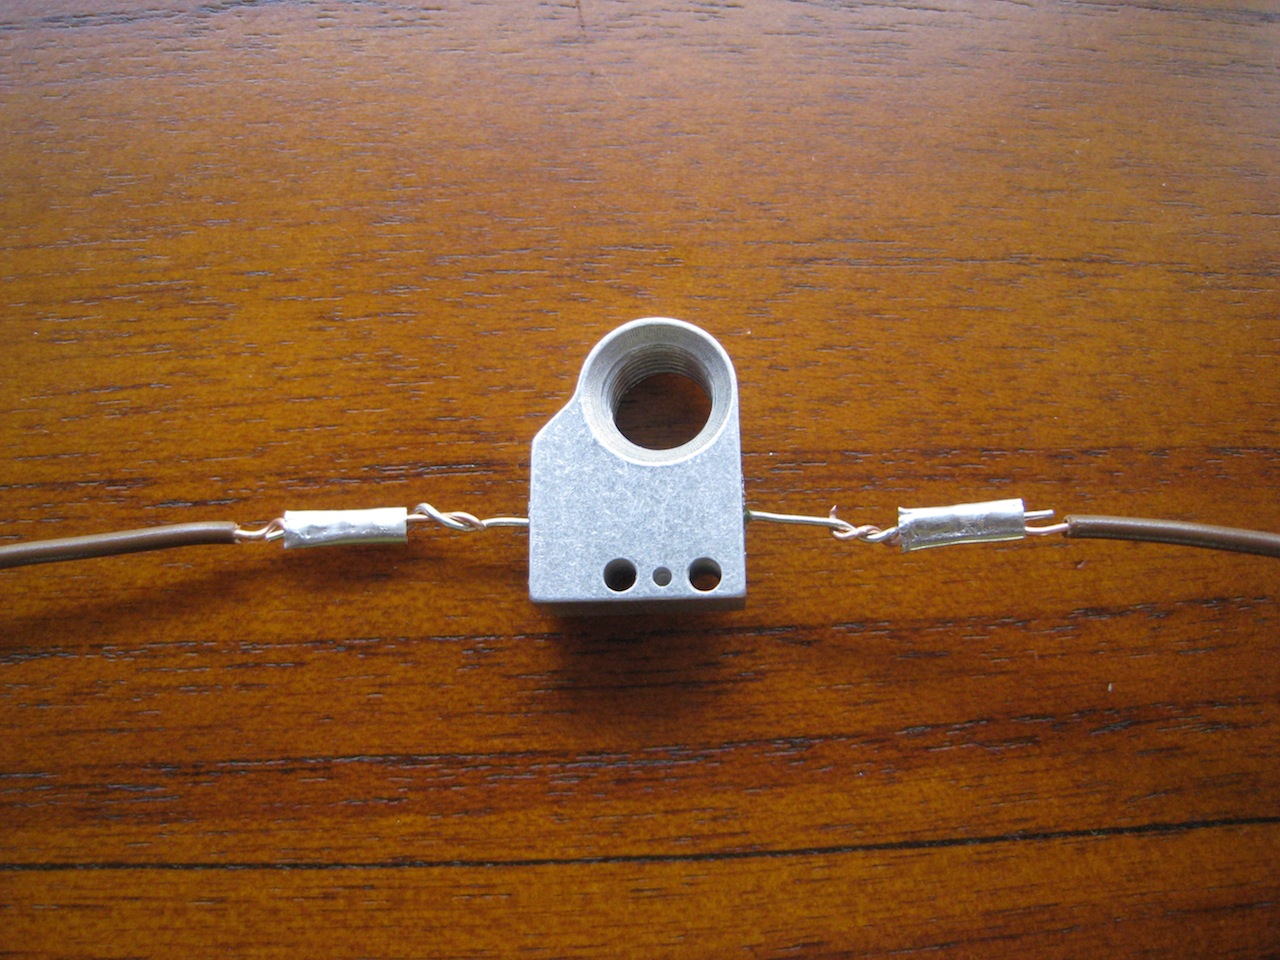
I also took the opportunity to add in a quick-release connector block for the hot-end. This will make it easier to do extruder change-overs.

Once the new hot-end was set up in the extruder, I tried to do some printing. Simple tests worked well, but when I tried to do a print, the filament wouldn’t completely feed through. The extruder would take a large bite out of the filament, and not feed it through.

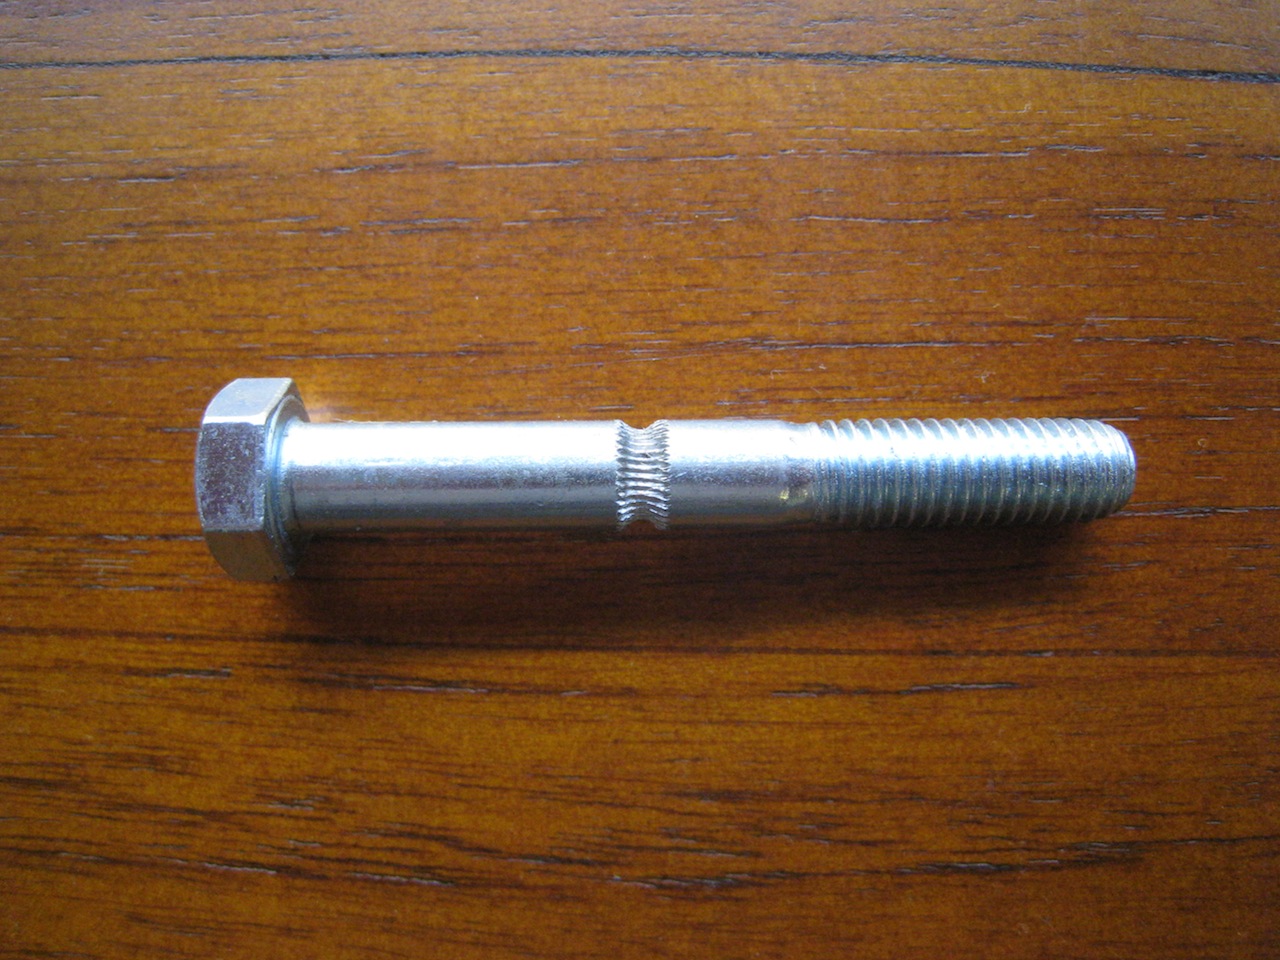
The hot-end is working beautifully, so it seems like the likely culprit at this point in time is the hobbed bolt. It must have worn a bit, and the teeth no longer grip the filament enough. I suspect that it’s also to do with the retraction acceleration. It seems like the hobbed bolt ‘loses its grip’ during the retraction phases, which explains why the printer passed the easy printing tests with no problems – there was no retraction. Perhaps, by slowing down the retraction speed and acceleration, it will make it easier for the bolt to maintain its grip on the filament.

J-Head Hot End

After my meltdown, I bought two hot-ends. One was the Budasnozzle, with which I’m currently printing. The other, which just arrived yesterday, is the J-head Mk 3-B, which I bought from hotends.com.

Since I’m very happy with the Budasnozzle, I won’t bother using this one at the moment. I’ll just put it in the drawer as a spare part, or to provide it to a fellow Aussie who gets in distress with his printer.

Budasnozzle

After my disastrous hot-end meltdown, I tried to order in some parts for my Arcol hot-end. Unfortunately, Laszlo was out of parts for his hot end, so I had to go looking around for other alternatives. In the end, I bought two, with one to have as a backup. One hot-end I found is still to arrive, but this one arrived a few days ago.

BudasnozzleIt’s the Budasnozzle, which I purchased from Lulzbot. It’s based of the Arcol design, but with some variations. It’s noticeably shorter, cutting down on the body heat-sink length, which I agree is far too long. It also uses a different type of thermistor, the slightly larger type, that looks more like a standard resistor. This type of thermistor should be much easier to replace than the ‘glass bead’ sort.

It’s very professionally built. All the parts are excellently machined, and assembled with precision, and with an eye for detail.

It’s best feature, however, is the attachment. As I’ve mentioned previously, the Acol hot-end has difficultly attaching with some extruders. The Budasnozzle has a printed base on it that has holes in the exact same locations as the extruders. So when you attach your extruder to the X-carriage, you’re also securing your hot-end. This also gives it a very large stable base to work from. An excellent approach that I think a lot more hot-ends should take.Budasnozzle mountI’ll put in action this weekend and get back to printing. Hopefully, it last longer than the last one did.

Meltdown

Total disaster. I updated the SFact with some new settings that I had high hopes for, that I thought would take the print quality to the next level.

I turned on the hot end. After a few minutes I saw that some filament was leaking out of the hot end. Strange. Then I saw this:

The PEEK block has melted into the nozzle. PEEK’s meant to have a melting point well over 265 degrees C.

The only cause for this that I can think of is that the thermistor wasn’t quite attached to the heater-block correctly. This would then have generated an incorrect temperature reading, causing the electronics to over-drive the hot-end past the melting point of the PEEK.

Unfortunately, the printer’s going to be out of action until I can get some parts in to rebuild the Arcol hot-end. While I’m at it, I should make a list of ‘critical spares’ and consumables that I should have on hand for the printer.

Assembling the Arcol Hot End

As I mentioned in a previous post, I purchased an Arcol.hu hot end. This week, I started assembling it. Lazlo’s got some good instructions up on his website, so I was able to follow those and assemble the hot-end without any dramas at all.

The biggest hassle with assembling the hot-end is trying to protect the thermistor. It’s quite fragile, and the arms can break quite easily. So naturally enough, you start off by wiring up the thermistor. The very thin connecting wires were quite fiddly to try and strip as well.

The connected thermistor

After that, you need to connect up the power resistor in a similar way.

Power Resistor

Next up is to fit the power resistor into the heating block. It’s quite interesting to see that most of the hot part of the hot-end is made of aluminium. I haven’t chatted with Laslo, but I suspect that it’s because the thermal gradient on aluminium is extremely steep. Away from the active heating area, it will cool down extremely quickly. I suspect that this is why Arcol design has such a short hot zone.

This also makes it easy to fit the power resistor, as you can then safely use aluminium foil as a wrap around the power resistor to ensure a tight fit.

The fitted power resistor
The next step is to put in the thermistor and seal it into place using fire cement. In Lazlo’s build instructions he usually attaches the nozzle first, probably to make sure that there’s enough space for it to screw it. I didn’t want to risk contaminating the nozzle with any rogue cement, so I did it separately. I first wrapped up all the bits that weren’t going to get fire cement on them with Kapton tape, then put in the cement. I then left it to dry for a couple of days.
Cemented-in thermistor with Kapton tape
Kapton removed
That’s the hardest parts of the build completed. The remainder is very easy, just basically screwing together the remaining components. The lower frame is first:

Lower mounting frame
The wires are protected with heat-resistant covers then the nozzle assembly is attached to the frame. The covers weren’t quite long enough to prevent the thermistor’s trailing leads from touching each other, so I wrapped some more Kapton tape around them to stop them shorting out.
 
Nozzle fitted to lower assembly
Rotated view

At this point, the instructions on the website diverge slightly from the current hot-end. The instructions on the website are for version 3.0 of the hot-end, but the version he’s currently selling is version 3.01. There are only small differences, mostly down to an improved heat-sink. It’s pretty easy to guess the correct way to put the remaining pieces together.

The completed hot-end

In all, quite a fun and interesting build. My only gripe is that the PEEK block doesn’t sit totally flush with the lower mounting assembly. This results in a very slight angle to the nozzle. You can see this in the photo below. I can’t really see how this could be a problem for printing though. The millimetre or two of offset isn’t going to cause any problems, as long as it’s consistent.

Slight angle on nozzle

Still more parts

Still more parts this week, but one of them I can actually do something with!

PCB Heat bed from Reprap source

Aluminium pulleys. These are supposed to give a better quality of print, by having less slop and backlash. A pretty cheap printer upgrade.

A wand-type temperature probe for my (forthcoming) temperature gun.

Hobbed bolt from Arcol.hu.

And finally, and most importantly, the hot end! For my hot end, I decided to go for one from Arcol. It looks like a great design. Things I like about it:
  • A super-short heated zone. From what I’ve seen during my research, the Arcol hot-end probably has the shortest heated zone of any hot end. This should greatly reduced extruder force.
  • A removable and exchangable nozzle in 0.5mm and 0.35mm sizes.
  • An excellent support structure. Unlike most nozzles, it has a fully triangulated structure. This should reduce the movement of the nozzle head during printing, resulting in more accurate prints.

The best thing is that this is the first part that I can actually do something with! I can start assembling it right away.