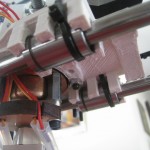
One of the most amazing things about the Reprap project is that the printers can print out their own repair parts and upgrades. Today, my printer joined that club when I installed the linear bearing upgrades that the printer had printed off itself.
The installation process went fairly easily, with the main hassle trying to line up the Y-axis bearings with each other. The best way to achieve this was by only screwing in one of the two screws in each mount, leaving the mount free to orientate itself along the smooth rod.
It was a little bit noisy at first, being metal-on-metal, but a bit of lithium grease on the rods quickly fixed that up.
Main things to work on now:
Ooze settings.
Solid infill, particularly on ‘top’ layers.
SD card printing
Investigate the ‘Marlin’ firmware (as per this thread)
I’ve been having trouble printing out the parts to use the linear bearings on the Y-axis. The bases have been coming through fine, but the ‘towers’ have been coming through as blobby messes. Lowering the temperature a bit has helped.
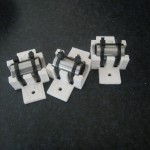
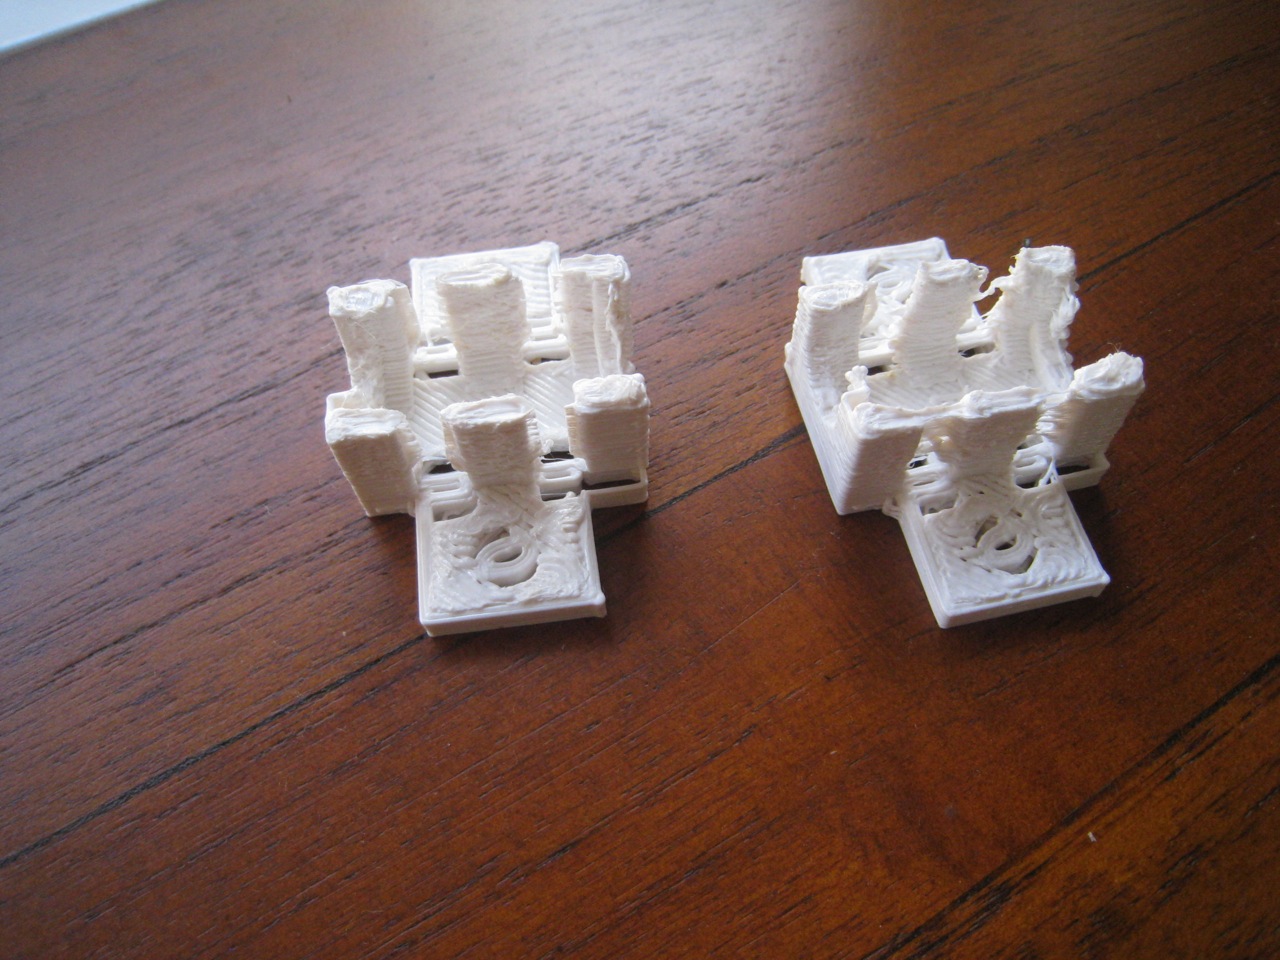
Following on from Julian’ssuggestion, I had a look at the Easyfit software he recommended. Using it, I cloned the Y-axis bearing holder three times, so that I had four of the parts on a ‘plate’. My thinking was that by printing four parts, it would give the parts enough time to cool down between each layer. I set them up with 5mm between each piece, which worked great.
This was my longest print so far, at 57 minutes. This is how the parts looked when printing was finished.
As you can see, I still need to work on my ooze settings, but the parts looked pretty good, with no melting around the ‘towers’. My theory worked well. Here’s the parts once cleaned up a bit with a Stanley knife.
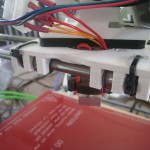
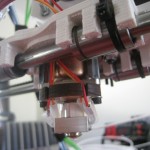
I’m really pleased with them, and the linear bearings snap into them without any troubles at all. Next up was to print up an X-Carriage. The main option is Greg Frost’s X-carriage, but I went for Joem’s version, as it allows for four, not three, bearings. However, it’s very large. If it cuts down on the X-travel too much, I might have to switch to the three-bearing version. I also printed out the version with mounting points for a fan, which I think I’ll fit in the future.
This was an even longer print, at about an hour twenty. This print had some noticeable lifting off at one corner, which came up about 1mm. This won’t affect the performance of the part, but I might have to keep the bed temperature a bit higher than 100 degrees for these larger pieces in the future.
With the ‘backlash from hell’ problem solved the printer’s printing really well, enough that you can actually print useful things with it.
I’ve been experimenting with temperatures a bit, trying to find a happy medium that will print well, and still stick to the heated bed. I’ve found some settings that work quite well.
To start with, I set the heated bed temperature to 130 degrees. This results in about a 115 degree temperature at the top of the pyrex sheet. I also set the hot-end to 230 degrees. Once the first layer is complete, I turn down the hot-end to 220, and the bed to 100, which results in about a 90 degree top temperature.
These settings work great. The first layer sticks really well, and the object stays really stuck for the remainder of the print. Once the print’s finished, the bed temperature usually has to drop below 60 degrees before the object can be removed without major force. The base has that nice ‘glossy shine’
The first objects on my list of ‘real prints’ are some LM8UU Linear bearing parts to put onto the printer, and a spool holder for the filament. Here’s the first spool part:


