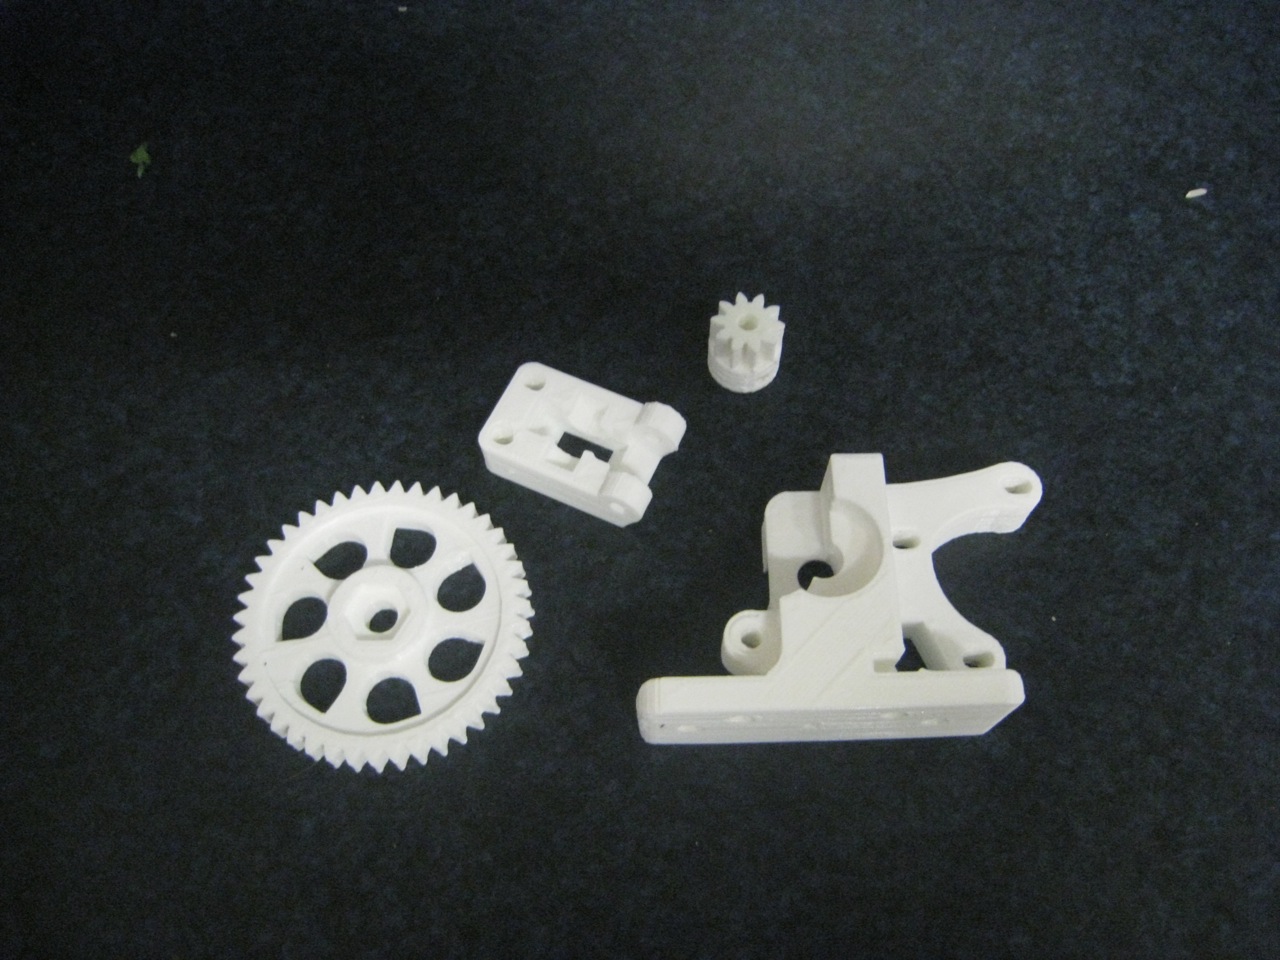
Since my Arcol hot-end doesn’t attach to the default Wade’s extruder, I had to go searching around for a new extruder. One of the Australian forum-goers suggested contacting Greg Frost, to print me up a new part. I contacted Greg last week, to get him to print me out a new base for the Wade’s Extruder. However, he quickly upsold me one of his Hinged Accessible Extruders. It arrived in the post today, to my great joy.
The most noticeable thing is the difference in quality between Greg’s parts and Nophead’s. Nophead is justifably famous for the quality of his parts, so having a look at Greg’s gave me a better idea of what is achievable by us mere mortals.
Unlike Nophead’s parts, Greg’s parts came ‘raw’, so they needed a bit of work with a knife and drill to tidy up before the build. This gave me a good chance to have a look over the parts and the design. Greg’s design is very interesting, with some definite improvements over Wade’s. As seen by the name, the improvements are aimed towards accesibility. This is very noticeable with regards to the filament access, but it extends to all other aspects of the design.
With Wade’s design, there’s a lot of bolts which are underneath other bolts, which basically means that you have to disassemble large amounts of the extruder to work on other parts. This is noticable with the X-carriage mount. To get to it, you have to remove the motor. To remove the motor, you have to remove the hobbed bolt and large gear. And that’s the first mount. Greg’s design fixes nearly all of these problems, particularly with the innovation of the angled motor mount.
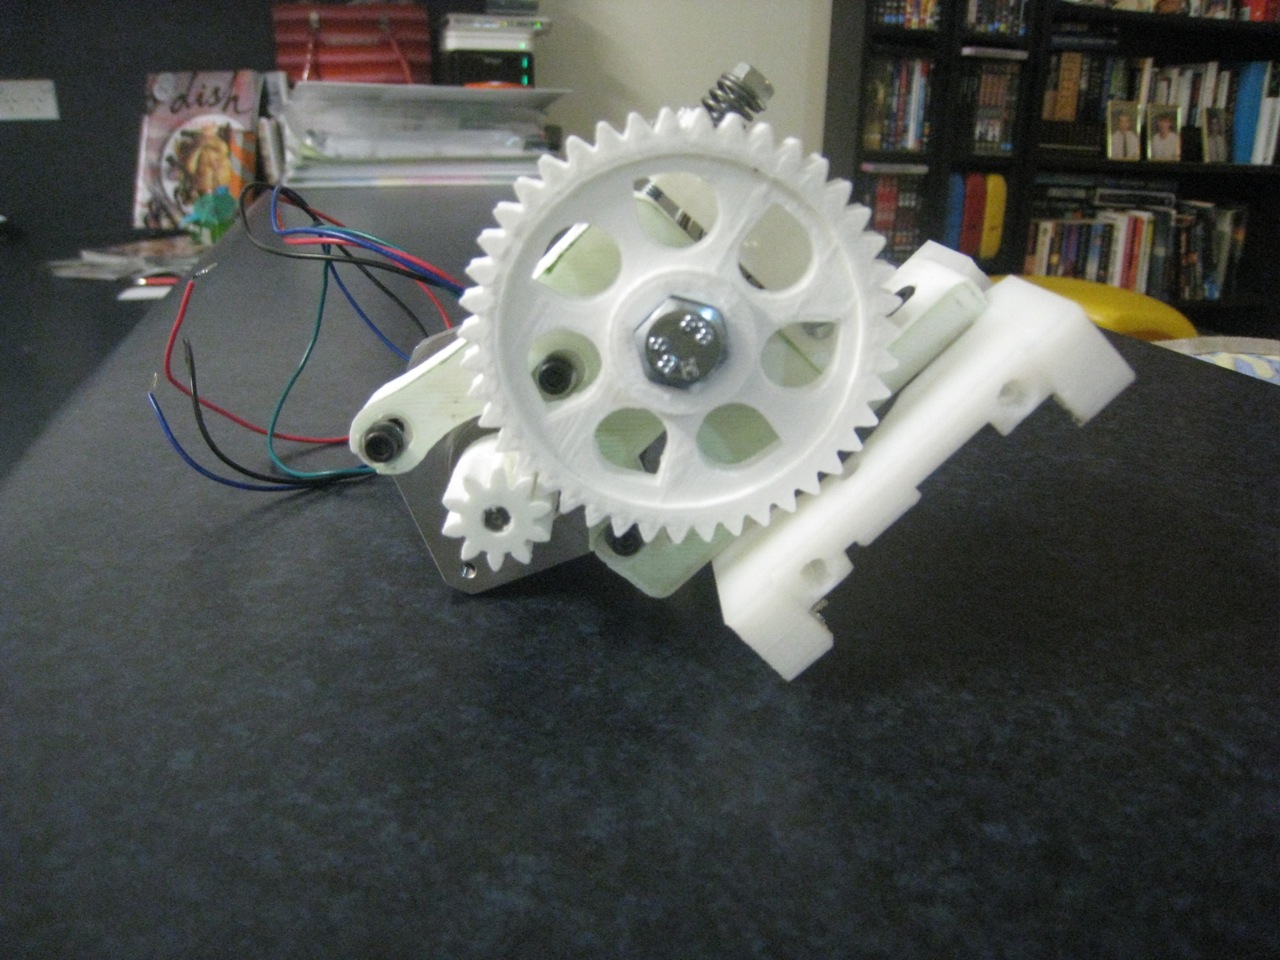
Once all the parts were clean, and the kids were in bed I got to work, assembling the extruder. Greg hasn’t released any instructions on how to assemble his extruder, it has to be done by inference from the photos on Thingiverse. If you’ve assembled a Wade’s previously, then it’s pretty easy, but if Greg wants to make his extruder more popular, then it will be assembled by some people who haven’t assembled an extruder before, and they’ll need some instructions.
One very annoying thing with the build was that the M3x10 screws that are used to hold the motor to the frame in Wade’s no longer work. Unfortuately, I was out of 20mm screws, so I had to take three 20mm screws out of my Nophead’s Z-couplings, replace them with 25mm screws, and then use the 20mm to hold the motor on. Even worse, these didn’t work! With one washer in place, the screws bottomed out on the motor, leaving the motor loosely fitted to the frame. I had to add in a second washer in to make it fit correctly. This is definitely an area that could be improved with the extruder.
A major problem was with the hobbed bolt. The hobbing on the bolt I have is very narrow, only about 3mm wide, but it lines up perfectly on Wade’s Extruder. However, on Greg’s it was quite a way out. To make it fit, I had to put 3 washers between the big gear and the extruder, to push the hobbing across. Even then, it’s ever-so-slightly out of alignment, about 1/2 mm. Hopefully, this won’t cause any issues.
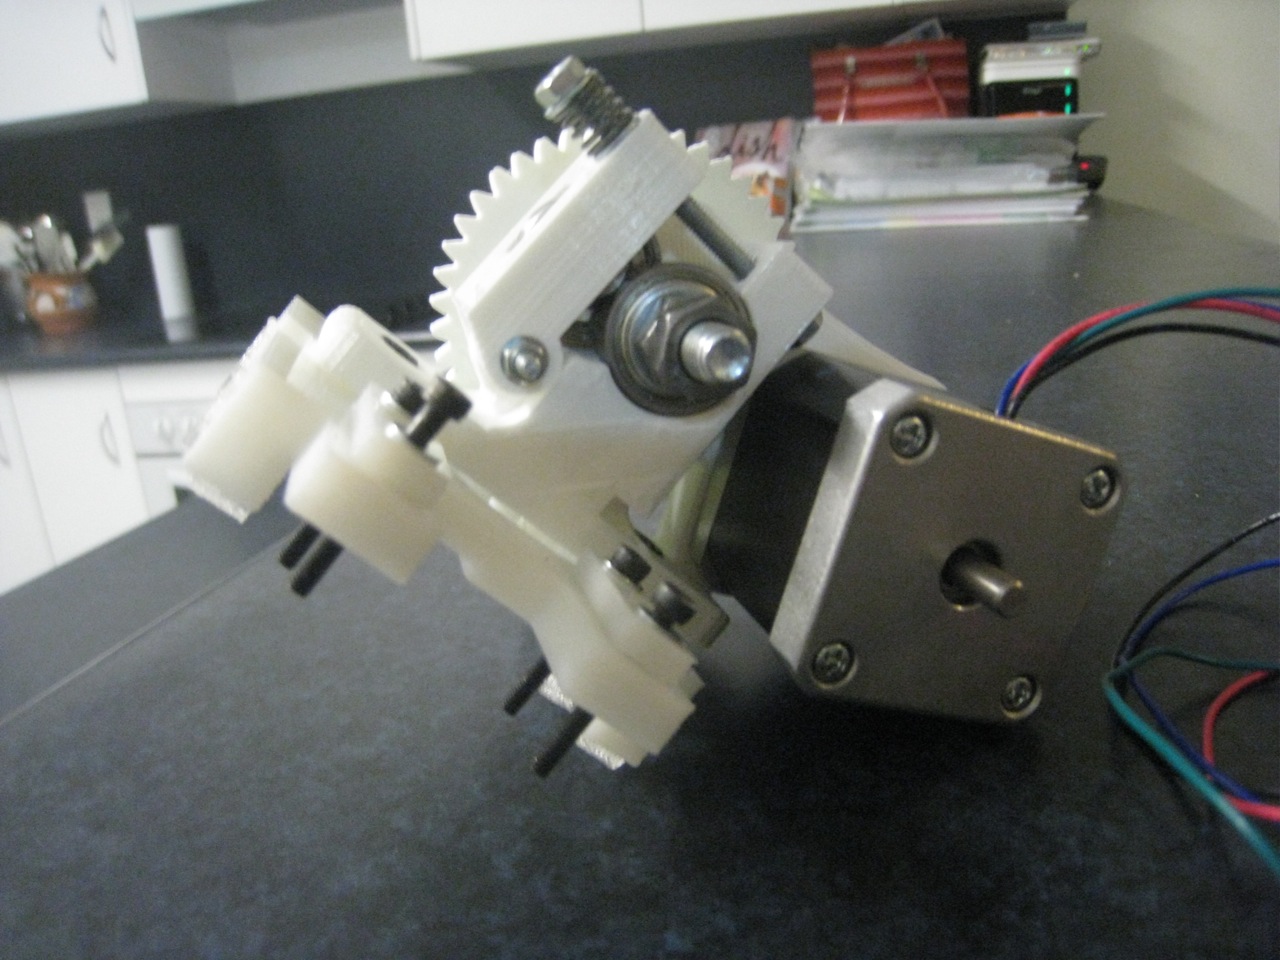
Once all together, the bolt was pretty stiff, and turned slowly. Hopefully, the stepper motor will have enough torque, and this won’t end up being a problem.
The next problem I had was that I didn’t have enough short 4mm bolts to hold both the extruder to the X-carriage, and the hot-end to the extruder. Luckily, with the new extruder, I had a couple of very long 4mm bolts extra, since the Hinged Extruder doesn’t need the four spring-loaded bolts (just one) that Wade’s does. A short bit of hack-saw work later, and I had a couple of extra bolts handy. One downside: These bolts don’t have a screw or allen-key attachment, so they were slow to attach. I had to slowly tighten the bolt with a pair of pliers.

Once the Arcol was attached, I then realised that I’d need to remove it again, so that I could calibrate the E steps / mm for the extruder. Argh.
After it was all together, I decided to call it a night. All I need to do now is connect up the hot end to the electronics, then I’m good to print. I should be able to get my first print done tomorrow night! Minimug, of course.

Pingback: Budasnozzle | Systematic Technology
Pingback: A Helping Hand | Systematic Technology
Pingback: Greg’s Hinged Extruder | our lil' factory