Even though the first print turned out very good, I knew that there was a lot of improvements to be made, so I did some calibration.
The guide I used for calibration mostly came from the 3D Nation guide. The primary steps I followed were:
- Extruder rate
- Extruder PID
- Temperature Tower
- Retraction Test
The extruder rate calibration was pretty easy, removing the Bowden tube from the extruder and measuring the feed on 100m samples. I ended up having to adjust mine by about 0.5%. Commands use were:
M92 E400 - Set rate of extruder to 400.
M500 - Write this setting to the EEPROM
Next up was the Extruder PID calibration. Fortunately, the Marlin firmware makes this ridiculously easy with the following command:
M303 E0 C8 S210and then taking a note of the outputs. For my printer:
Original PID Settings:
Kp: 26.27 Ki: 2.49 Kd: 69.41
Final PID Settings:
Kp: 22.37 Ki: 1.81 Kd: 69.18
Which are then set using the command:
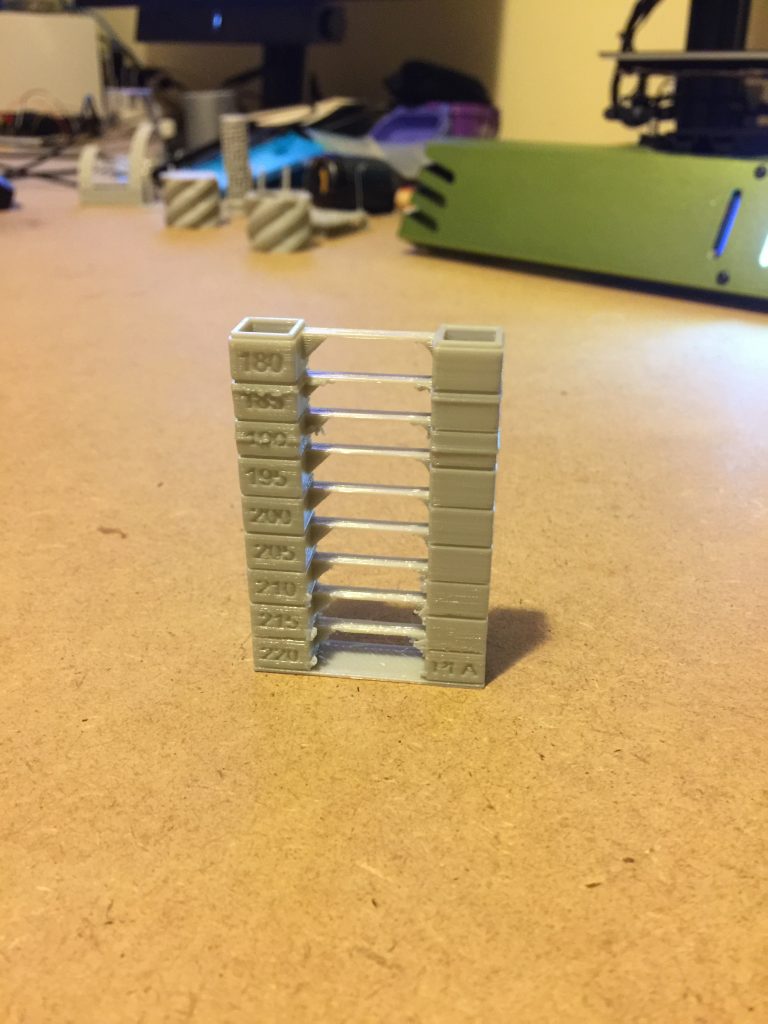
M301 P22.37 I1.81 D69.18The temperature tower was the next test, which was pretty easy, given that you only have to load up some gcode and hit ‘print’

As you can see from the image, the filament I have works best at between 195 and 200 degrees, which is pretty typical. You can also see that the printer seized up at bit on the 185 and 190 degree layers. This was just a bit of binding on the z-axis leadscrew. Putting some lithium grease on the leadscrew solved that problem.
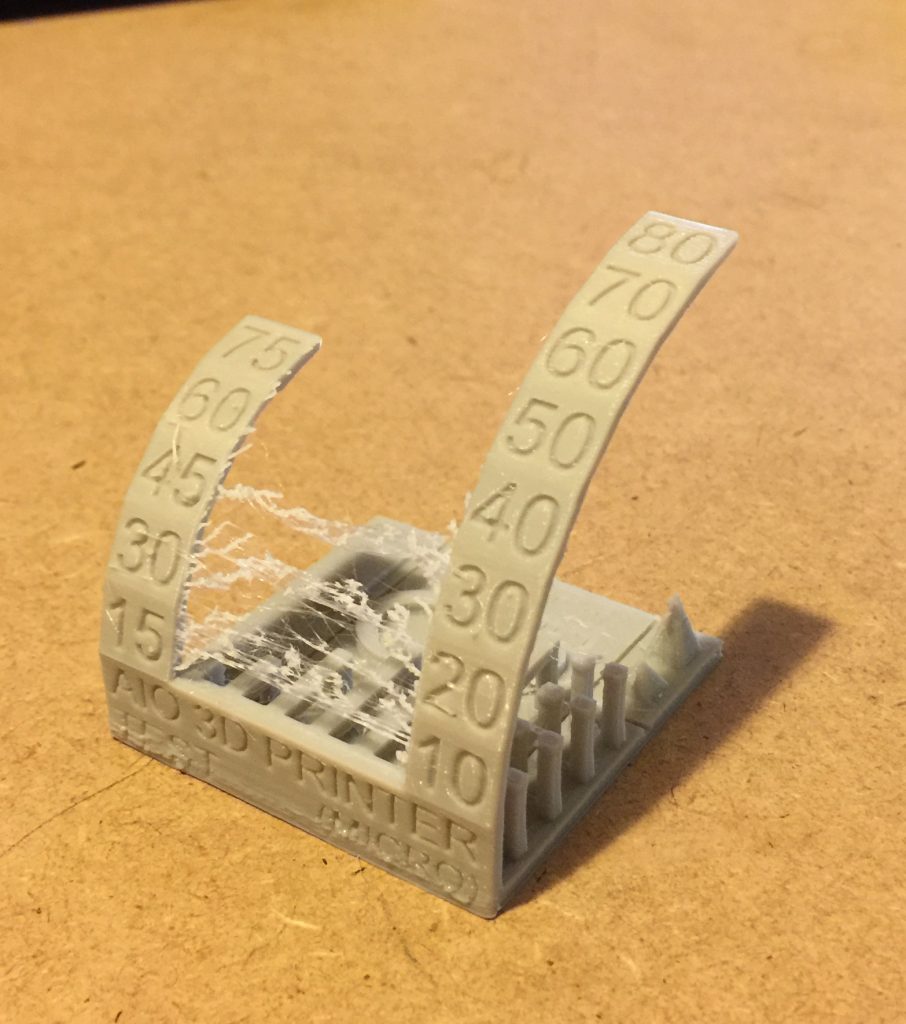
The next test was retraction. This one gave me quite a few issues. Overall, the print turned out great, but I just could not cure the slight stringing issue between the two towers, no matter what my settings. I’ve just accepted that this cheap filament is just a bit too stringy to be fixed. The stringing is extremely minor, and very easy to clean up after the fact.

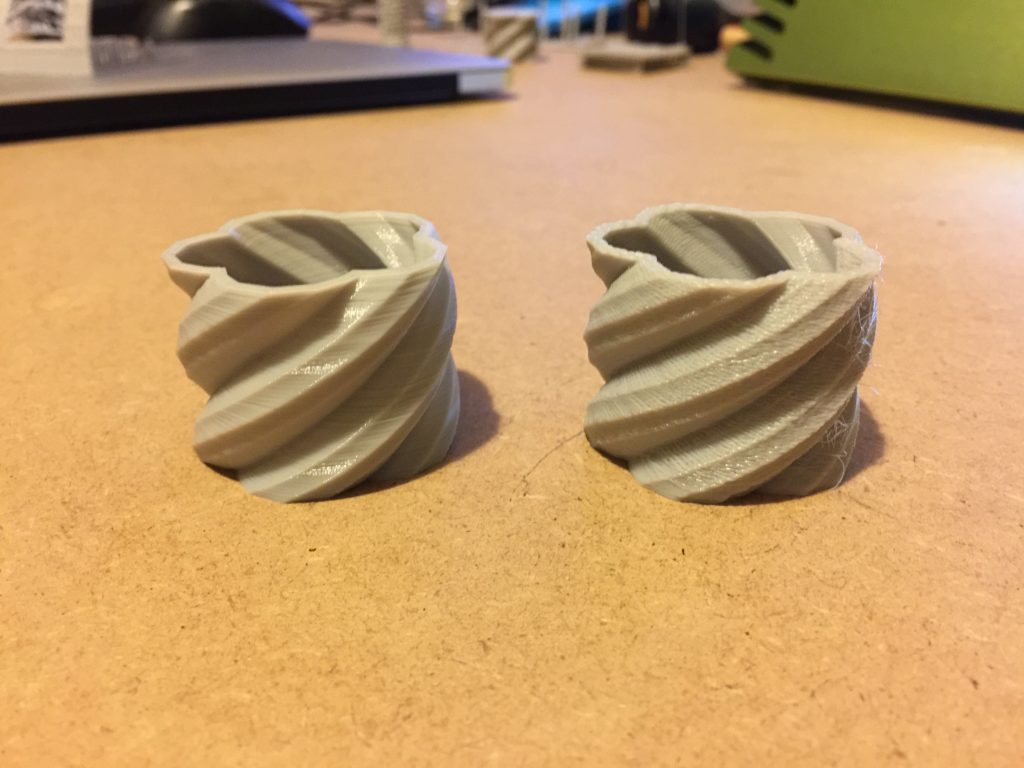
Here’s a comparison of the same piece – after (left) and before (right) calibration. As you can see, big differences. The new print is essentially perfect. Not really sure how to improve this much further.

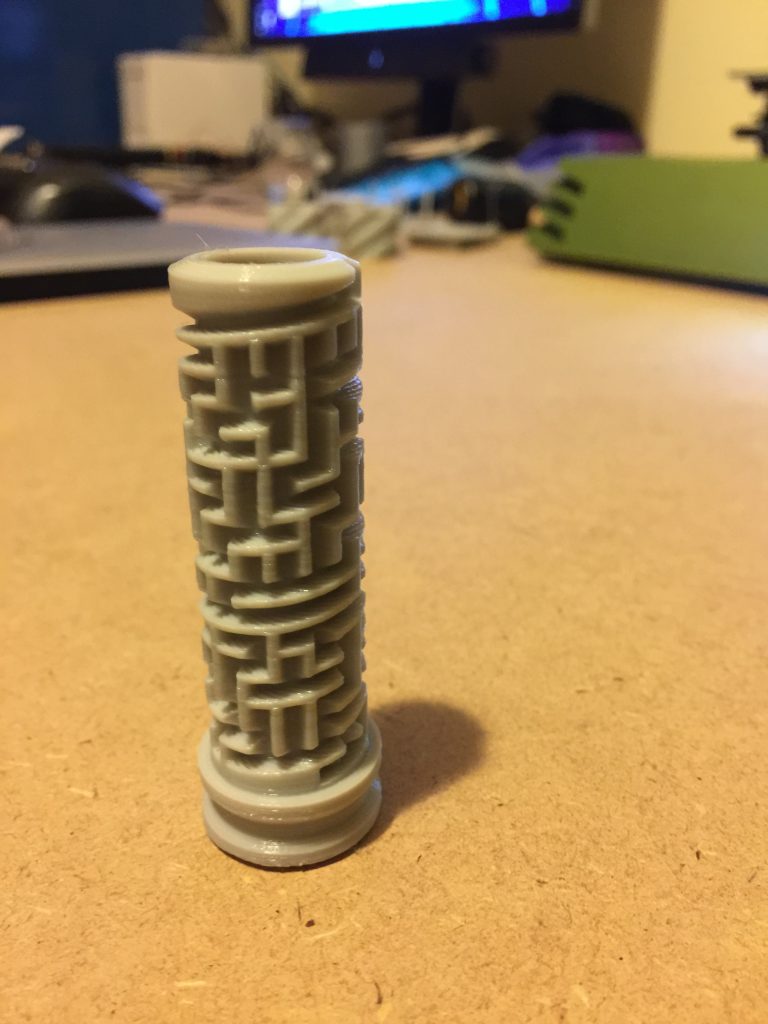
and another print of a puzzle box, which also turned out great.
