I was thinking that I didn’t give Slic3r a fair shake last time. Doing 60mm/s and 0.2mm layers was probably a bit too much. I don’t think any skeining program could have held up to those requirements on my printer.
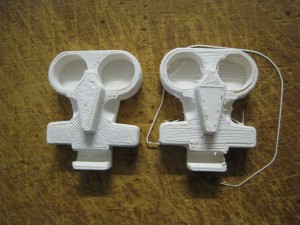
To be fairer, I thought I’d do another earbud holder, but this time at 30mm/s and 0.33mm layers, which are my current SFact settings, do a direct side-by-side. Here’s the results:
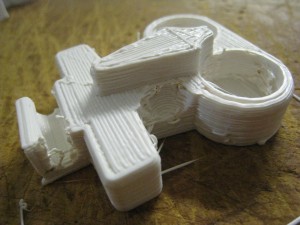
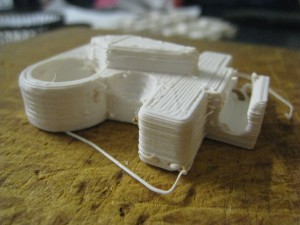
 The earbud holder turned out fairly well (especially once cleaned up).The primary difference between the SFact and the Slic3r output is the flyaways – a function of the retraction settings. SFact’s retraction is clearly superior at this point in time. However, if your hot-end isn’t particularly oozy like mine is, then Slic3r may be a better option.
 Watching the print, Slic3r definitely had some areas in which it was superior to SFact. SFact always starts each new layer at the same point. Slic3r instead just goes to the nearest point on the perimeter to where the fill finished. This helps reduce the ‘blobby corner’ effect that SFact produces with me. Its fill logic is a lot better as well, reducing unproductive travelling.
 I’d really like to have a try at some of the other fill types that Slic3r has – it might produce better fill performance, and maybe end up with some better surface finishes than you get with SFact’s standard fill.
I’m thinking that the Slic3r might actually be a good choice for beginners. It’s definitely not as imposing or scary for people starting off, and produces quite good results.
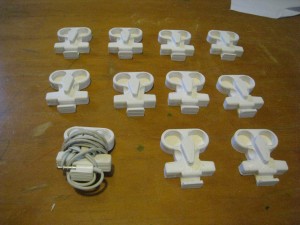
Here’s all the earbud holders I’ve printed so far:
This is one thing that I’m really enjoying about doing this lot of earbud holders for Christmas presents – it’s giving me a good chance to refine my printer, and do a lot more side-by-sides, experimenting with just one variable at a time.
