I’ve had the suspicion for a while that the ‘extra shells’ setting in SFact was causing a few of my prints to print out sub-optimally. Now, I’ve got some proof. Some 608 bearings arrived during the week, so I thought that I’d print out some Z-axis stabilisers. I’ve seen that the walls on my prints have a bit of ‘wobble’ in them. This wobble isn’t on the Y-axis, it’s only confined to the X. I’m thinking that the Z-axis is moving a bit, creating the X-axis wobble.
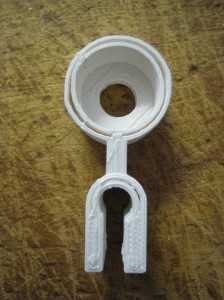
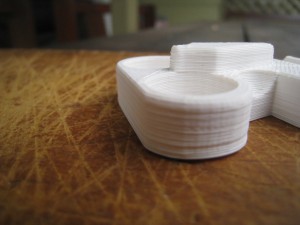
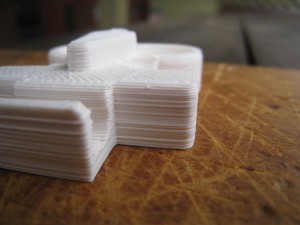
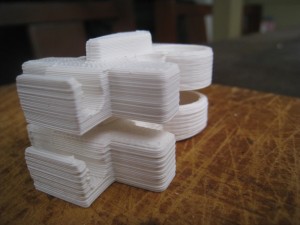
However, when my first print was done, it looked like this:
There was a clear gap between the inside wall and the outside wall of the bearing holder. This gap went all the way down. I think what’s happened is that SFact creates extra shells. However, once these shells are created, there isn’t enough space left for SFact to then do some infill.
To try and combat the problem, I went into SFact, and removed the extra shells on all layers except the base layer. I then tried out the same print again, and it came out perfect.
At the moment, I’m wondering why SFact even has the ‘extra shells’ feature at all. Just how necessary is it?
With another print of the earbud holders, I tried removing the extra shell on the base layer as well, but I ended up having trouble with my first layer. Once the infill started, the head would sometimes pick up the outside line, tearing it off the bed. Adding back in one extra shell fixed this problem.
Once two Z-axis stabilisers were finished, I fitted bearings in them. (They just pushed in with only a moderate amount of force. Perfect sizing.) I then mounted one on the X-motor side. (The one on the X-idler side will have to wait for some endstop fiddling). I then printed out another earbud holder for comparison. It came out beautifully. The combination of the Daily Branch of SFact, Marlin 1.0 Beta, and the Z-stabilisers is making my prints look absolutely fantastic.
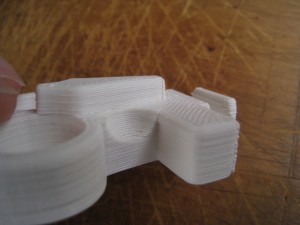
This part needed absolutely no clean-up at all. This is the way it came out of the printer.
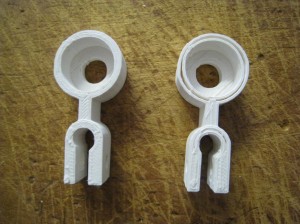
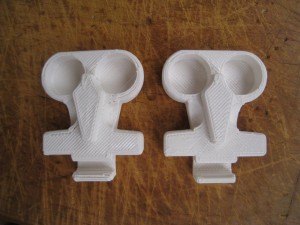 Before Z-stabiliser on left. After Z-stabiliser on right. Notice particularly the fill goes right to the edges much better.
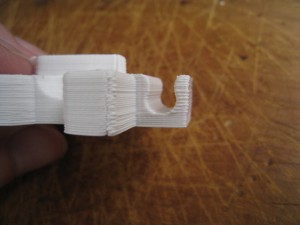
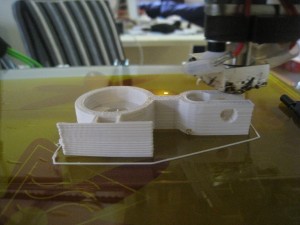
In related news, the ooze problem seems to have disappeared. Have a look at the photo below. The vertical hole has printed perfectly, no strings at all. I’ve got my suspicions as to what’s fixed the problem, but I’ll leave that for another post.
