Since I can’t do anything with the extruder / hot end at the moment, I thought that I’d set up the heated bed today. I was originally going to wait to do this step until after I had done a few test prints, but I thought I’d save myself some effort later, and do it now.
As with the hot-end, the biggest hassle is getting the thermistor set up. I hope these last a long time, since they’re such a pain.

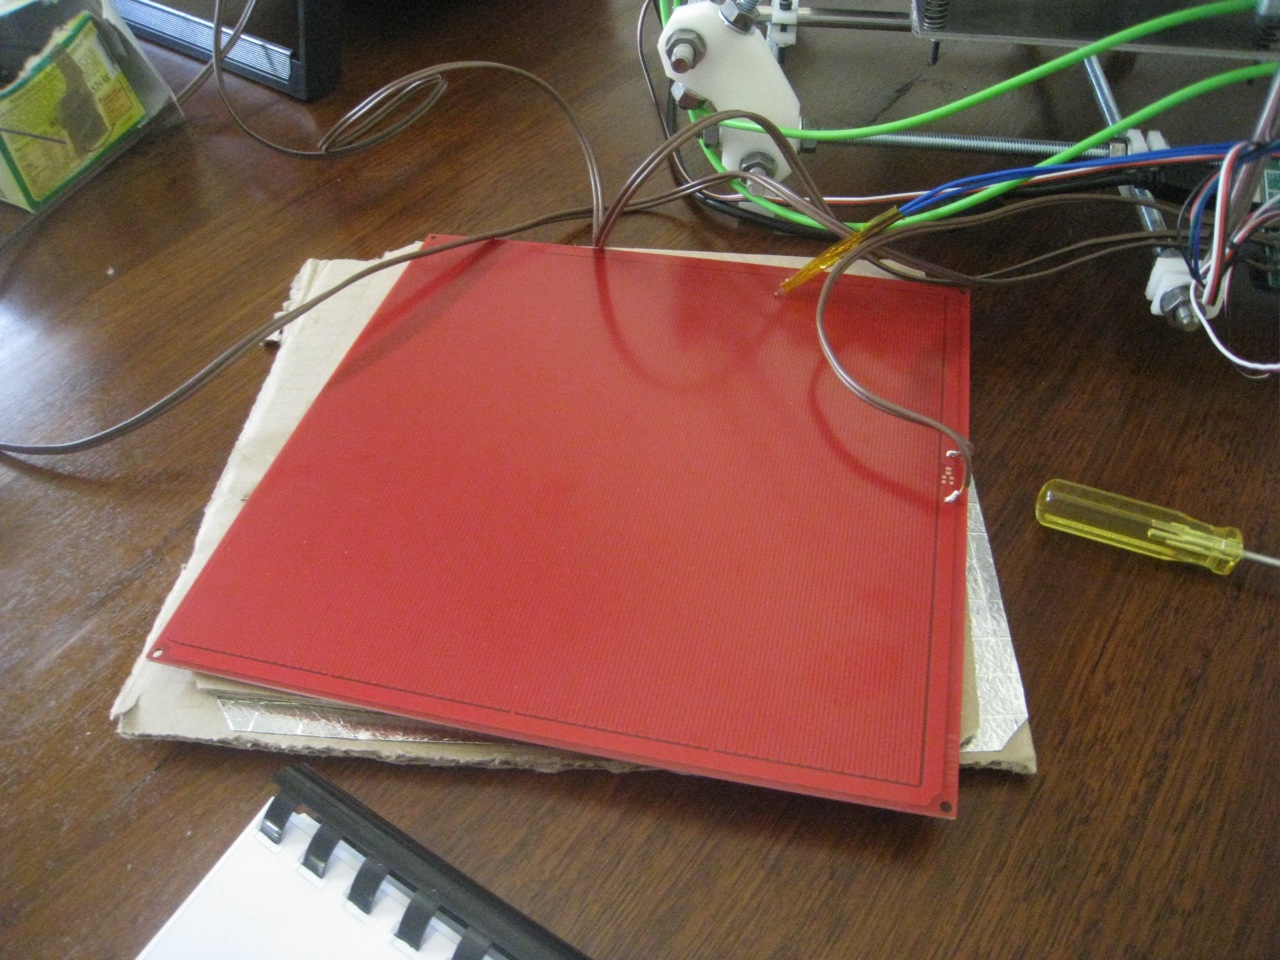
After the thermistor was set up, I stripped some wires. One set went from the electronics to the PCB. The second went from the second ramps supply to the electronics. I took the time to silver all the bare wires, to stop them from fraying. Then I soldered the wires to the PCB. You can see my seriously inferior soldering below:

I don’t really need to insulate the PCB from my print-bed, as it’s made of steel. However, I don’t want to waste excess heat and electricity by having the heat escape out the bottom. To that end, I cut two items. The first was a square of cardboard, to act as the main insulator. The second was a piece of Sisalation. This is that paper-ish material that’s used by builders as wall and roof cladding. It’s only $2 a square metre, and I had some laying around, to give it some additional insulation without going to a second piece of cardboard.
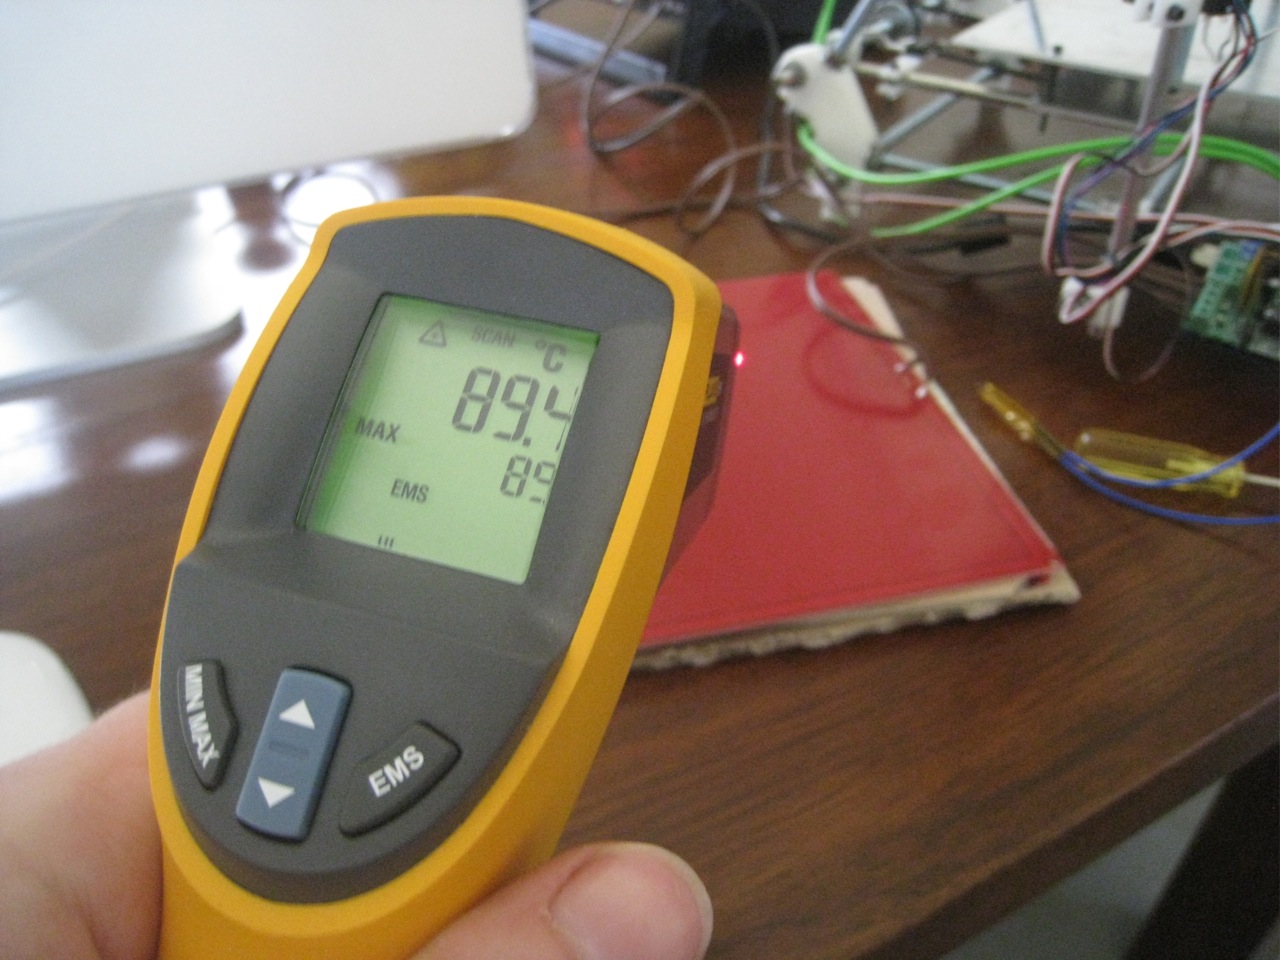
Once all the pieces were ready, I thought that I’d test the bed before screwing everything together. I wired it up, turned on Pronterface, then set the print bed temperature to 110 degrees. Right away the temperature started climbing on the bed. Sucess!

To check the temperature, I used both the thermistor and my IR gun. The thermistor generally showed a temperature about 10 degrees below that shown by the IR gun. At first I thought that I had the wrong thermistor in the firmware, but a quick check showed that it was ok. I then realised that the thermistor was cooling down too quickly in the open air.
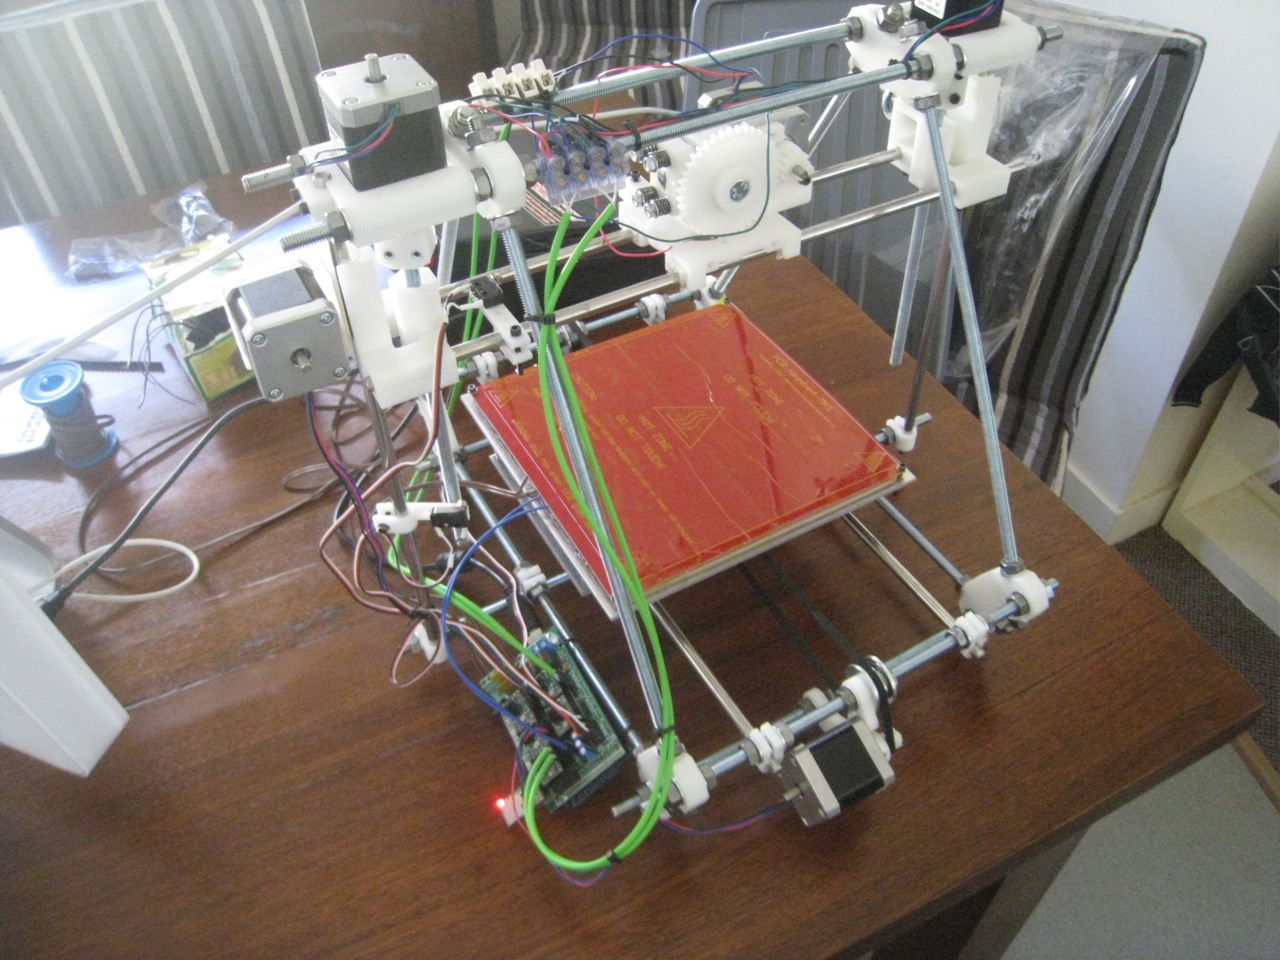
With the test successful, I screwed the base down to the printer, then covered the PCB with a layer of Kapton, to enable easier removal of the printed pieces.
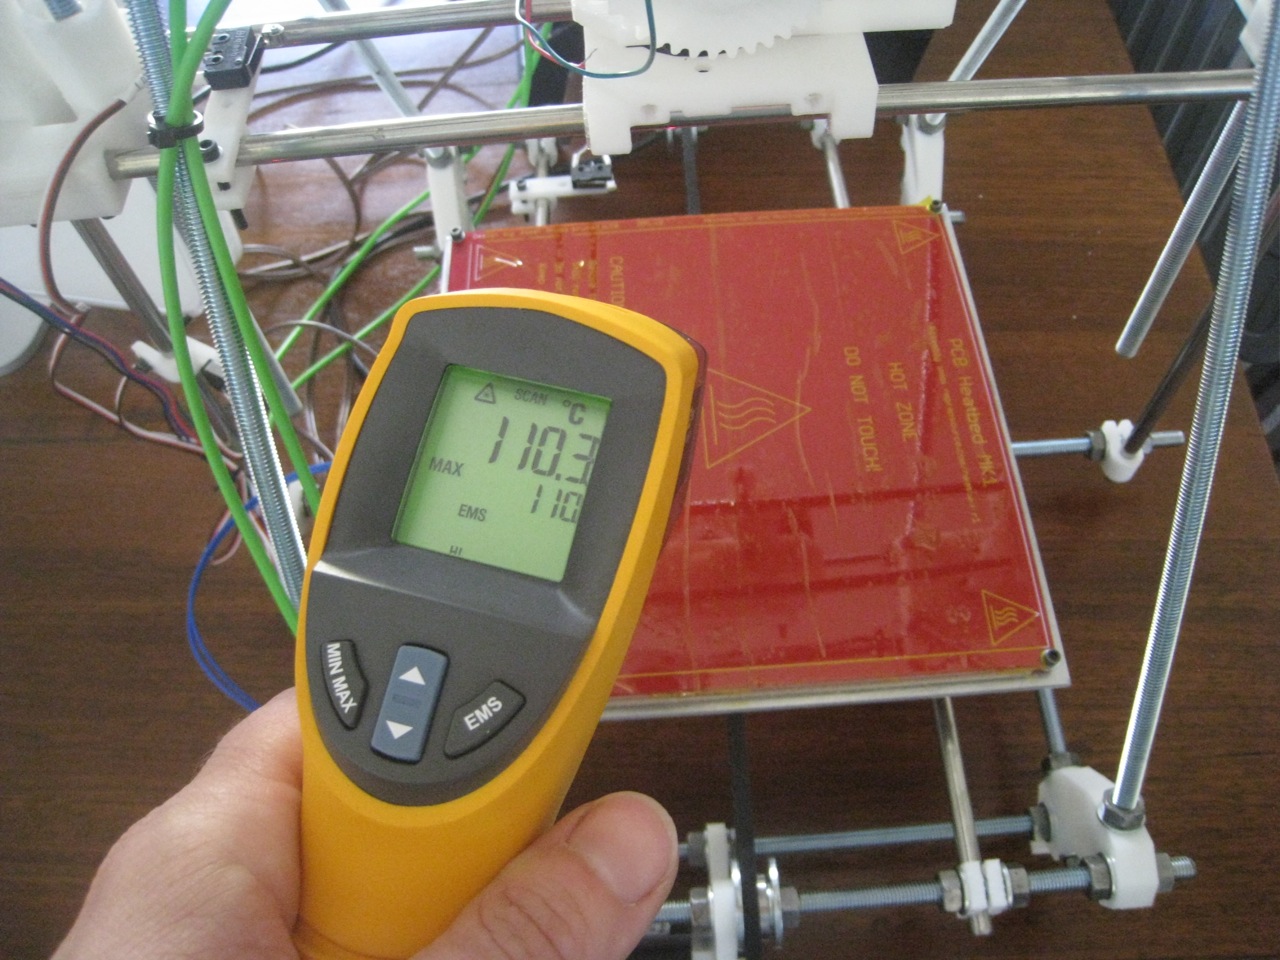
Once the PCB was fully mounted, I fired it up again. This time, with the thermistor between the bed and the cardboard, it was more insulated against heat loss, so it showed exactly the same temperature as the IR gun. The electronics did a good job of keeping the bed at temperature.
A problem with the heated bed is that it’s not completely flat; it’s got a noticeable bow to it, particularly when mounted on top of the cardboard. Most seem to solve this problem by having another surface on top. Many are using Pyrex glass sheets, so I think I’ll order one of those, and attach it to the top of the PCB.