Continuing on with my build. First up is attaching the X-carriage, and gluing it to the bushings.
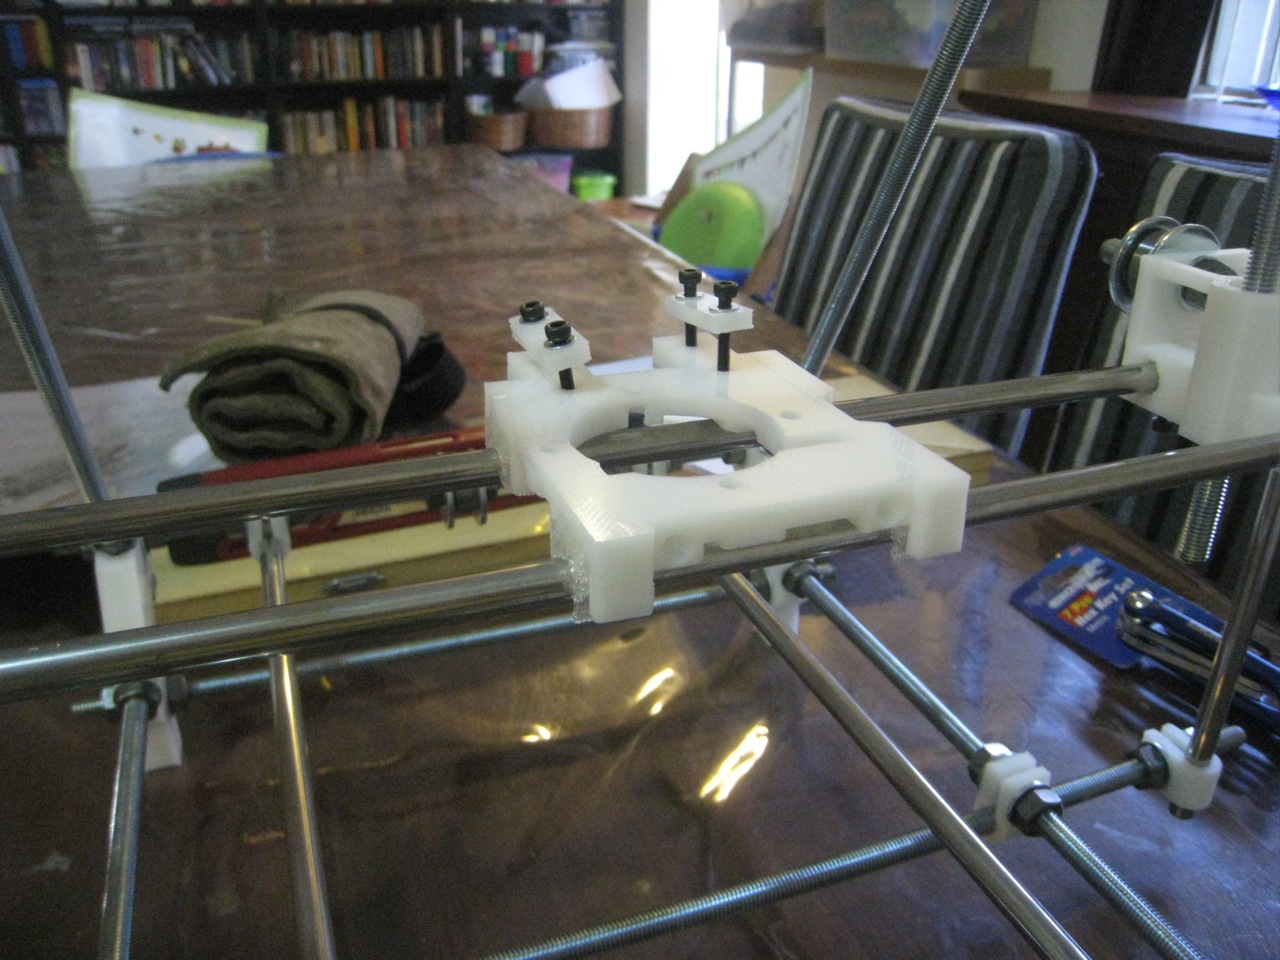
X-Axis Attached
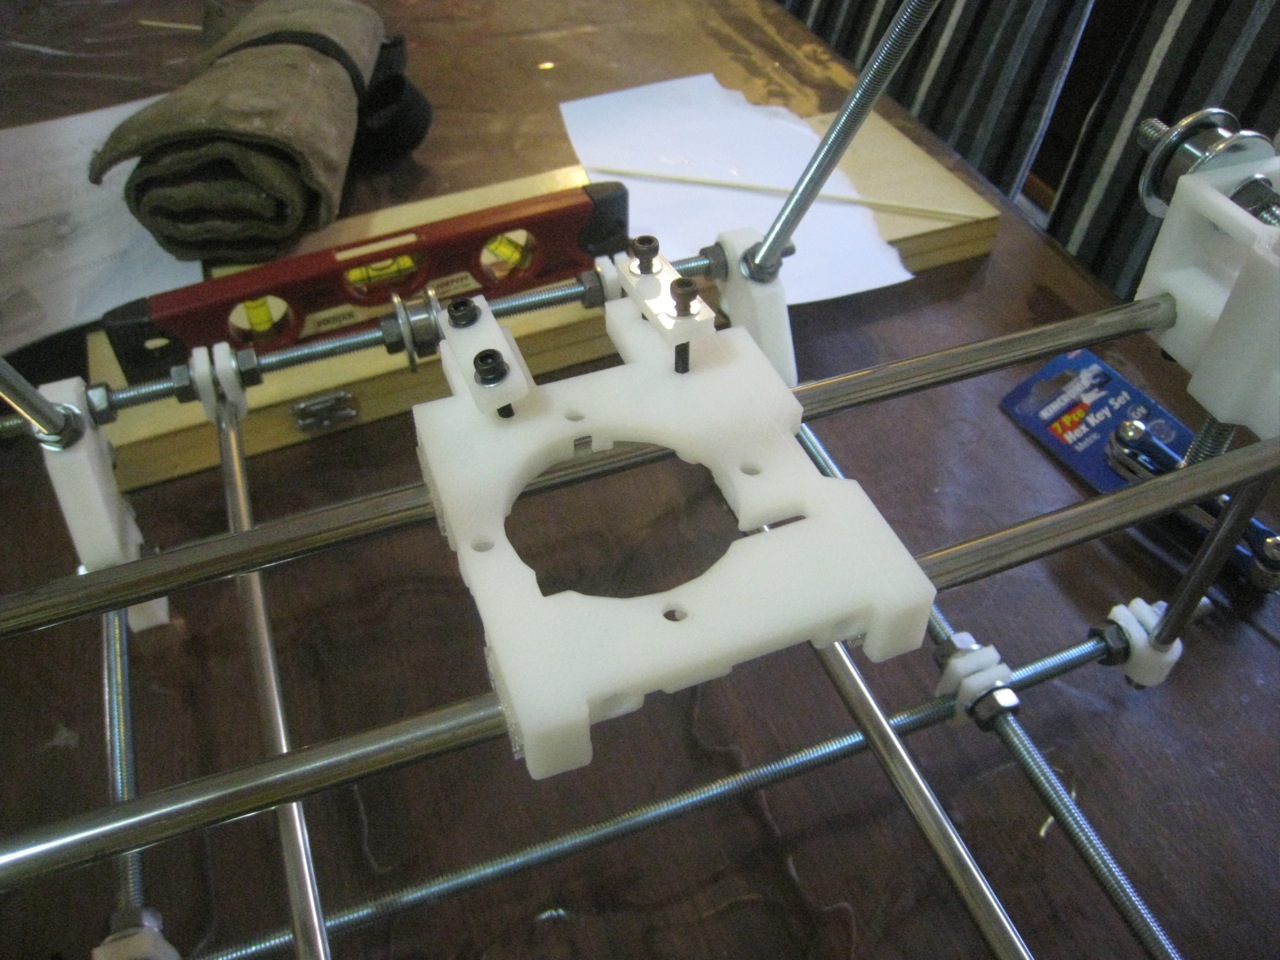
Sliding Smoothly
I went to the hardware store this afternoon, and picked myself up some 3.2mm drill bits. With this in hand, I was able to drill the holes I needed to in the base plate, and then attach it to the printer.

Y-Axis Belt attached
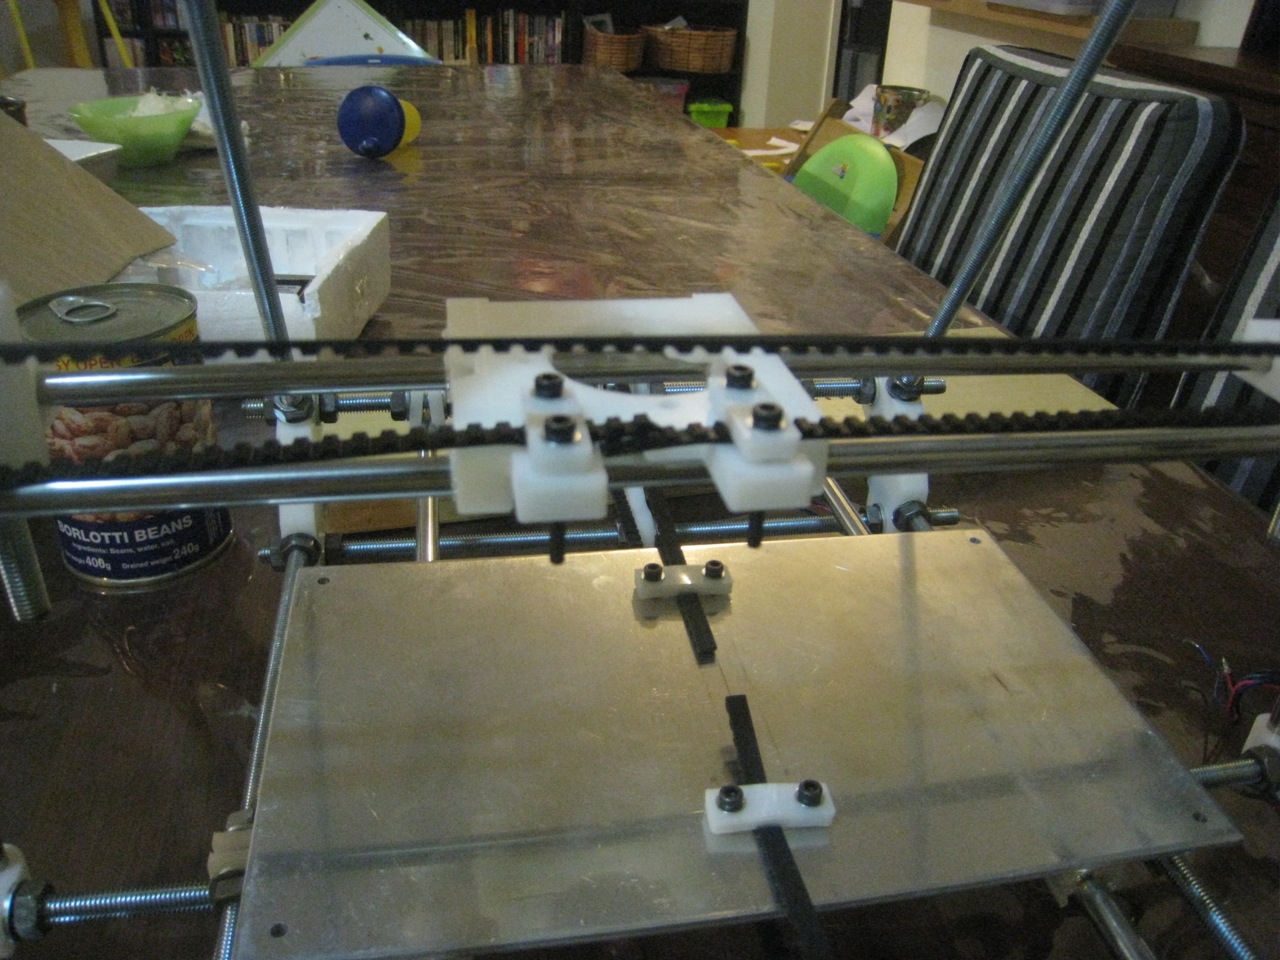
X-Axis Belt
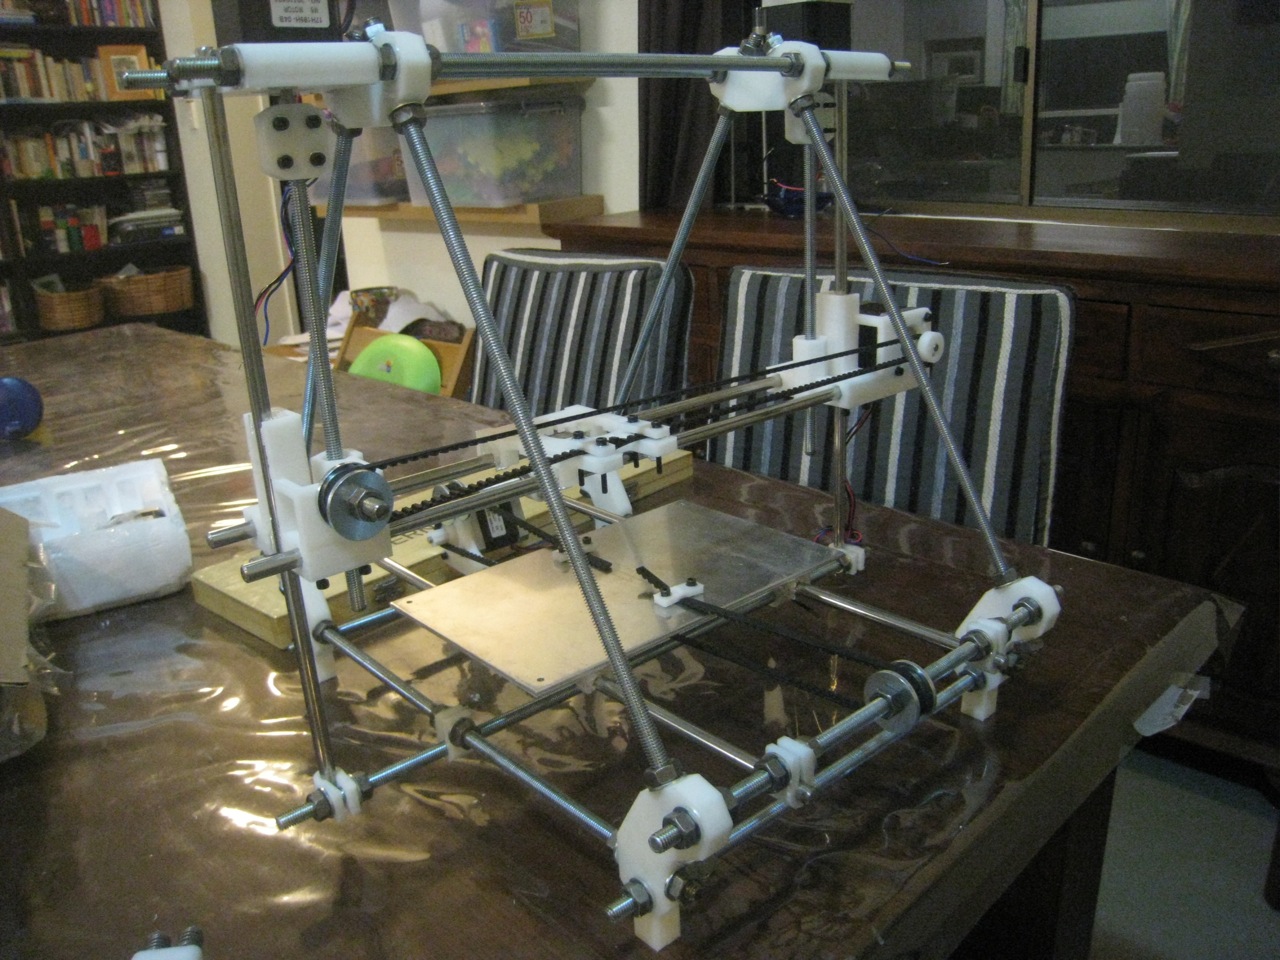
Printer with all Axes finished
Next up on the list is to assemble the extruder. I don’t really need to do this step, since I’ll be replacing the extruder base with one that’s compatible with the Arcol extruder, but I thought I’d do it anyway, get the experience, and try and various running experiments without the hot end or filament.

First Pieces in Place
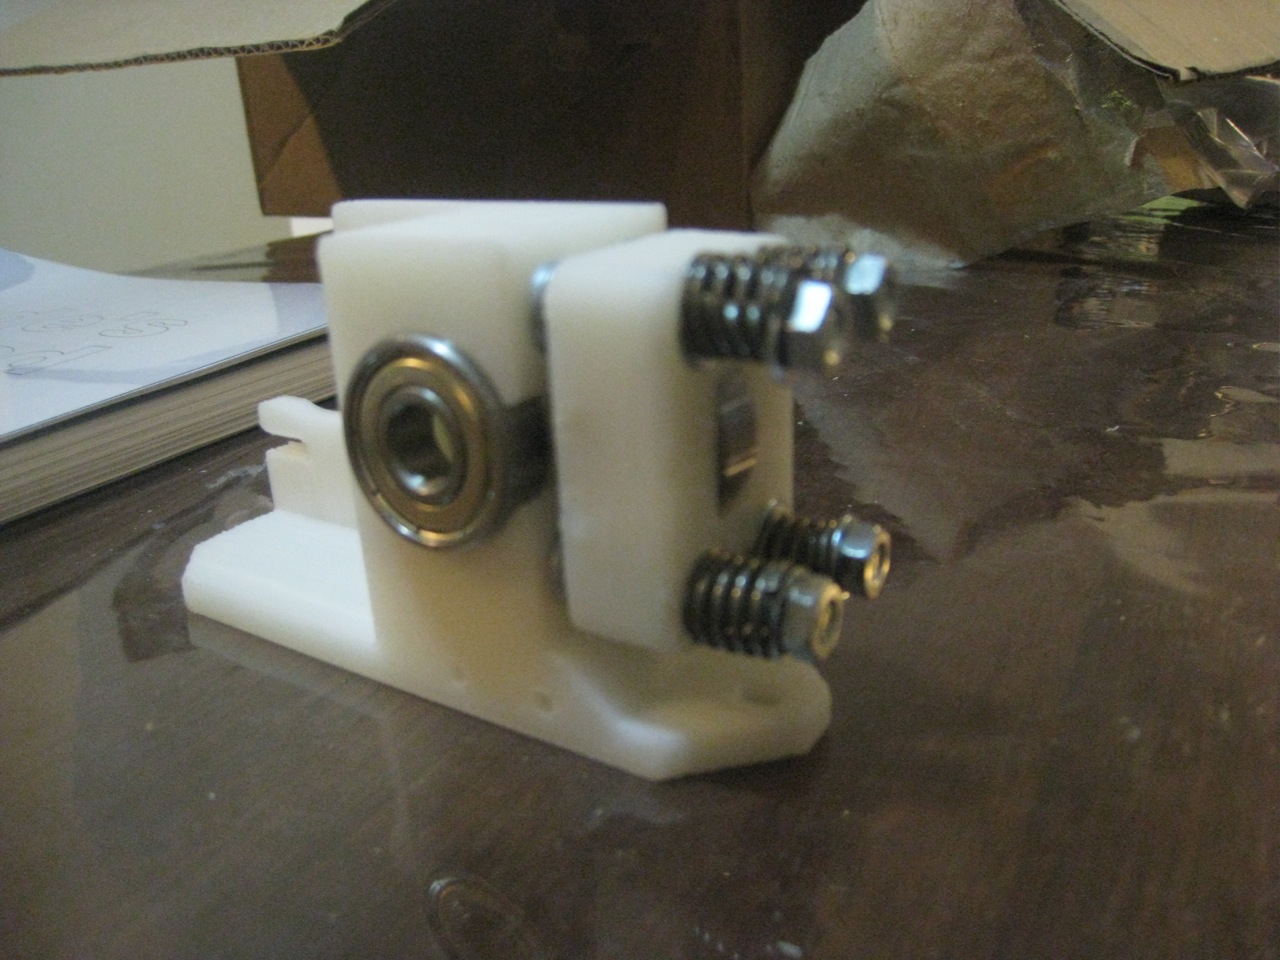
Springs fitted

Finished Extruder – Front
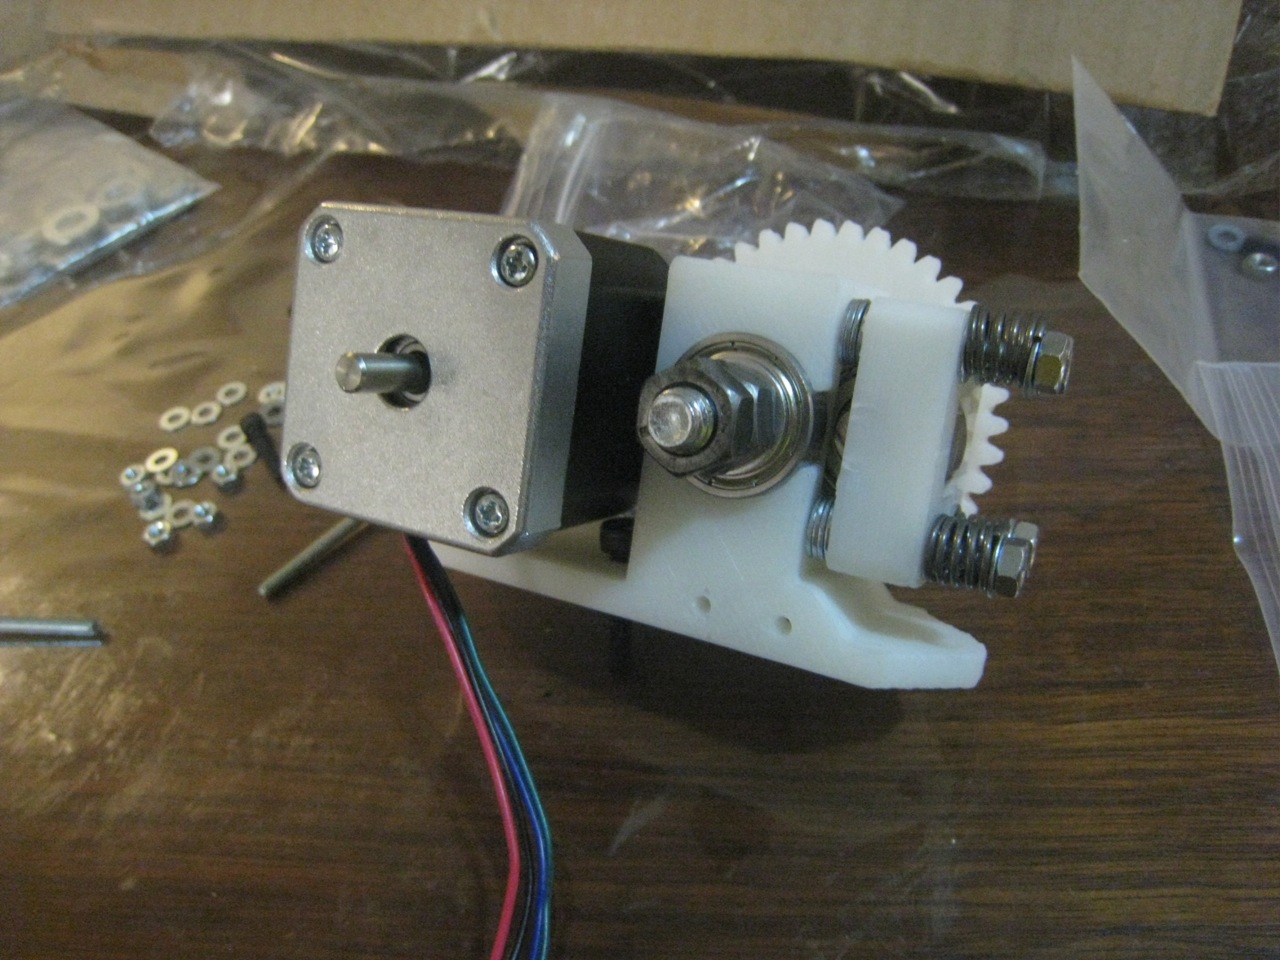
Finished Extruder – Rear
And that’s all the hardware complete! Next up will be to wire everything up.