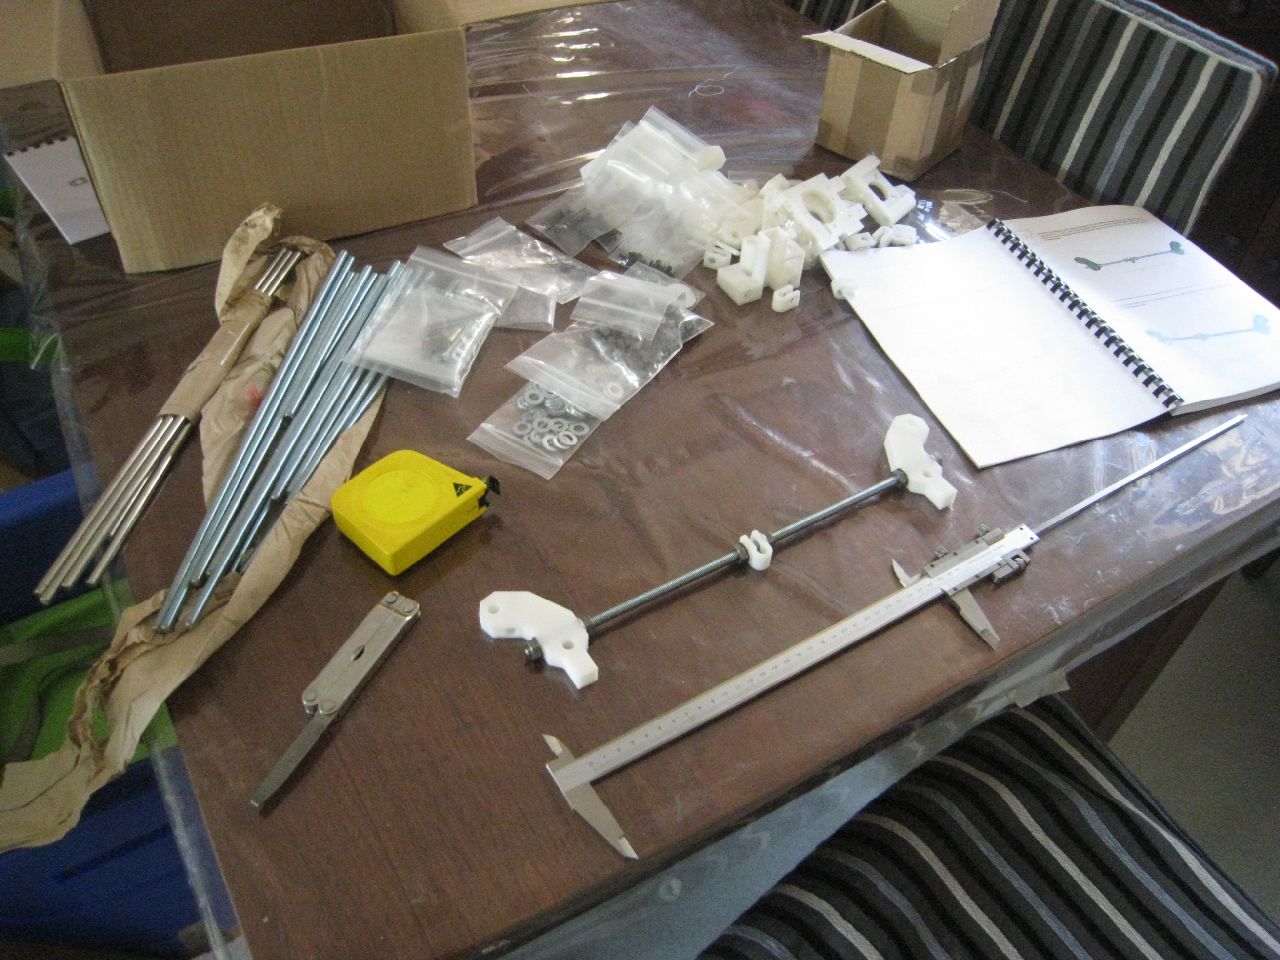
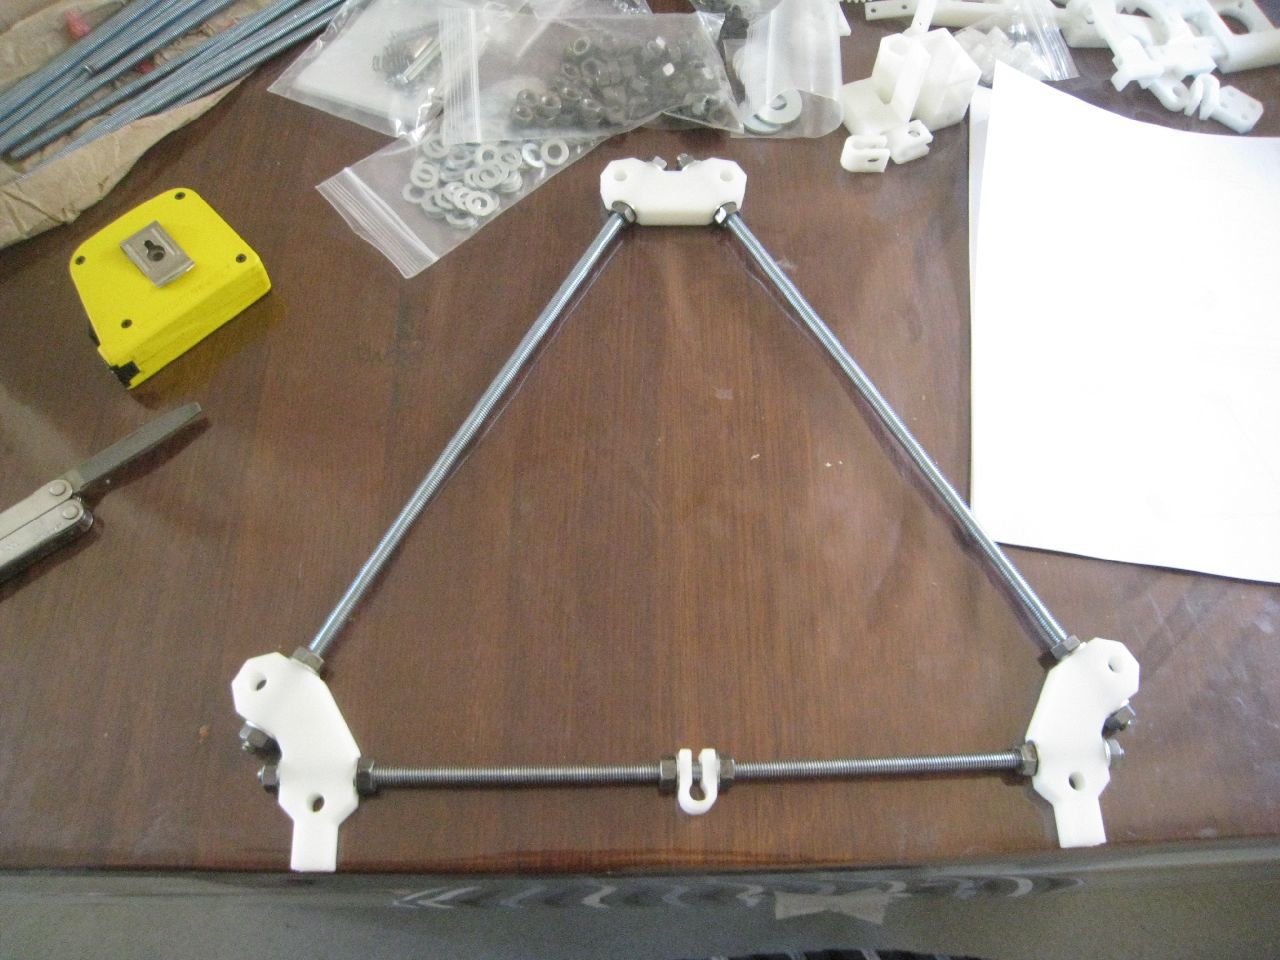
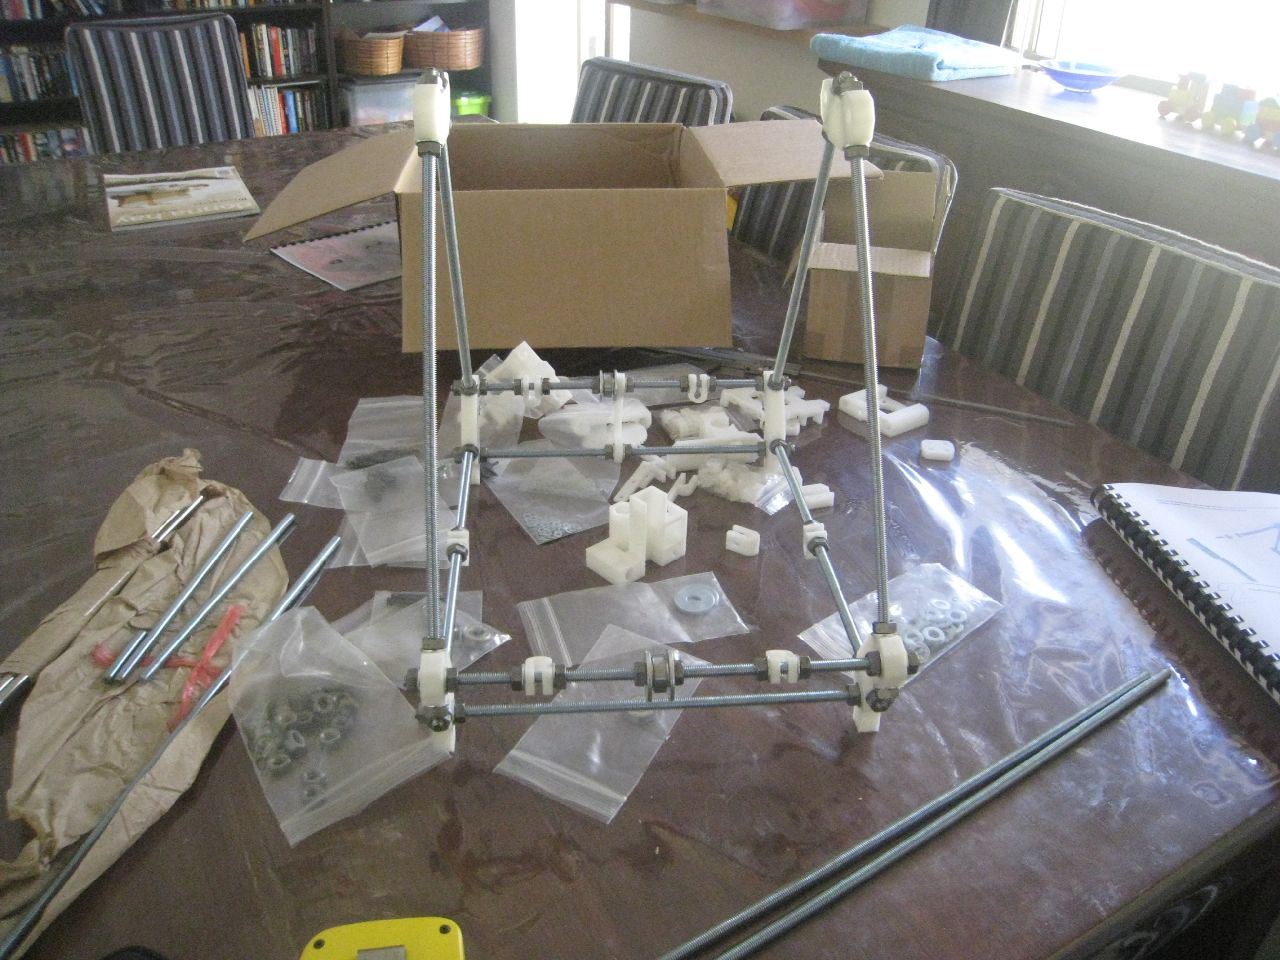
Time to start construction! First up is to construct the side A-frames. Everything started off well.
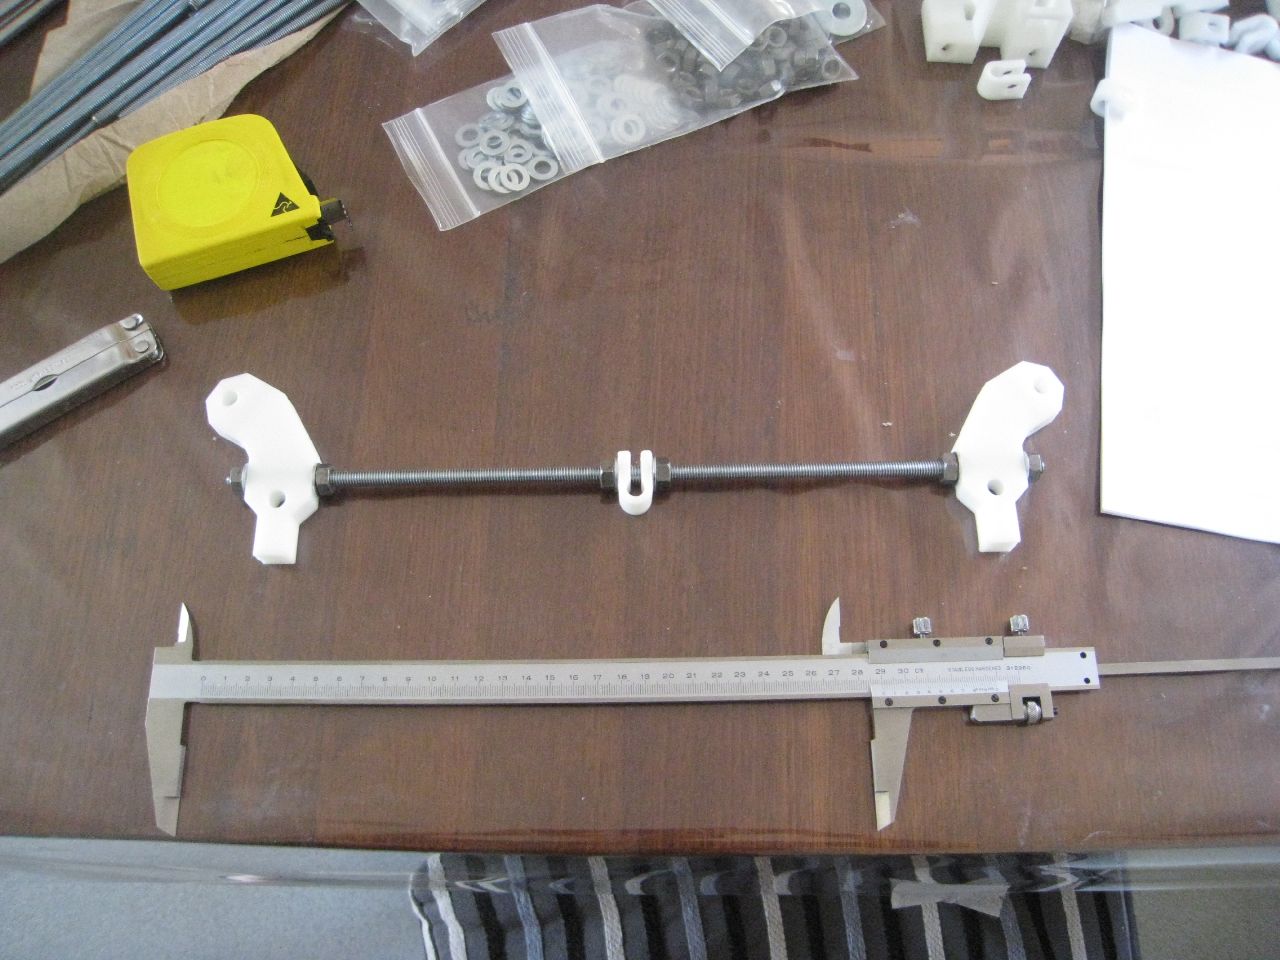

Next up was to build the front and rear threaded rods.
The front rods assembled fine. Then in was time to assemble the rear rods here I ran into some small troubles. I only had one rod left! Checking the prusa-build website, I soon found my problem. I was using the 440mm threaded rods instead of the 294mm threaded rods. The Visual Instructions I was using don’t specify which rods you need at this stage, so I just grabbed the ones that I thought were right.
So I made myself a mental note: submit a bug report to Visual Instructions to specify which threaded rod you need. I was quite annoying (and slow) to have to unthread all the nuts off the rods, then thread them onto the correct rods.
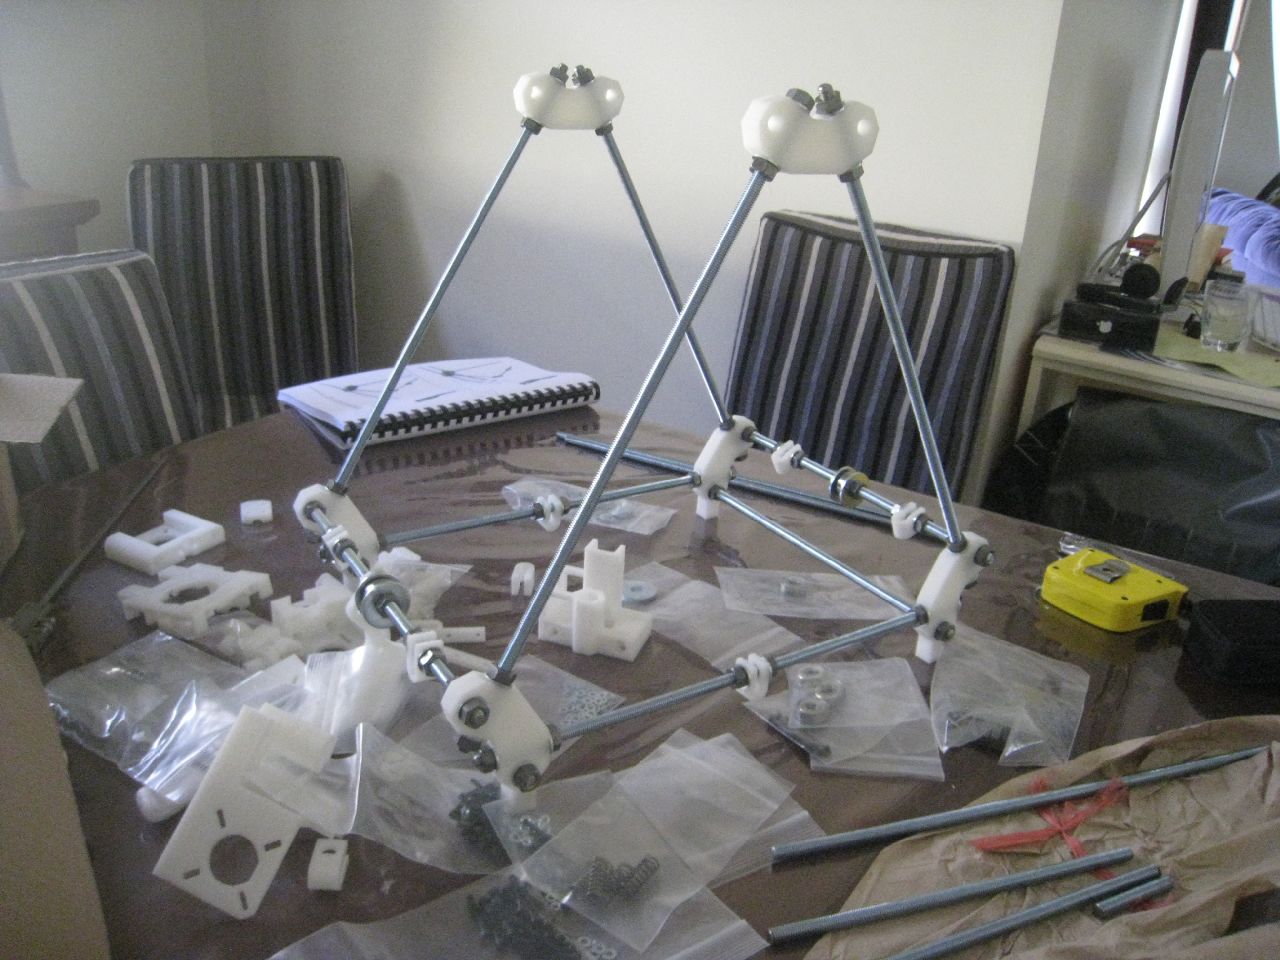
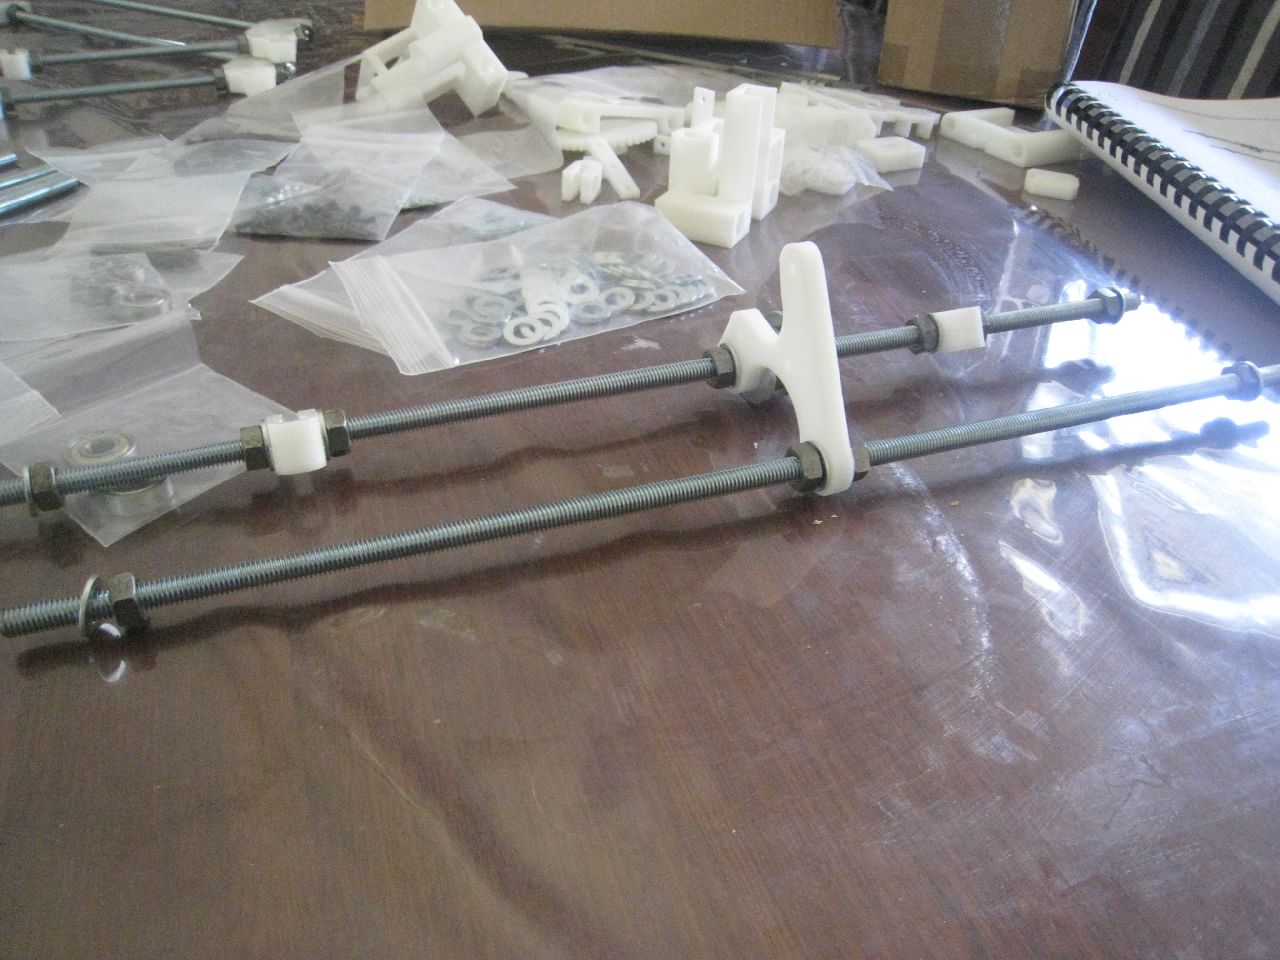
Next up is to assemble the top threaded rods. I made sure to grab the right length this time! These were pretty easy to assemble

After the top rods are in, it’s back to the bottom, to put in the Y-Axis rods and the lower z-bar holders
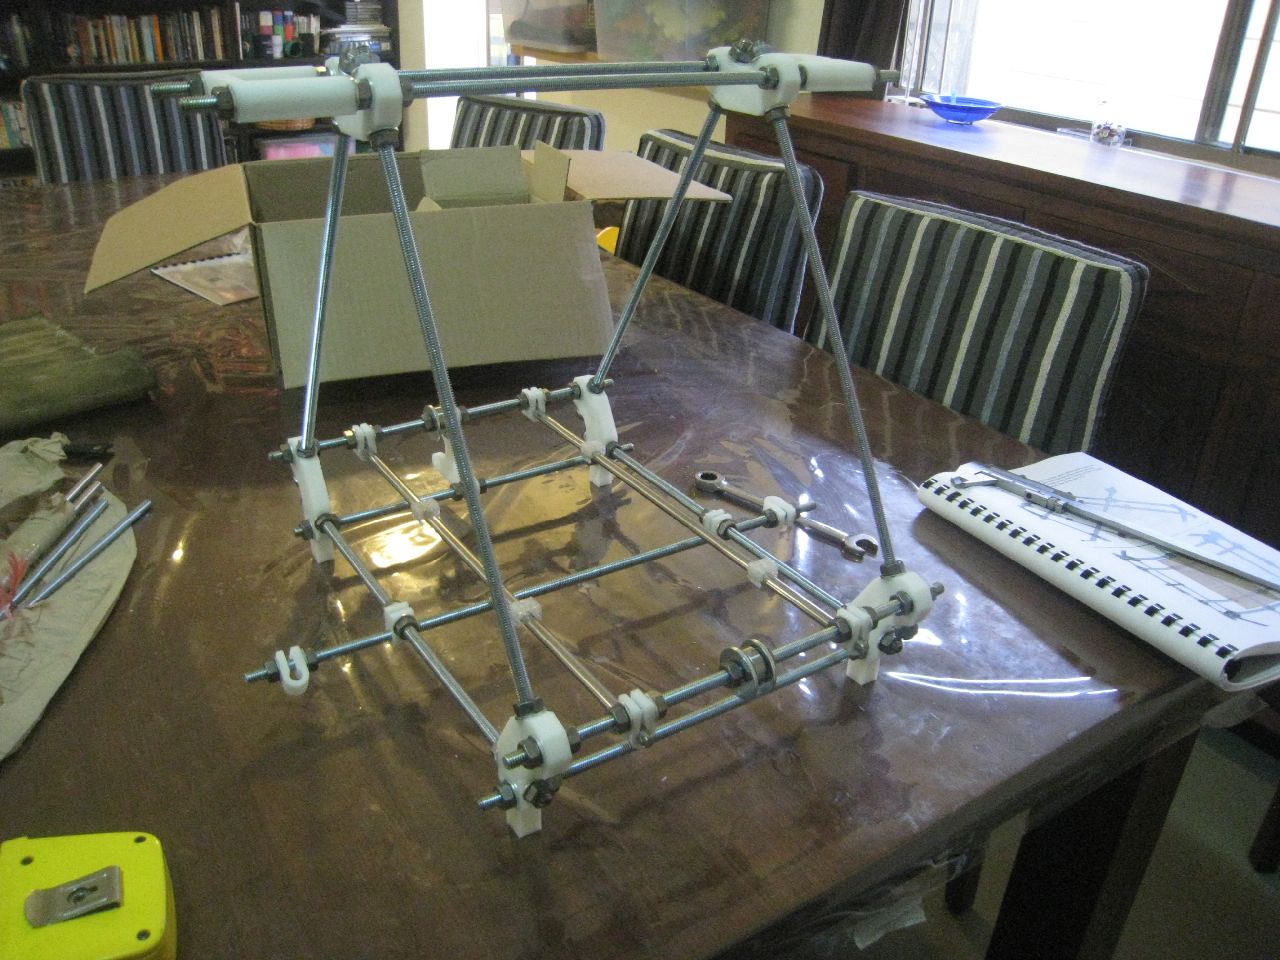
Once the Y-Axis smooth rods were in place, I spent a fair amount of time (as recommended in the instructions) making sure that the rods were parallel, both to themselves and the frame. The PLA bushing were then attached
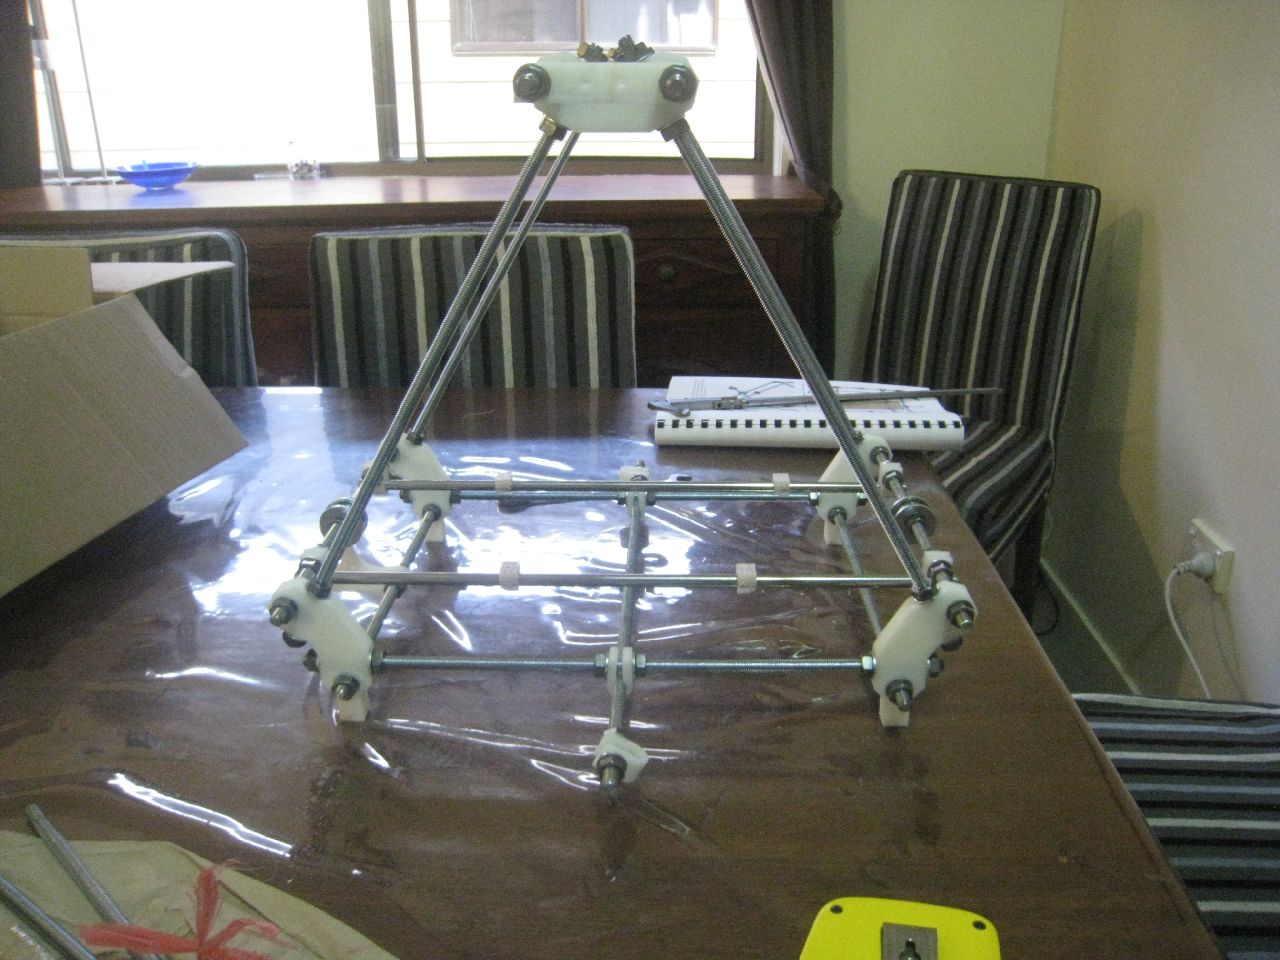
The last stage for today will be to glue the base-plate onto the Y bushings. I’ll let that dry overnight, and resume tomorrow.